
Complete packaging systems
Complete packaging systems.
Coordinate the retail pack, supports, branding and outer carton around the product and its journey to the customer.
Overview
Start with the whole pack.
Connect the product, presentation and shipping needs in one discussion.
Bring the product, the intended presentation and the shipping arrangement. Then agree which components are needed and who will take care of each one.
Review the division of workProject view
Work from the product outward.
Follow the connections between the layers that apply to your project.
Product
Start with the size range, quantity and the way the product will be handled.
Primary pack
Check the space around the product, its support and how the pack closes.
Support pieces
Check how pads, inserts or dividers meet both the product and the pack.
Label or sleeve
Check the available area, attachment and access to the closure.
Presentation box
Check the assembled pack, opening sequence and space for any extras.
Shipping carton
Check the complete arrangement, orientation, count and space between packs.
Use only the layers your product needs. A change to one part can affect the fit or arrangement of the next.
Process
Check where components meet.
Look at clearances, support, closure and stacking between adjacent layers.
- Product and support
- Check where the product sits, what touches it and whether an insert changes the closure.
- Pack and branding
- Place labels, sleeves and cards around the opening, product view and information you need to keep visible.
- Inner and outer pack
- Compare the assembled dimensions, insertion and removal, then check the arrangement with the actual components.
Use the views below to discuss component details. Confirm fit with the dimensions and samples for your own pack.
Inner and outer pack interfaces
6 photos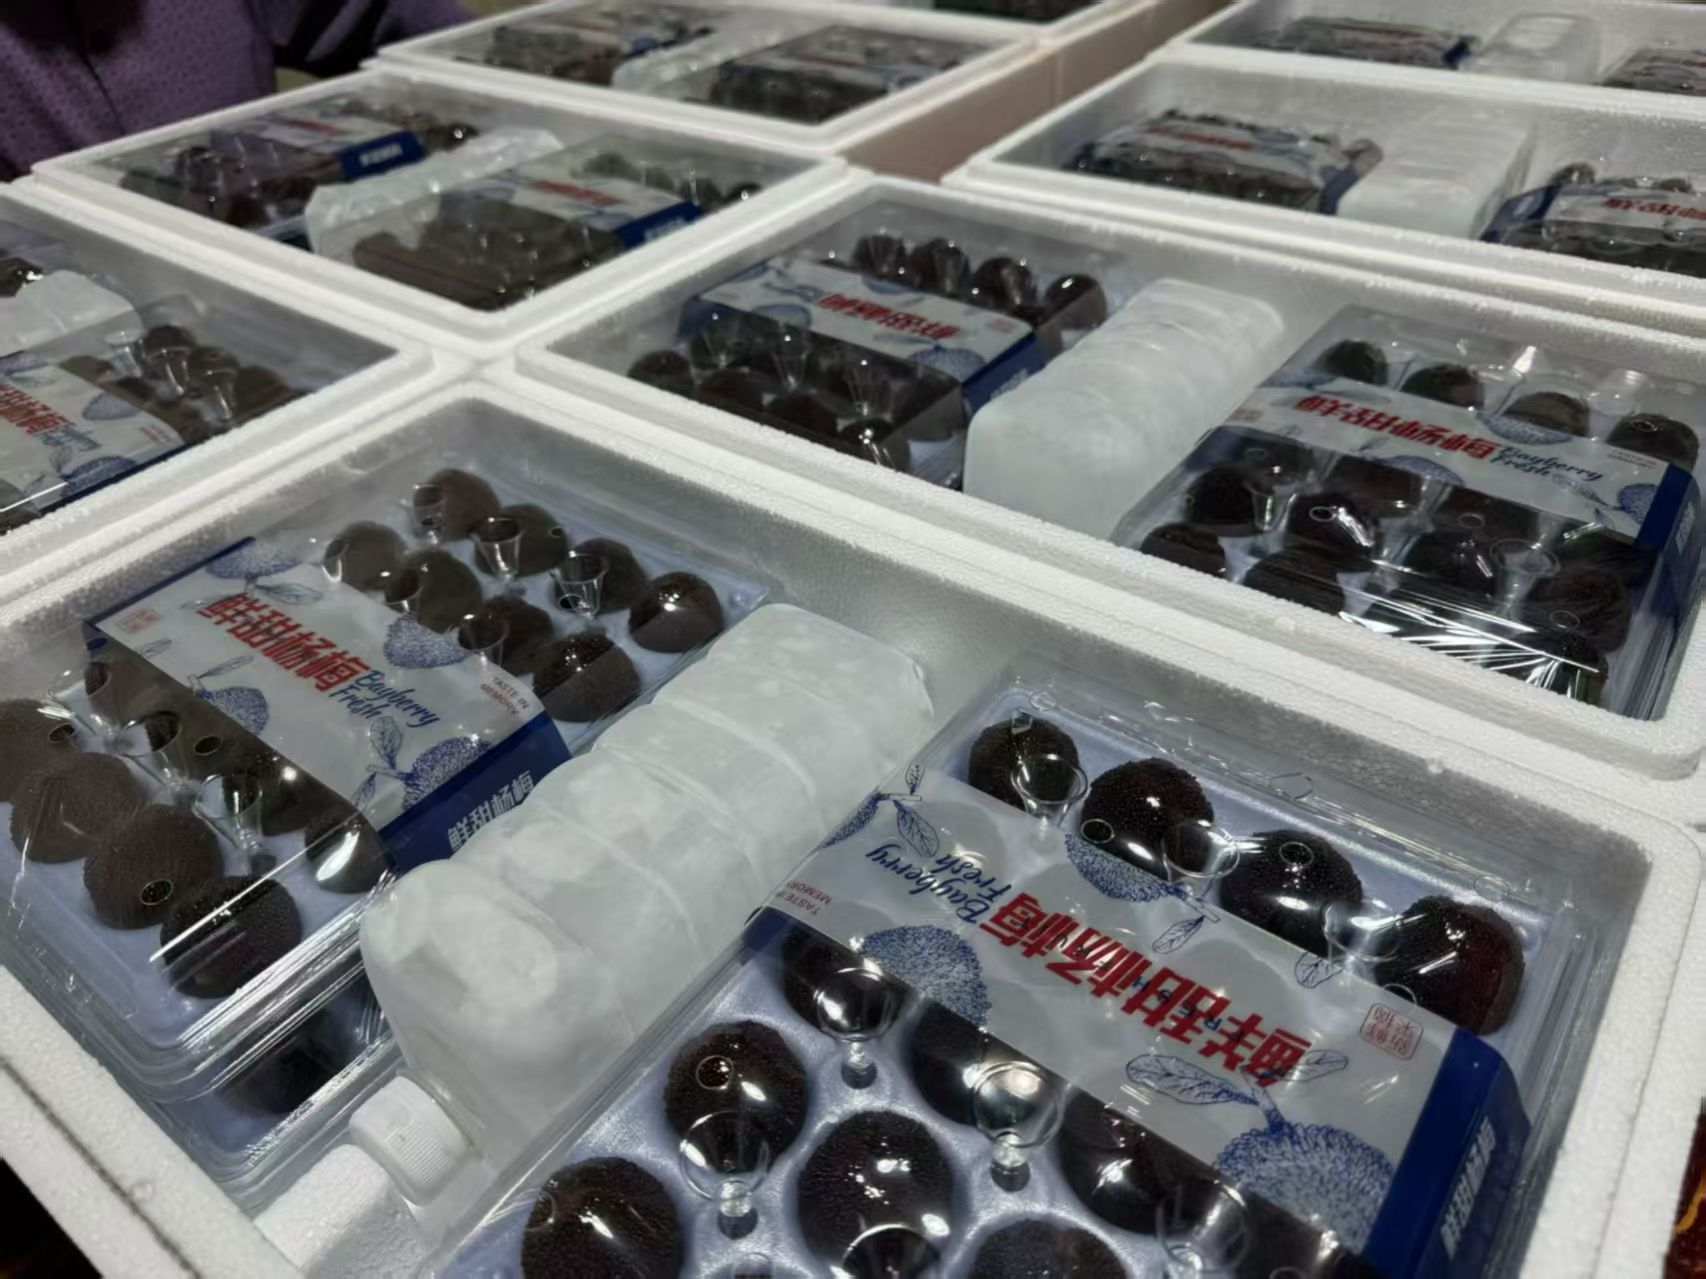
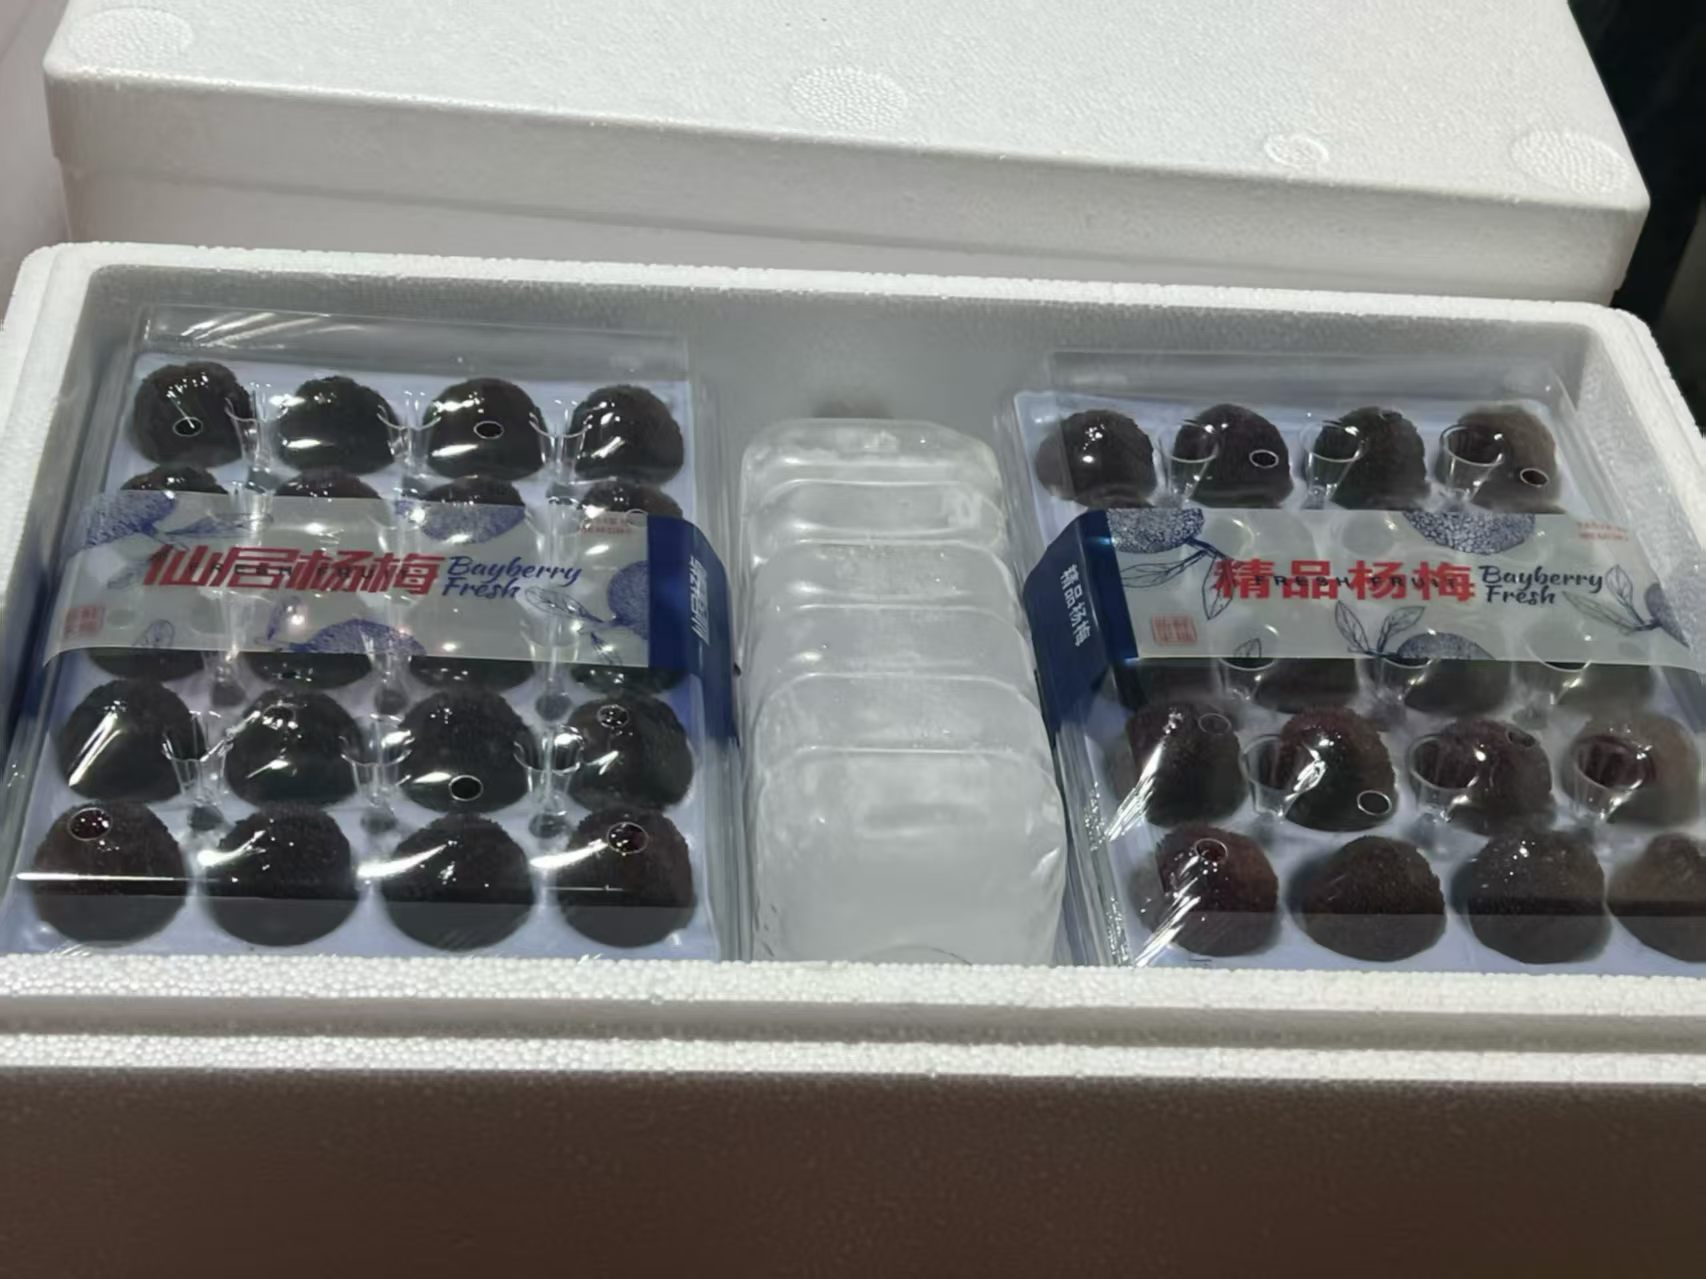
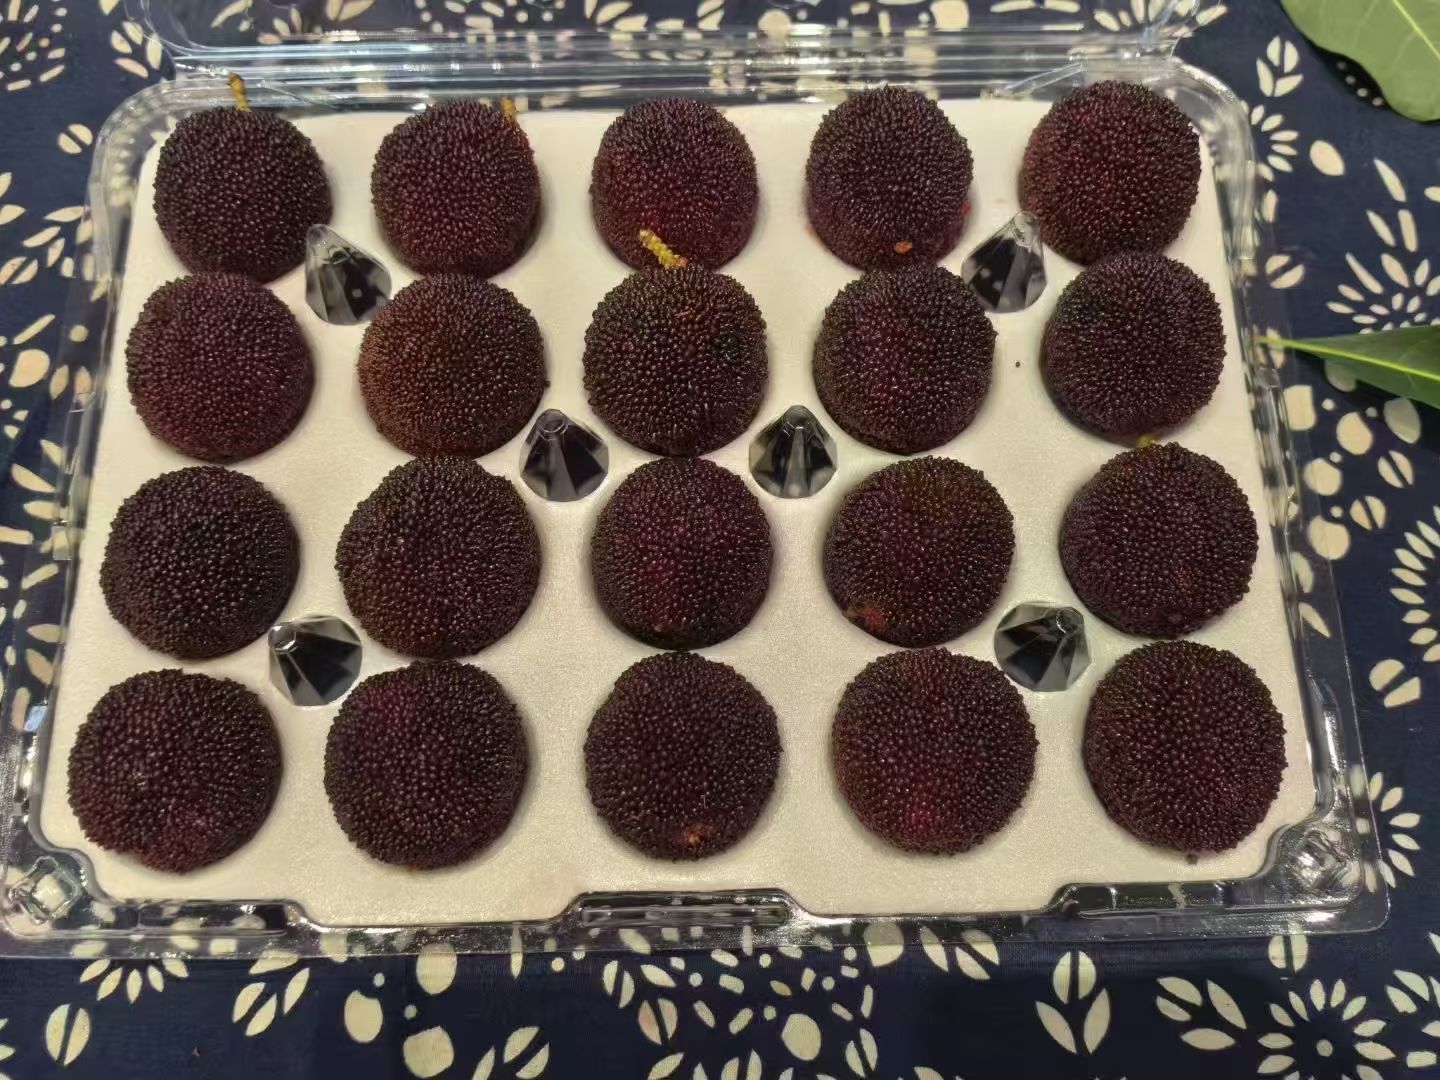
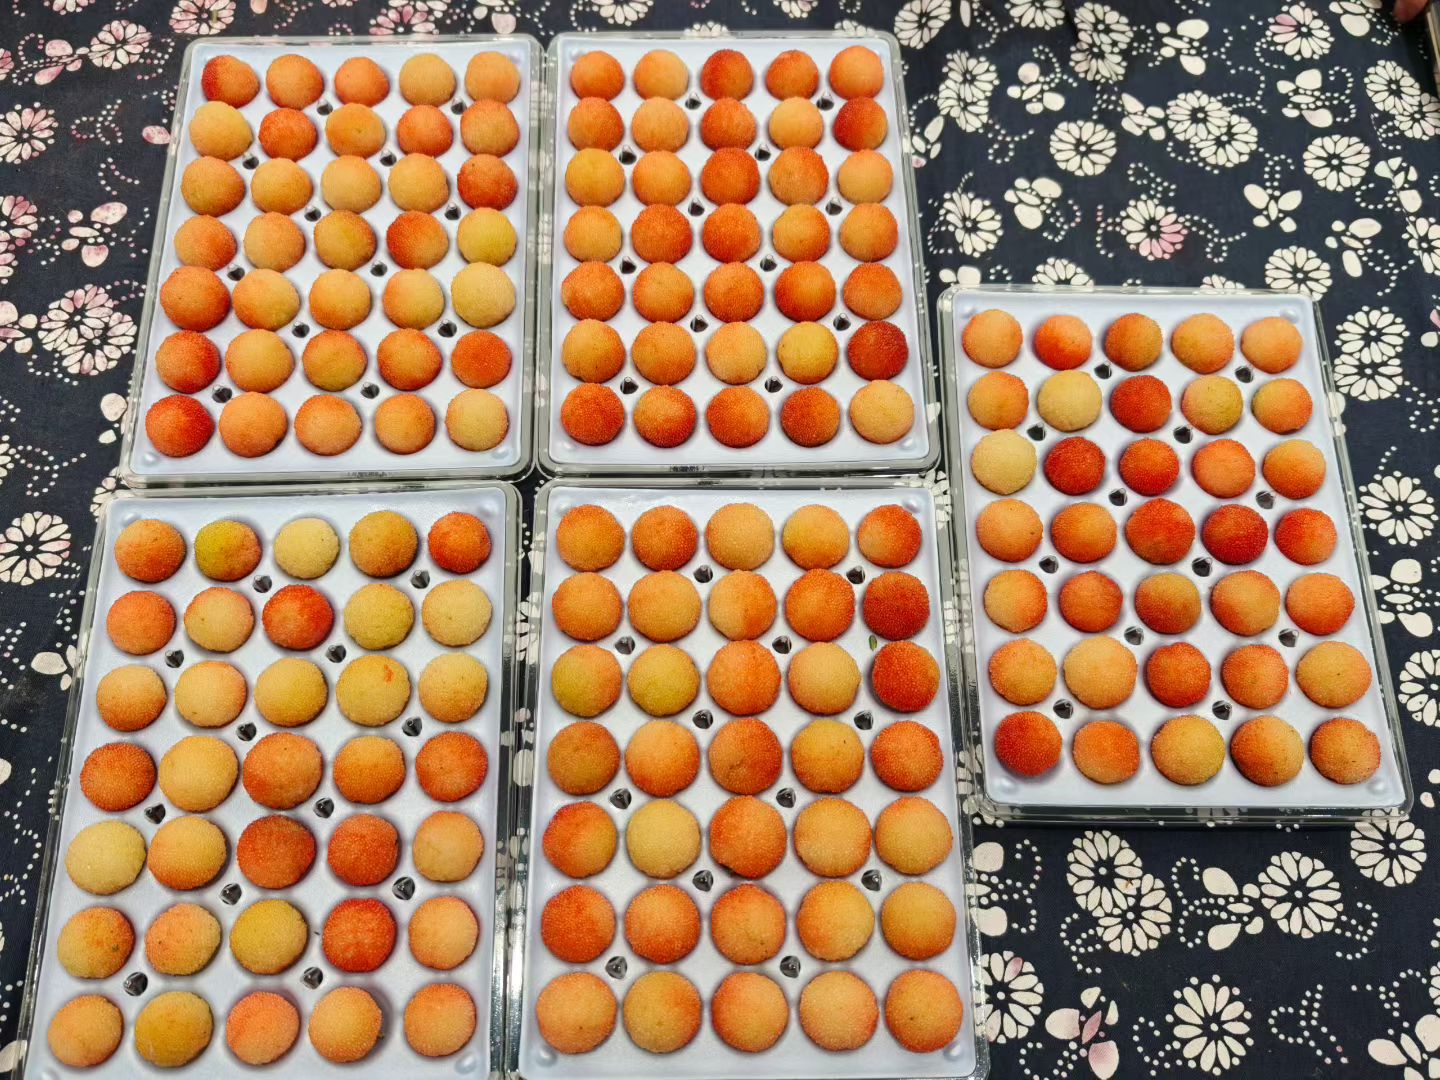
Overview
Use a complete-pack reference.
Compare the examples, then review the actual dimensions and components required for your project.
Complete packaging system
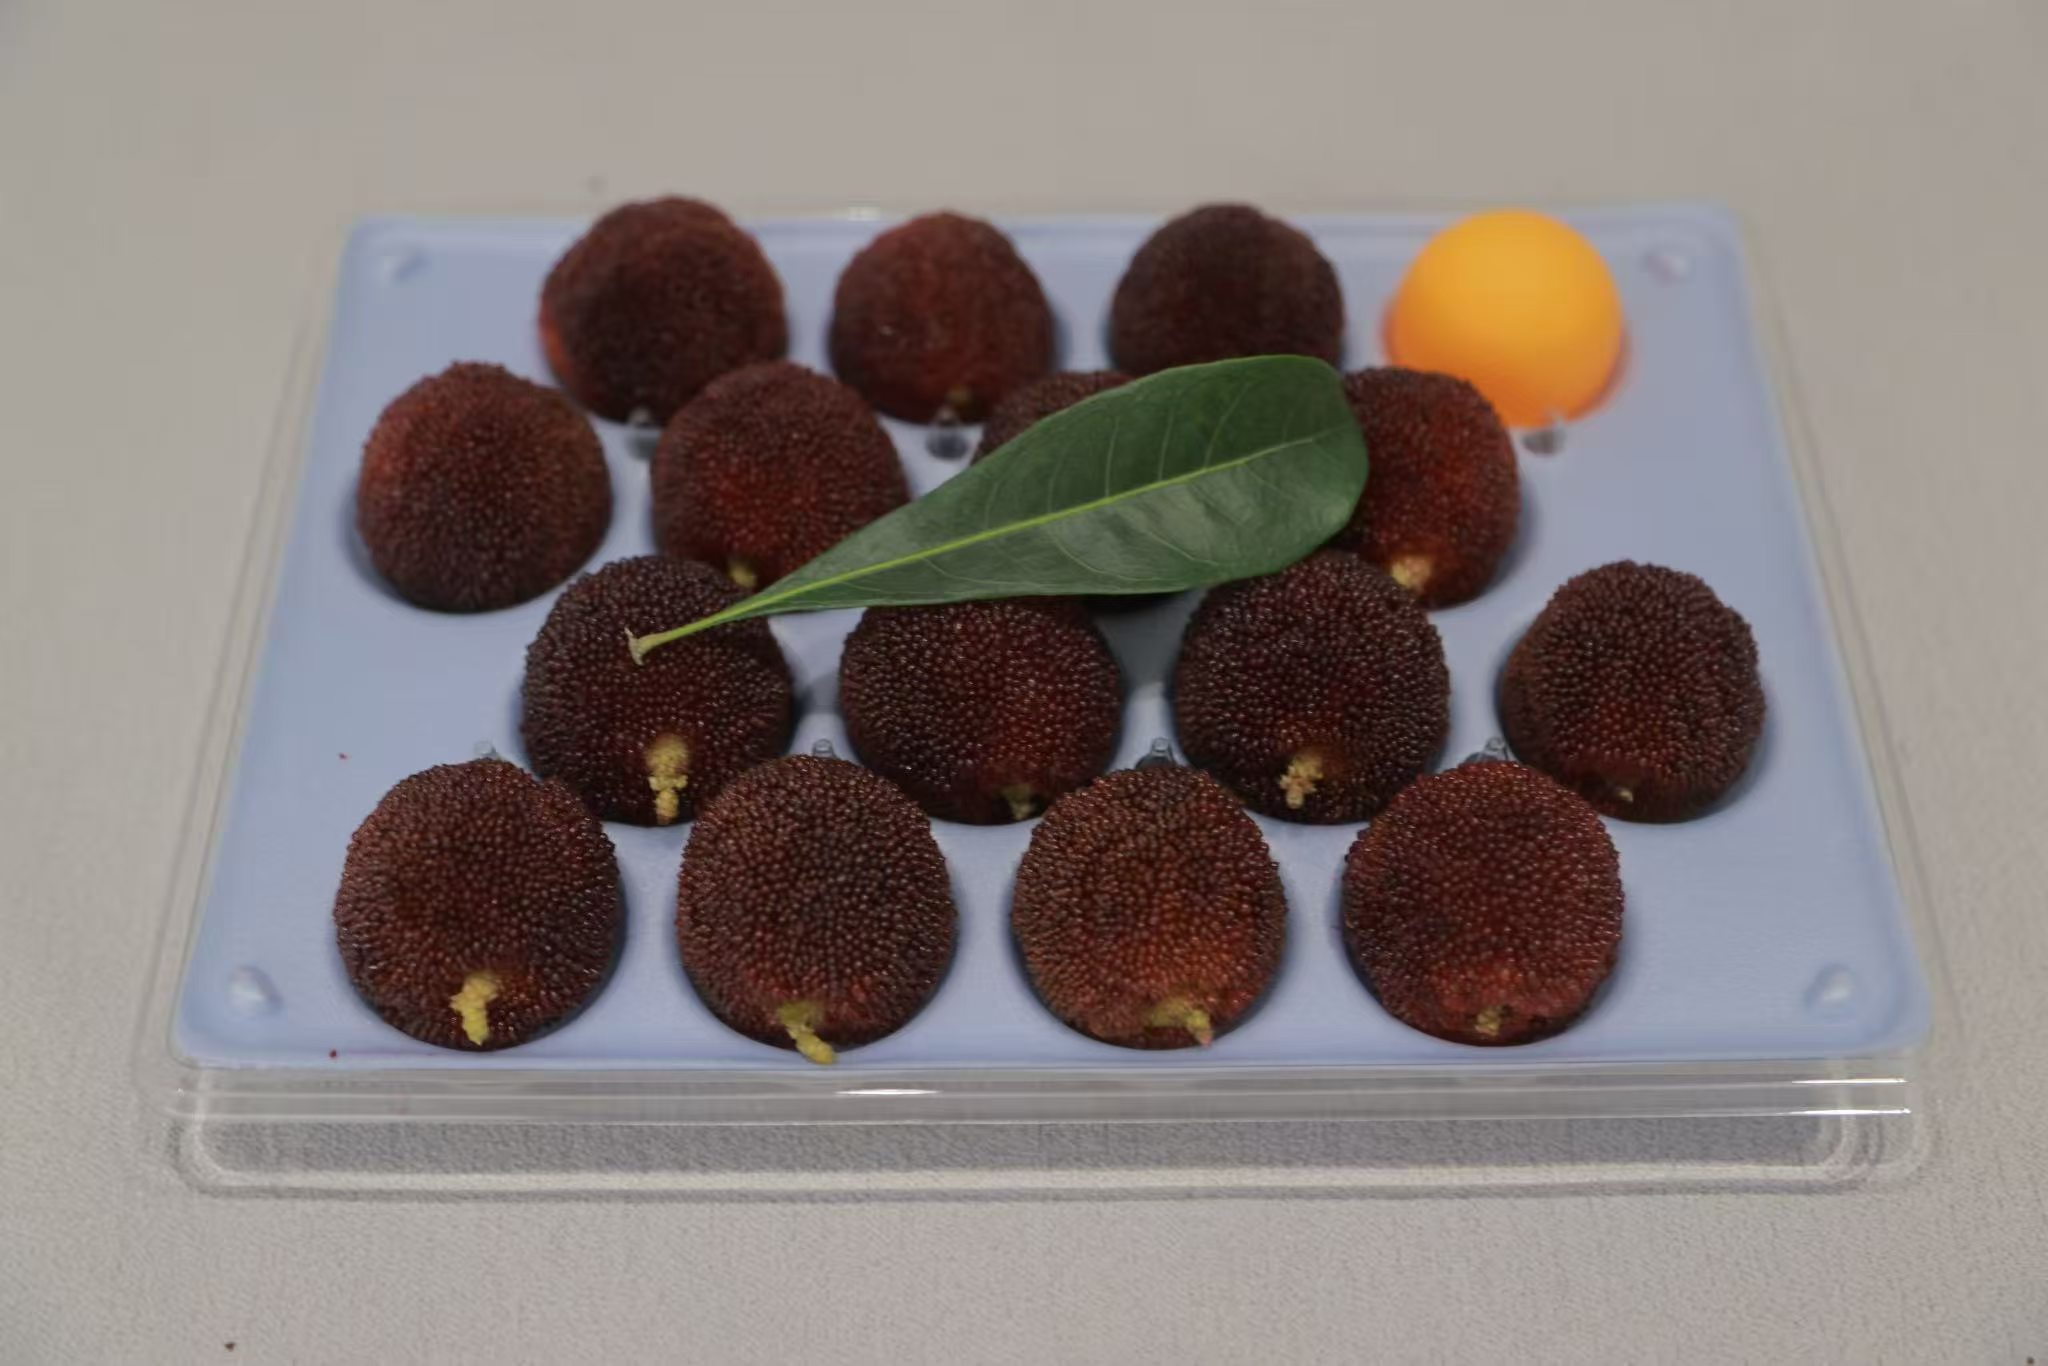
Start with the reference closest to your product and presentation. Identify what stays the same, which component changes and what the connected parts need to fit.
These are separate packaging references. Their parts, dimensions and supply scope need to be reviewed for your project.
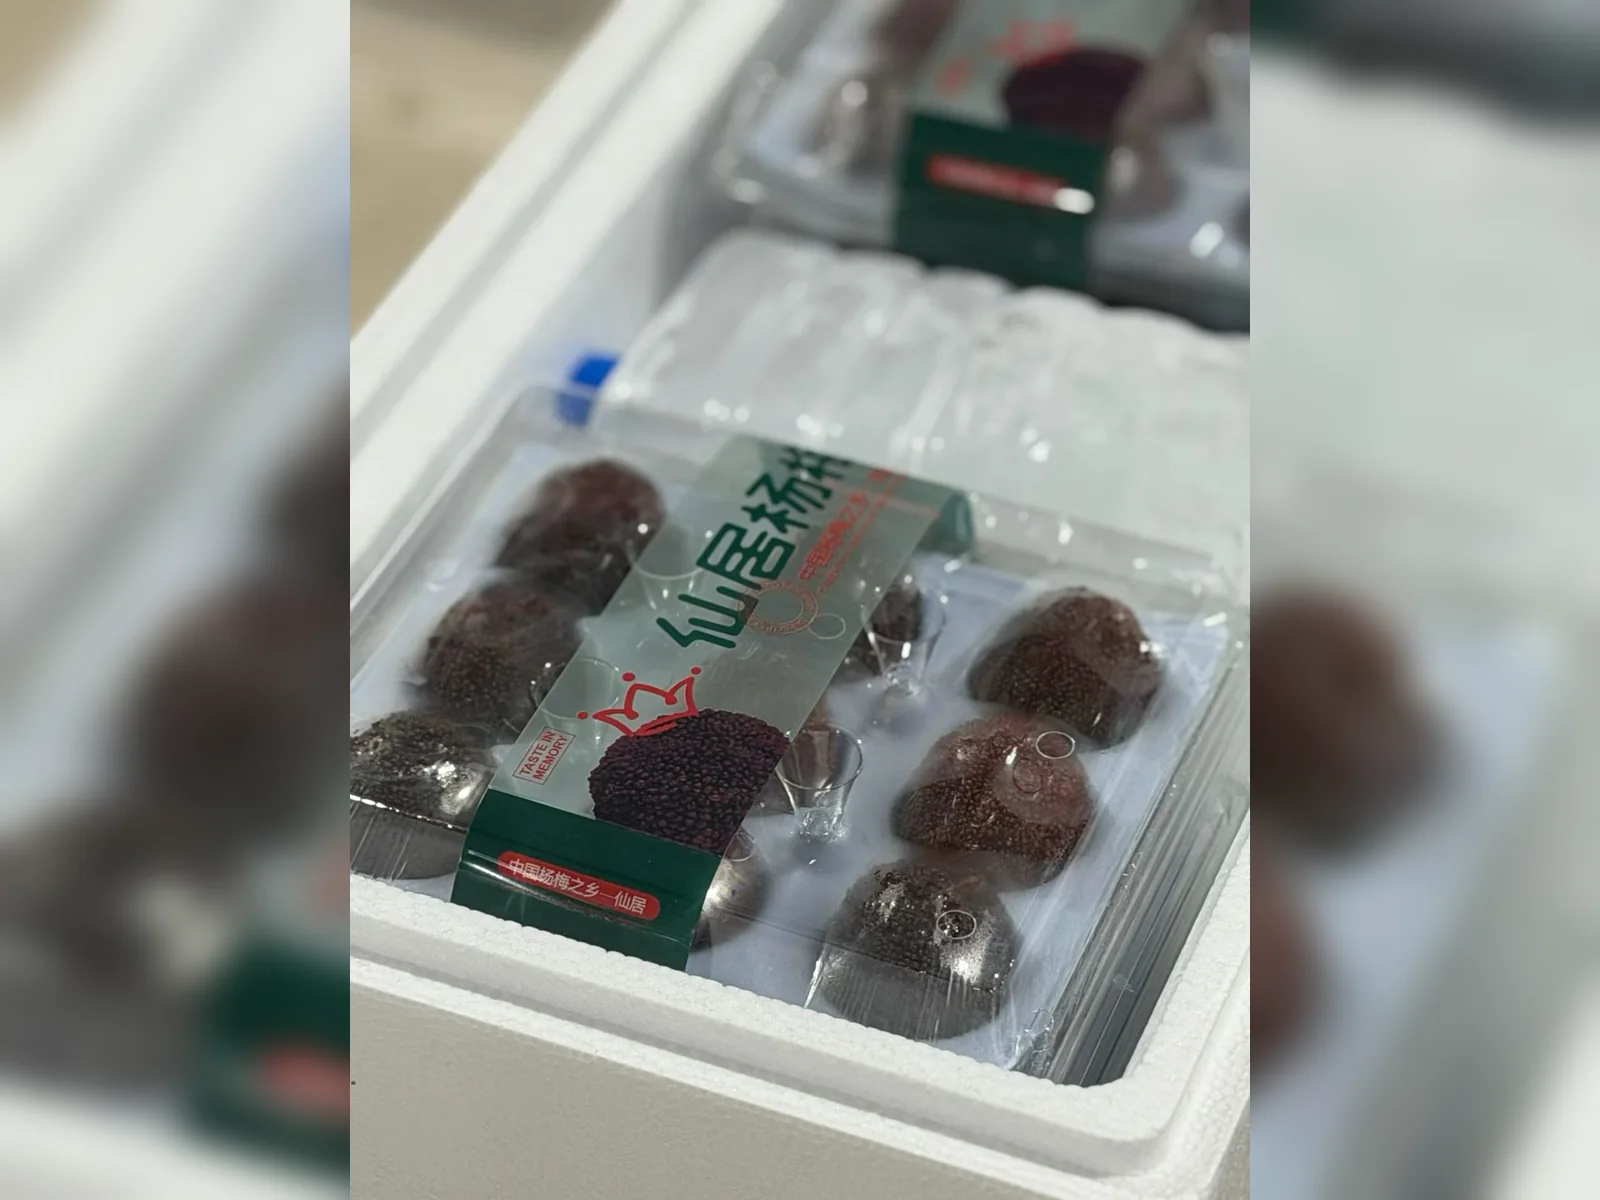
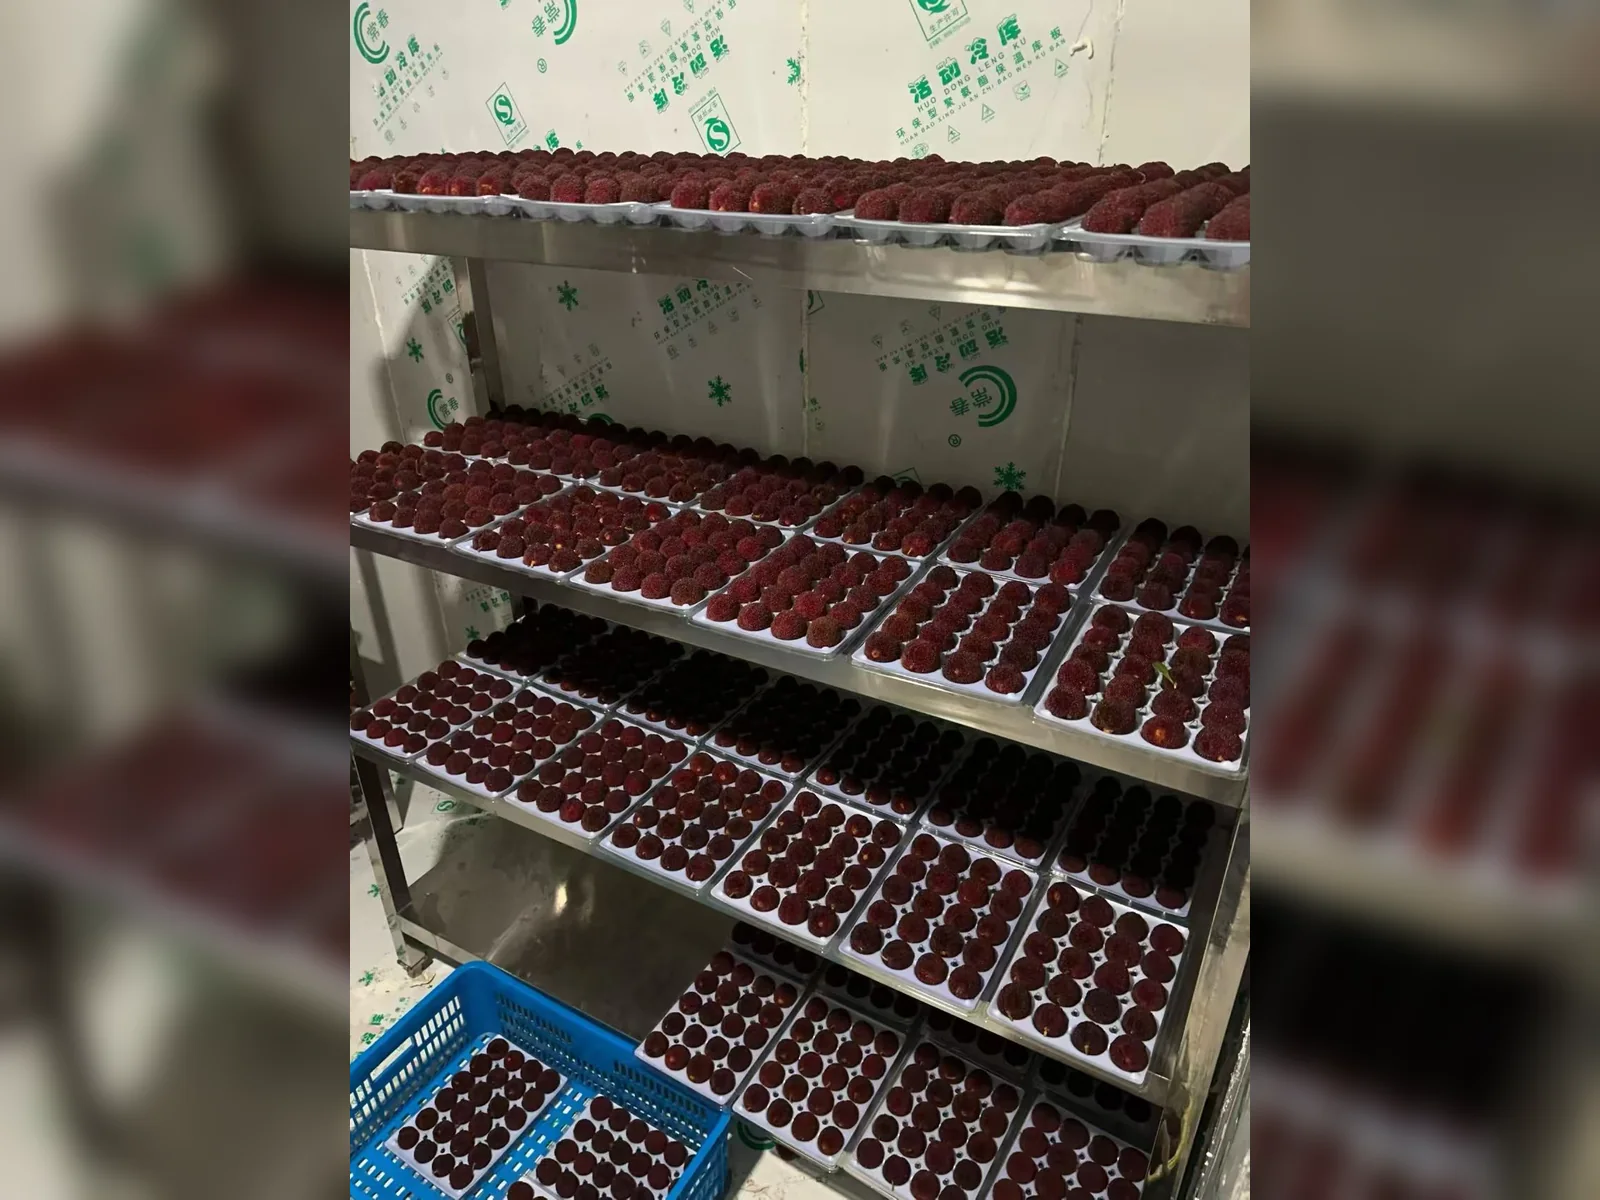
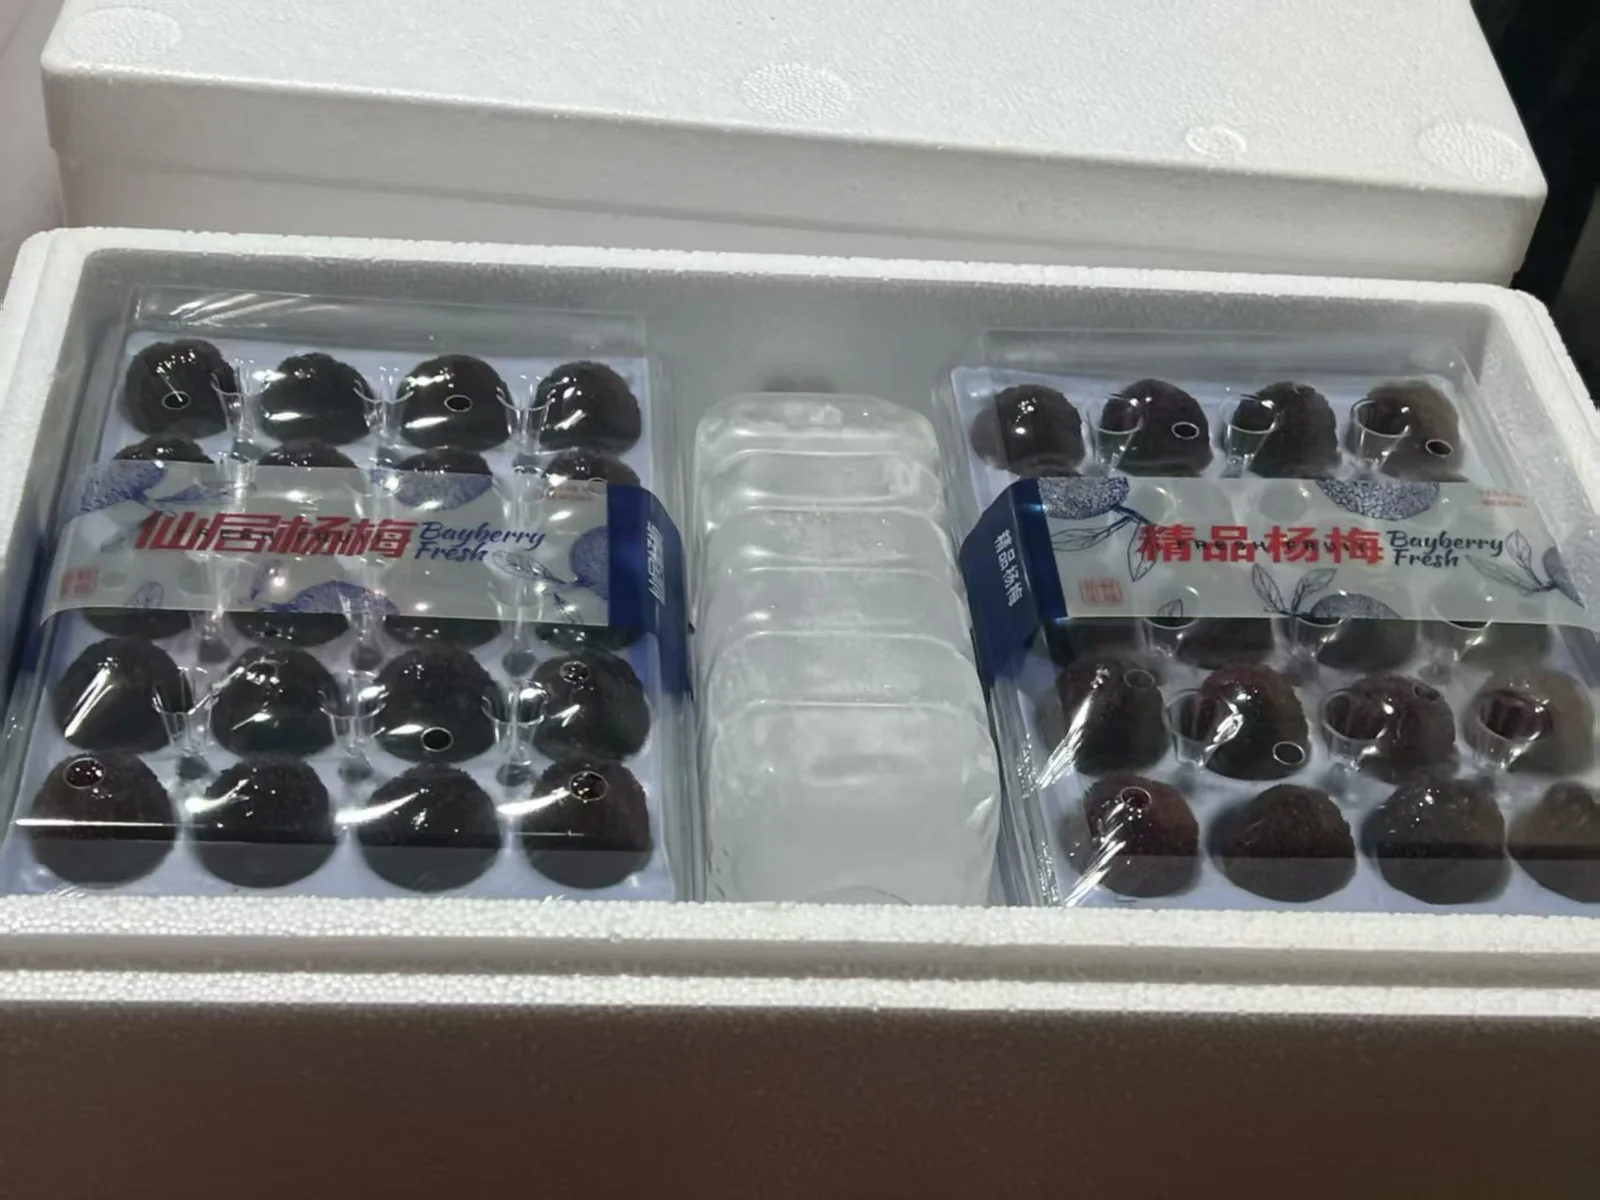
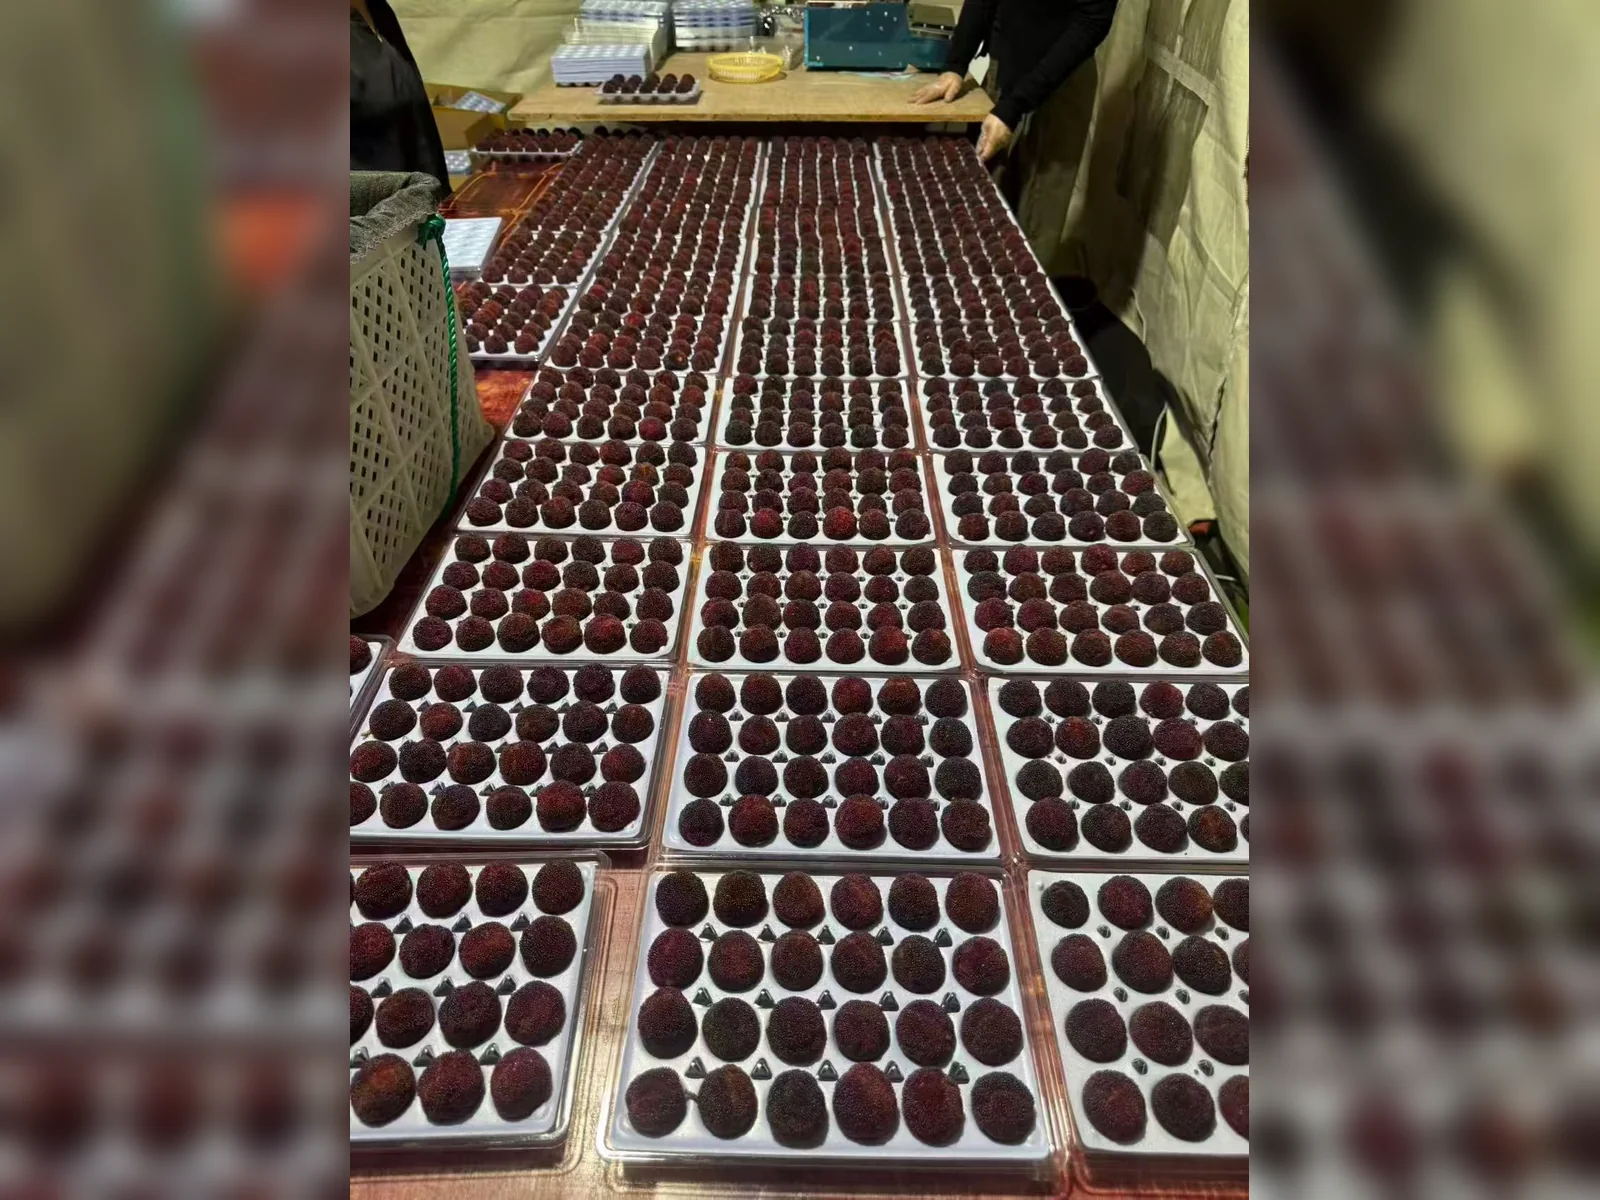
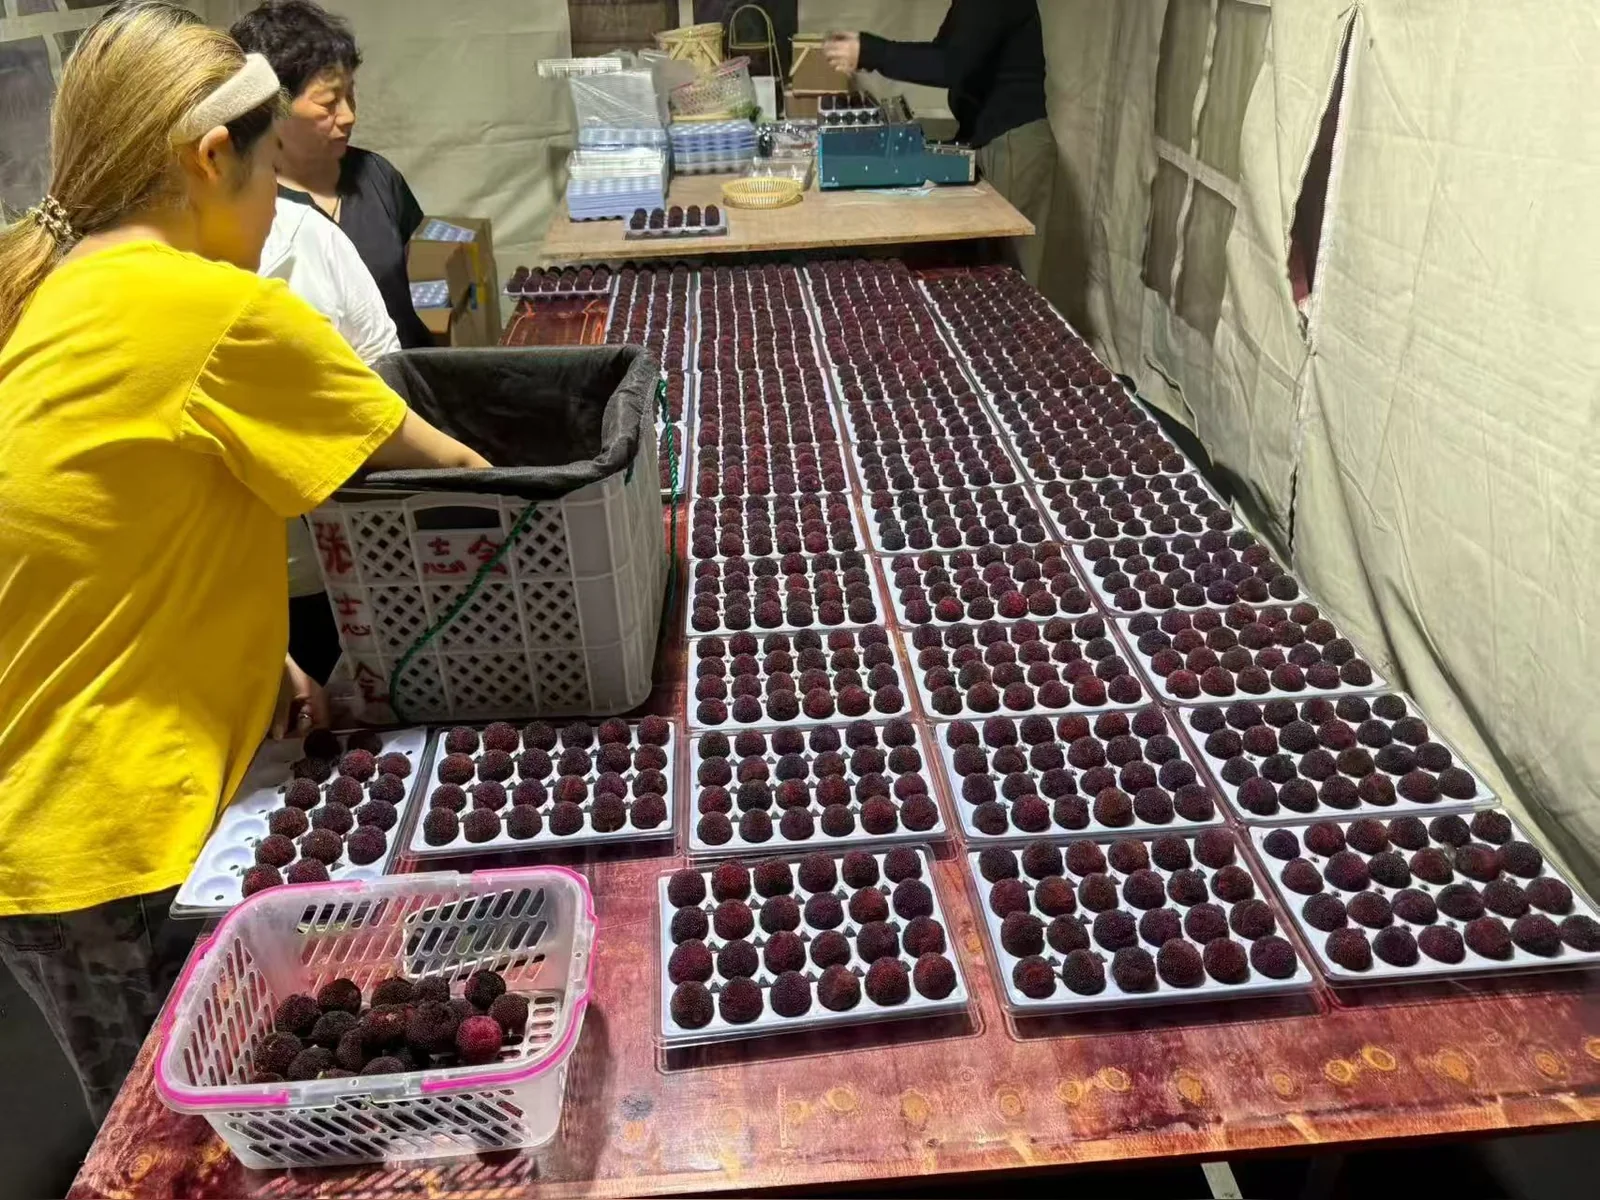
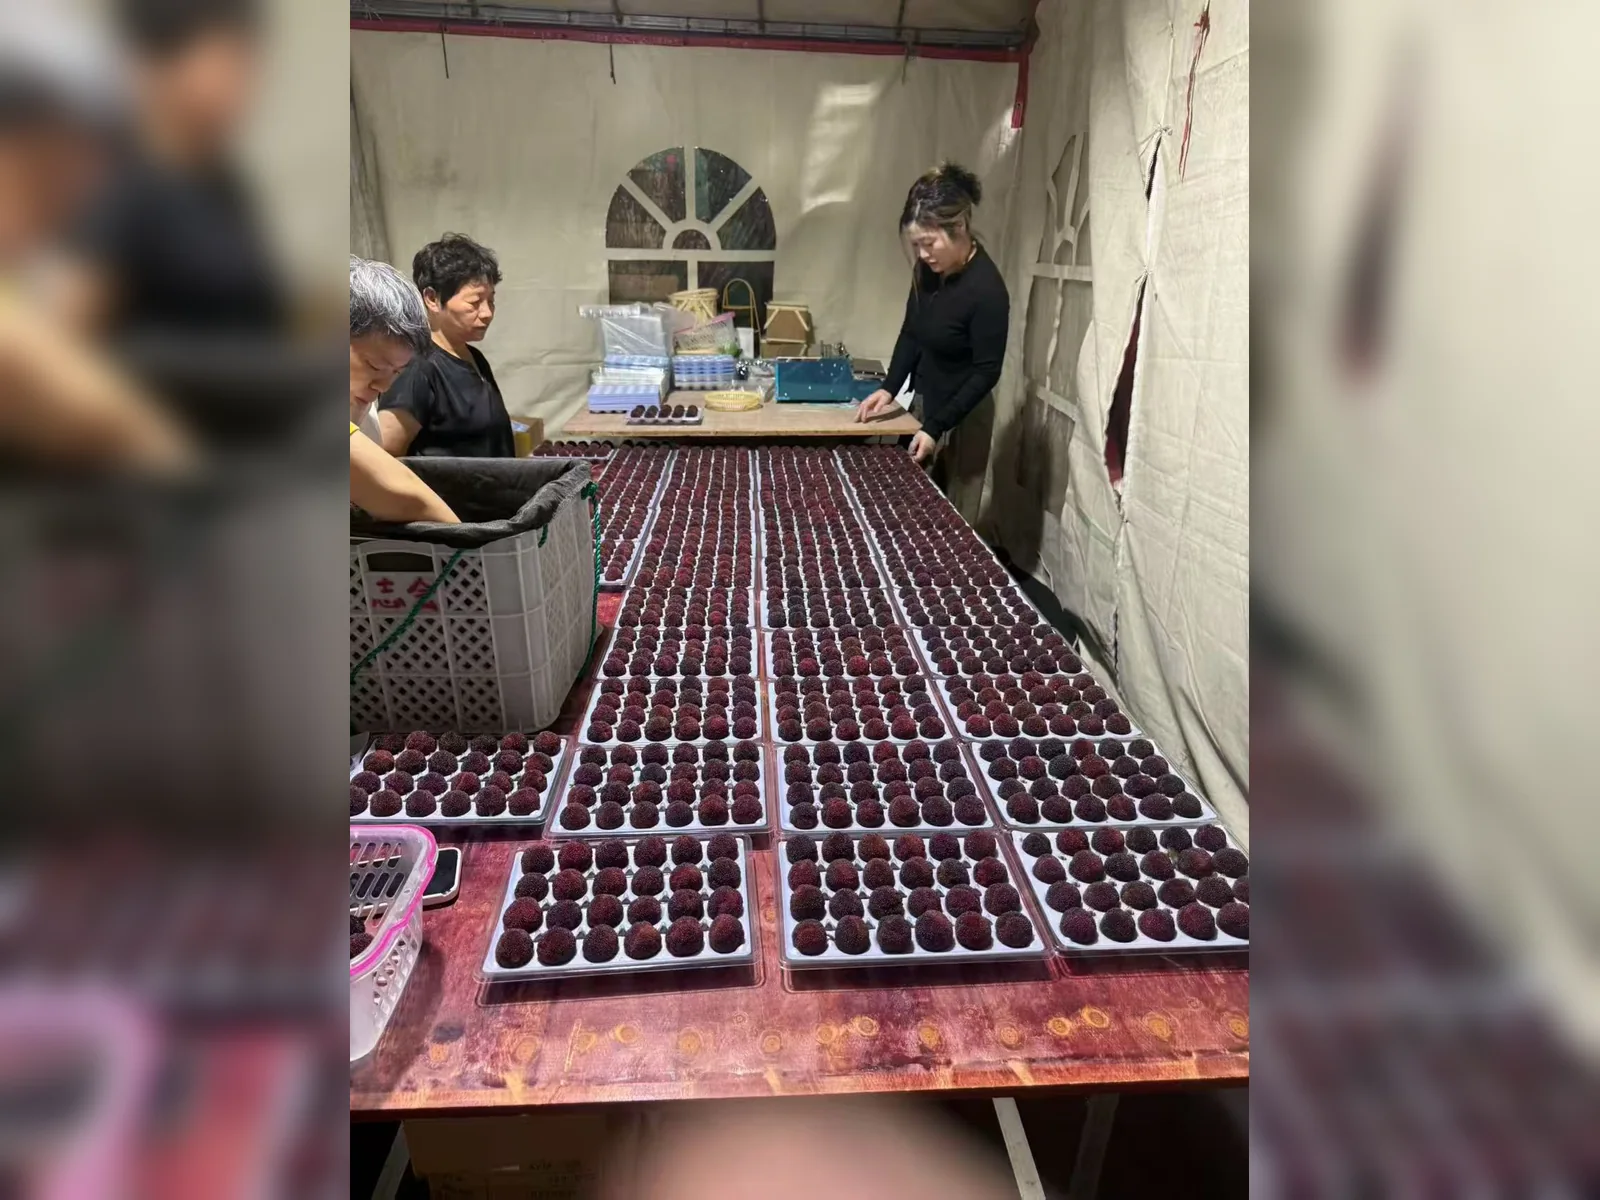
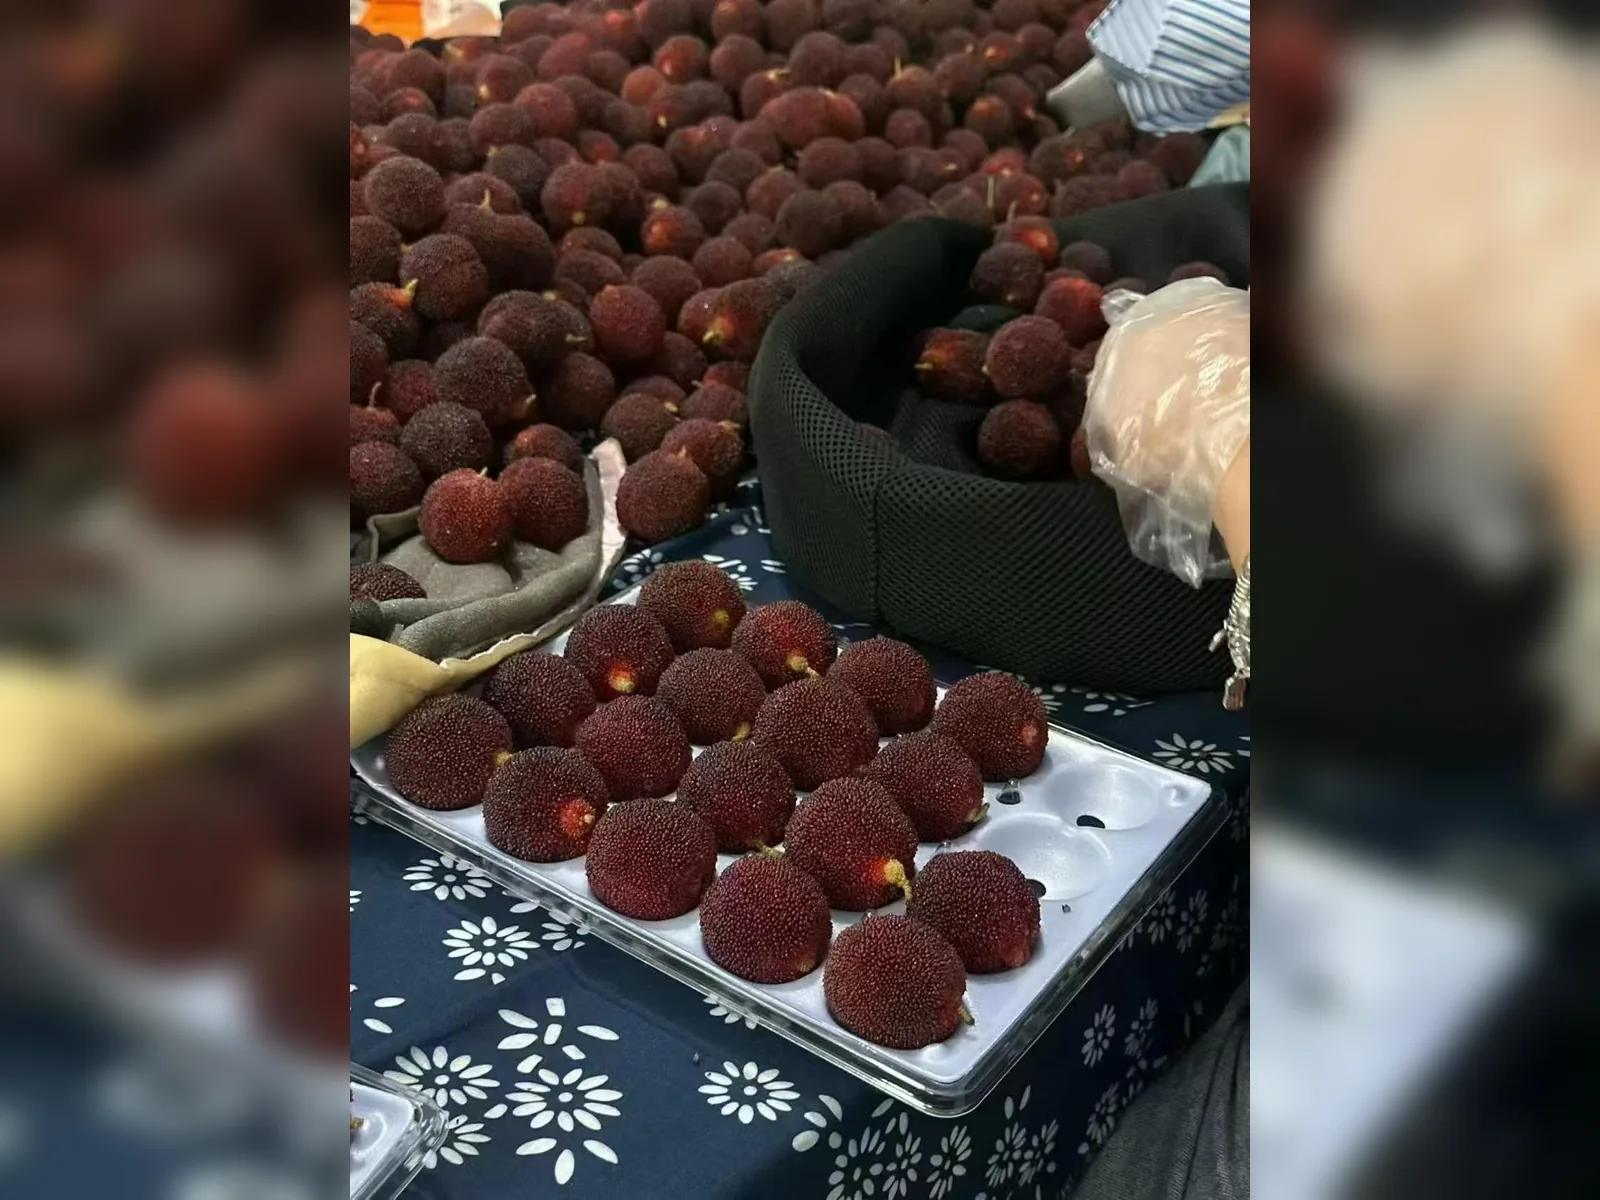
Premium fruit packaging system
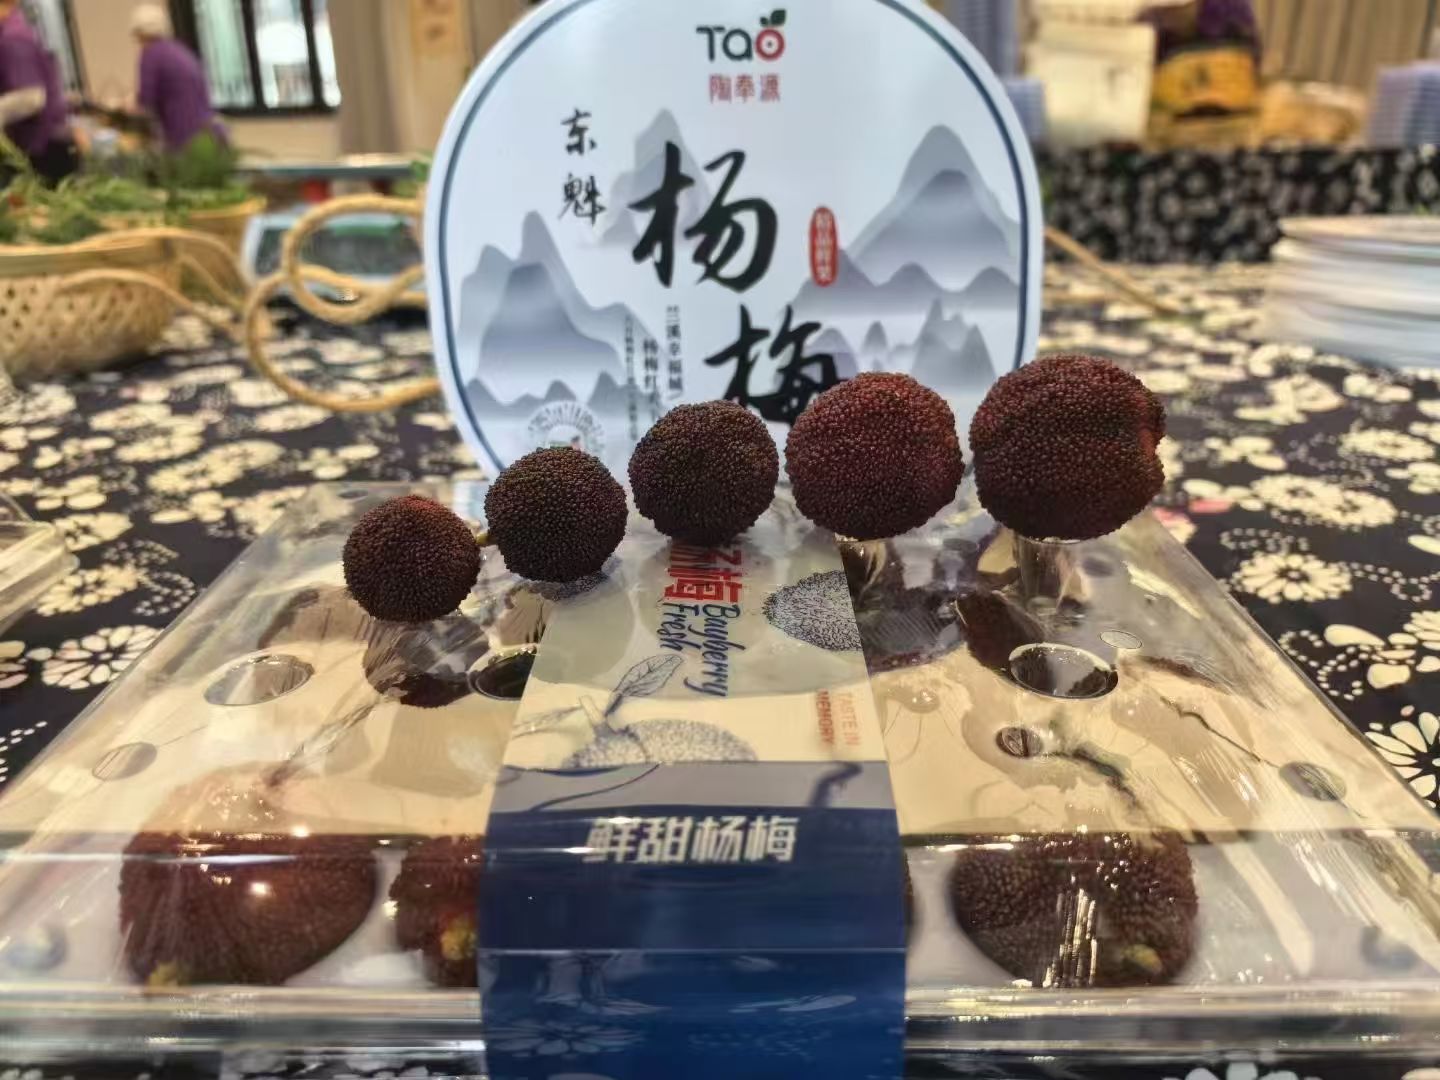
18 photos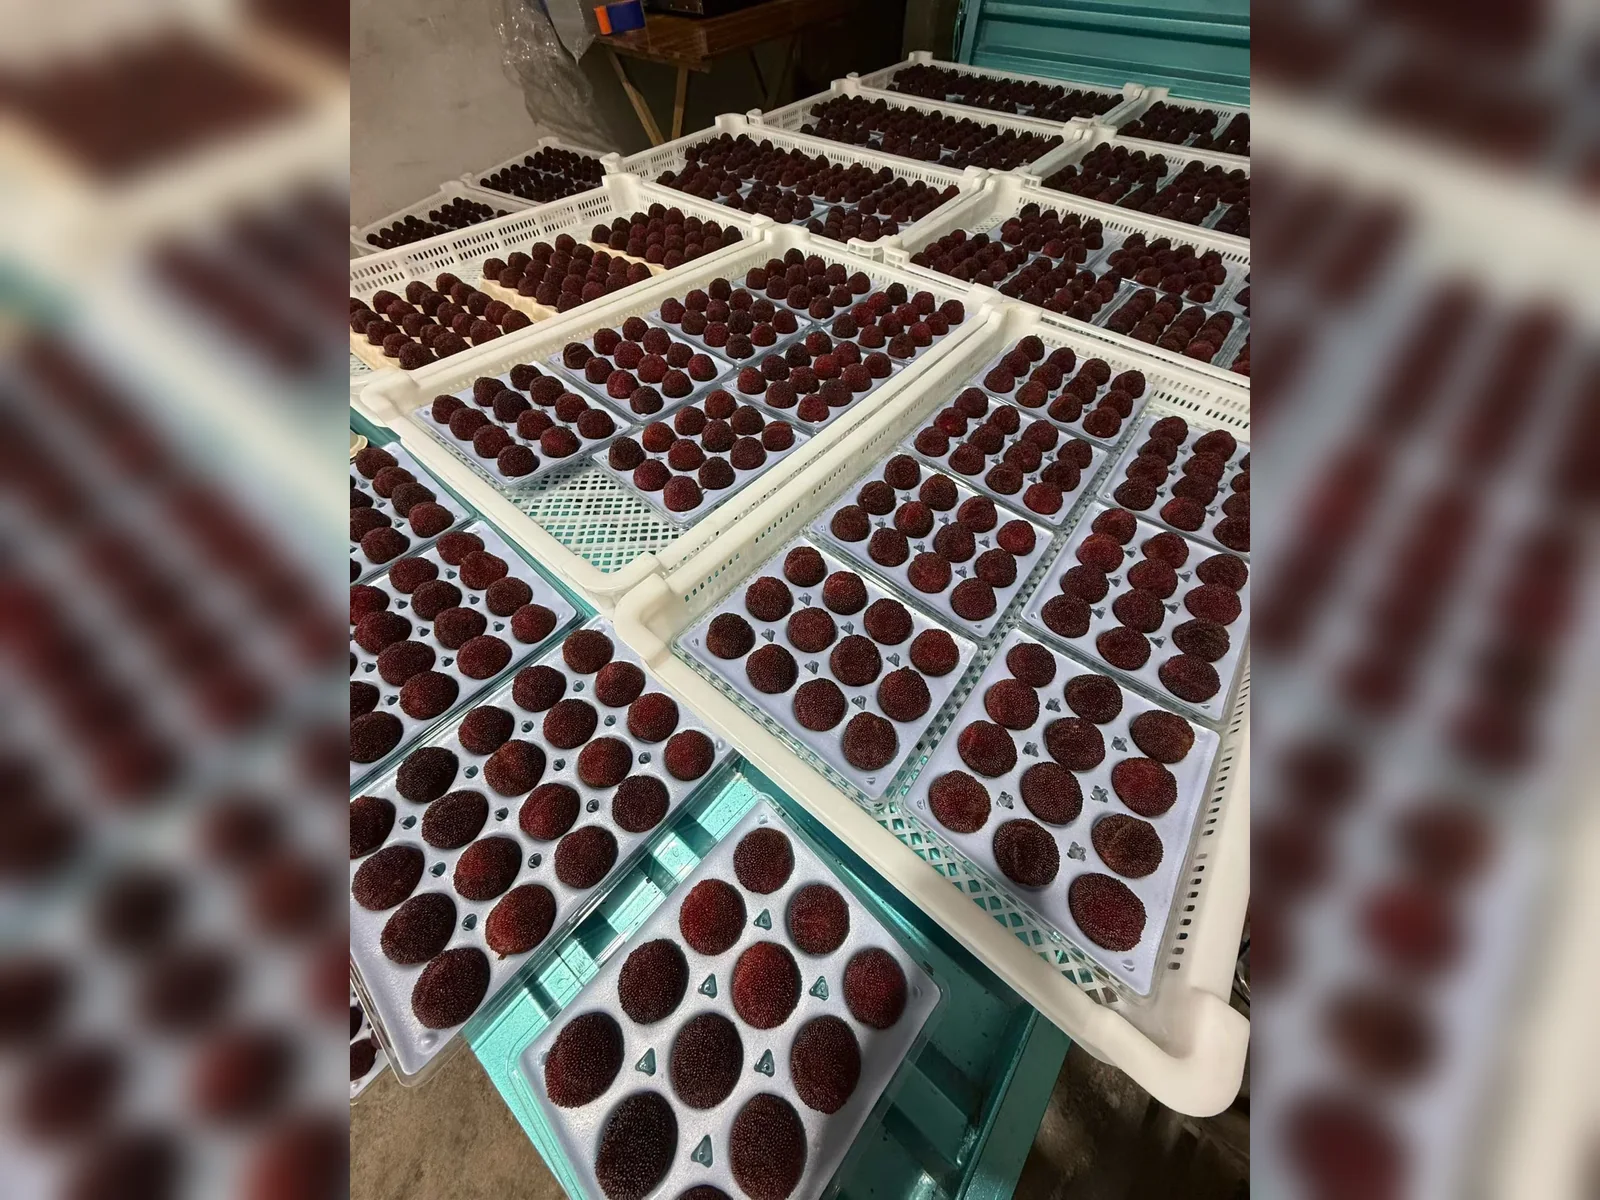
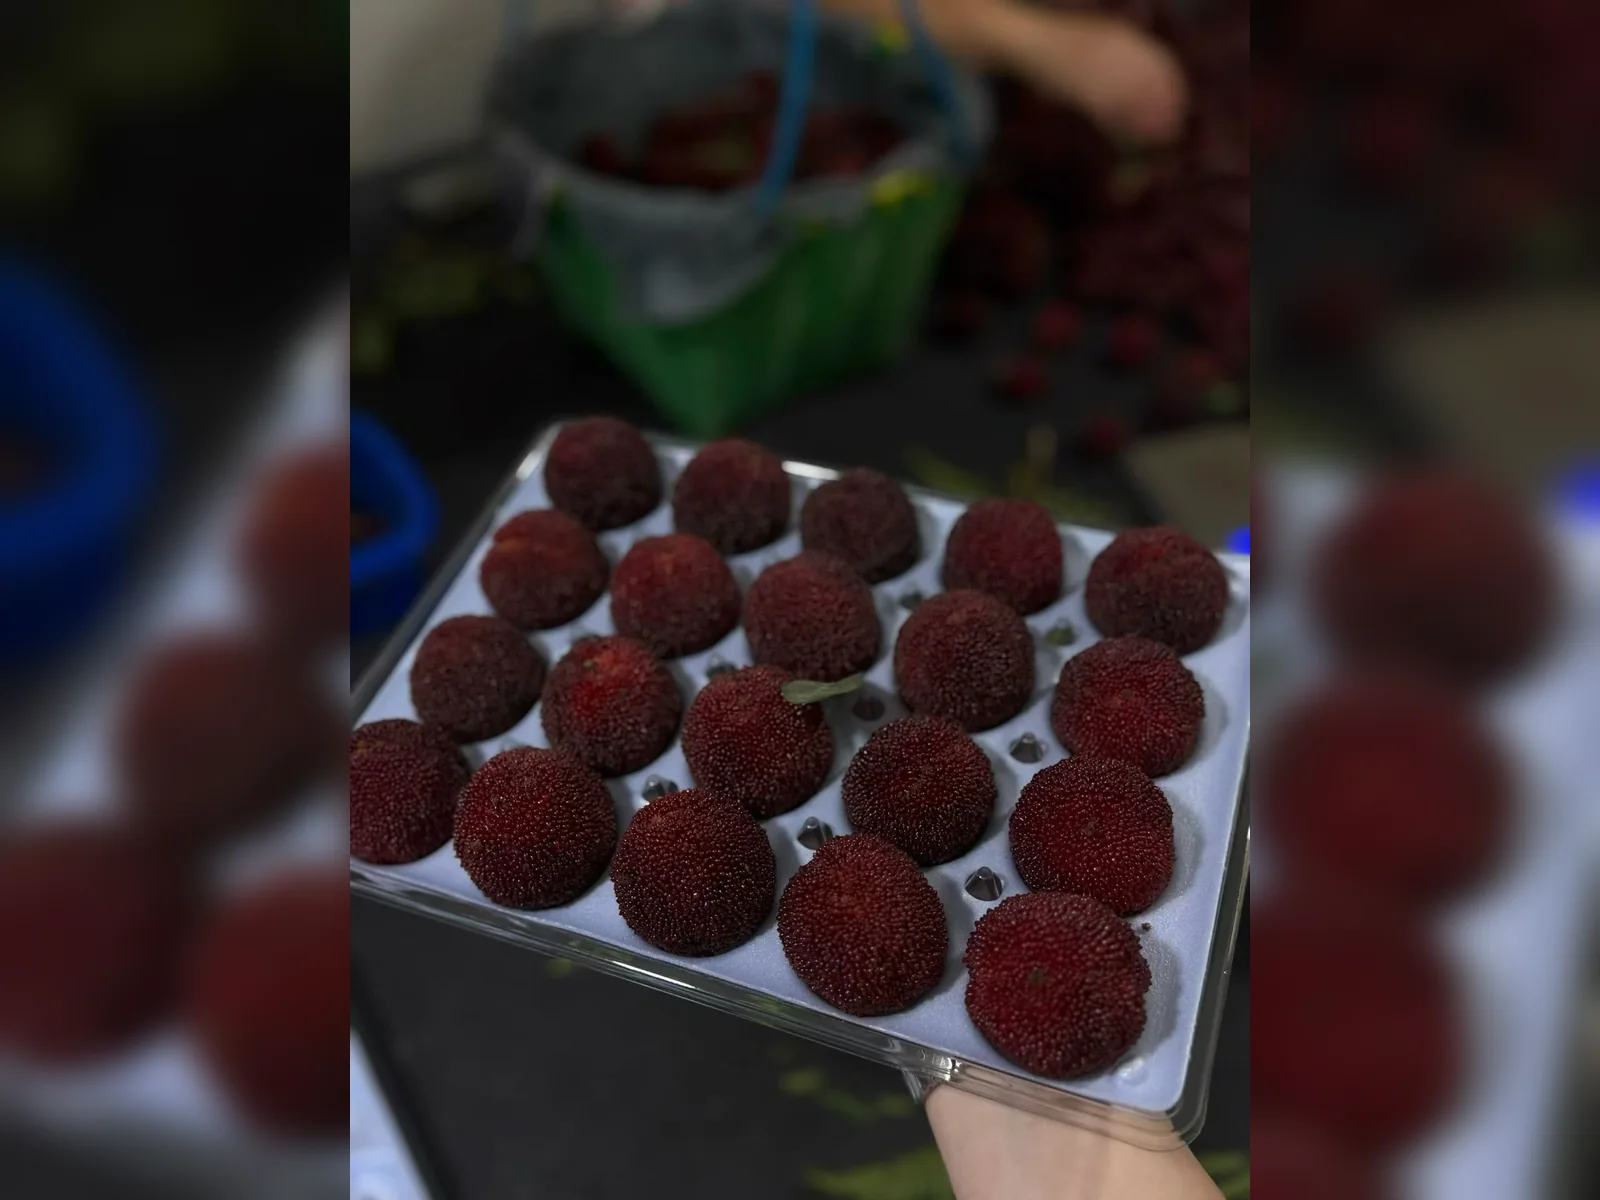
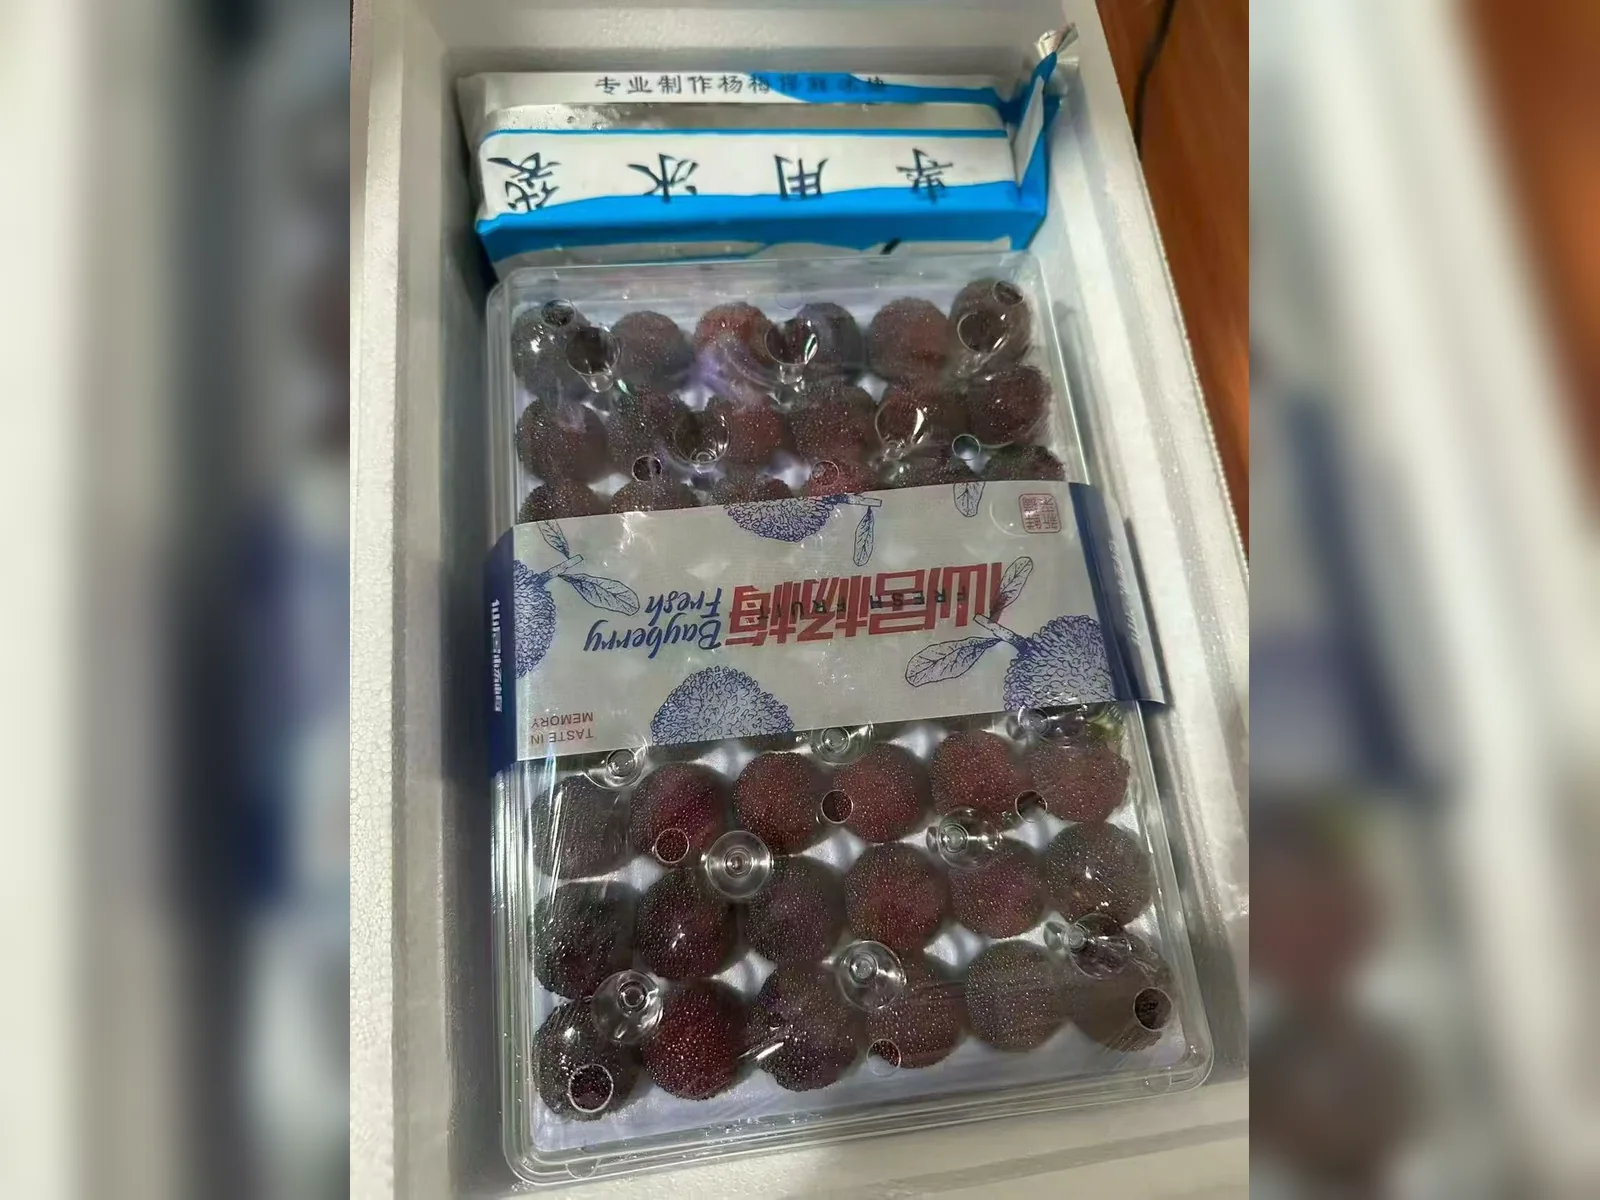
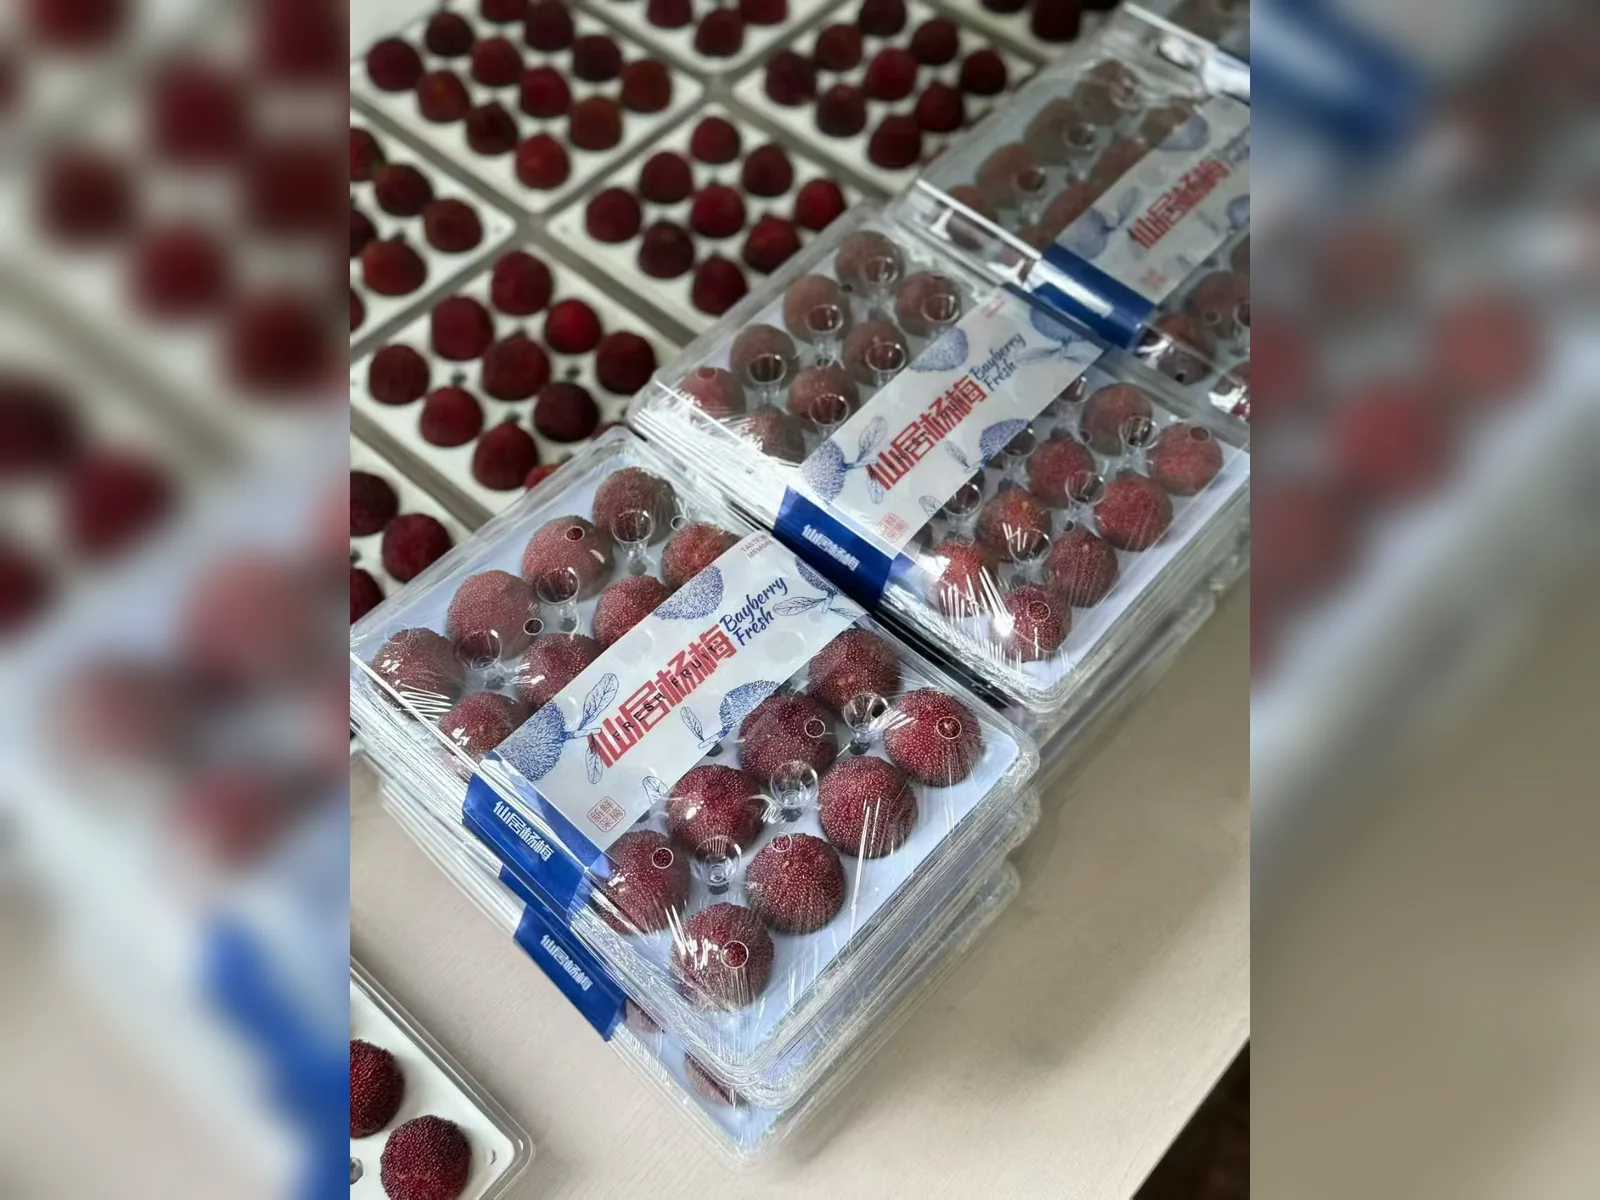
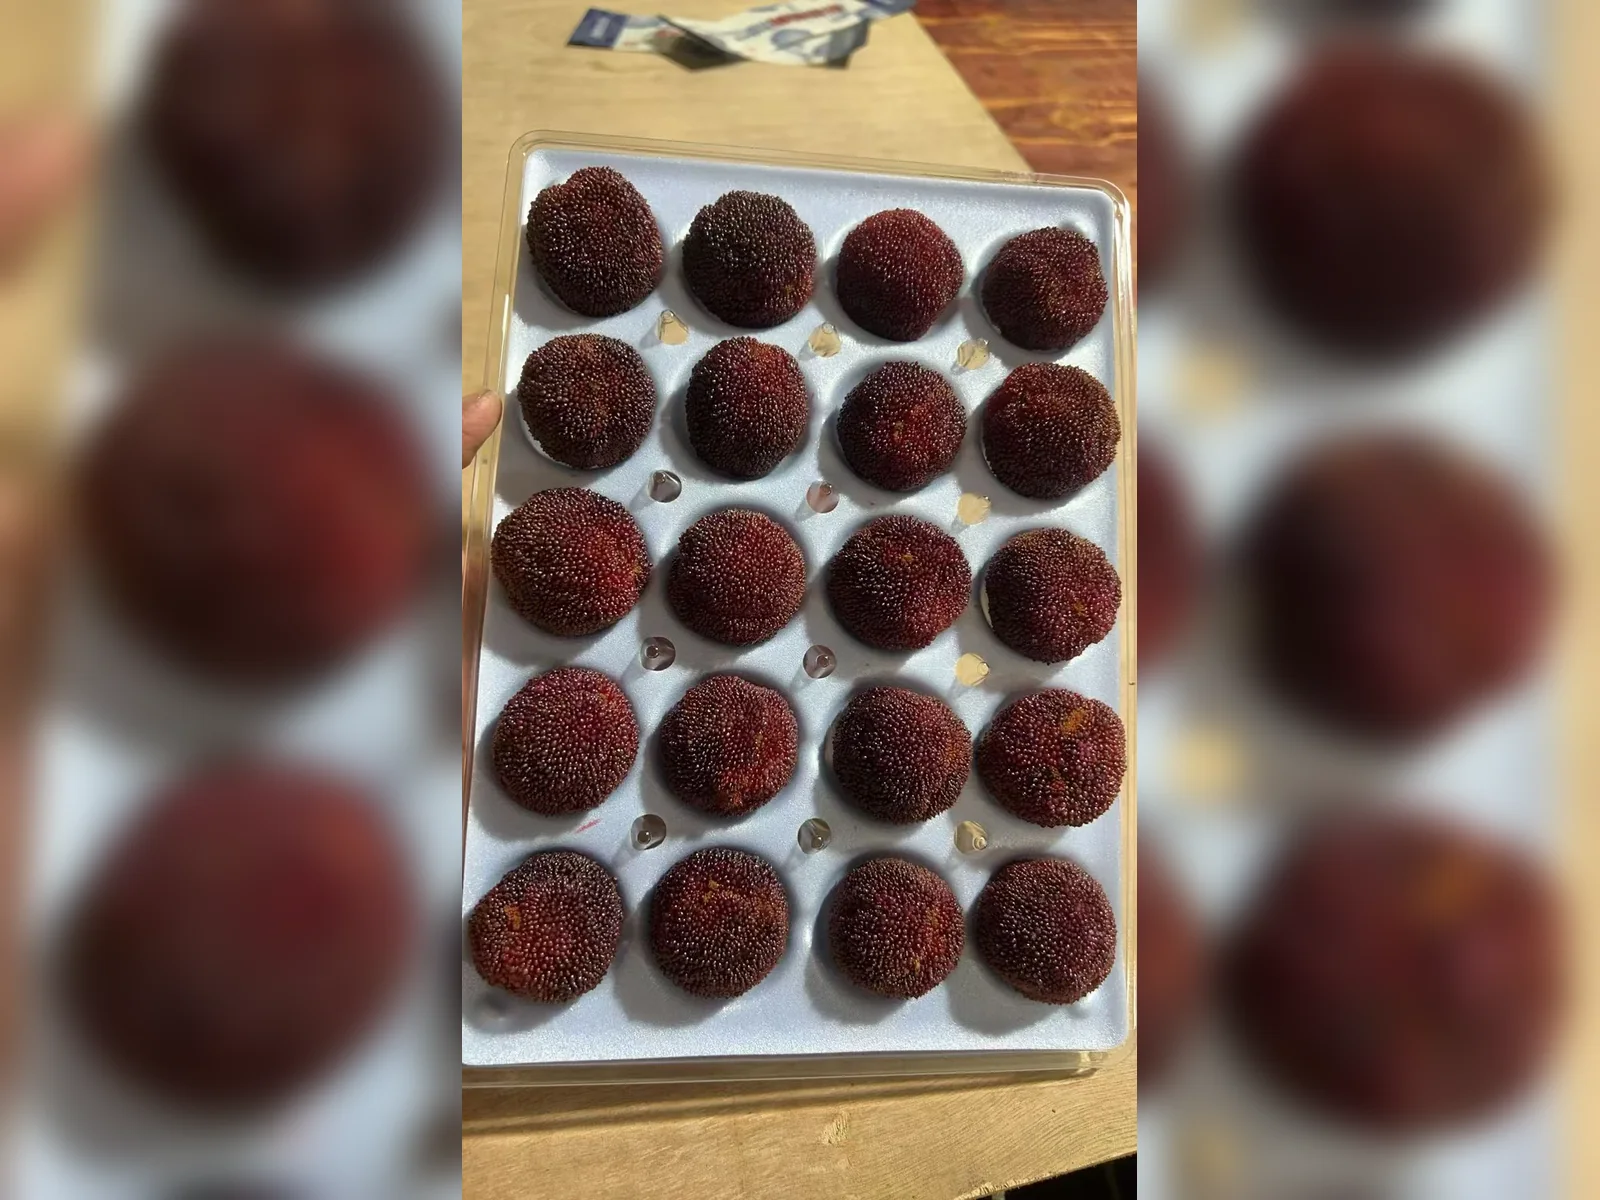
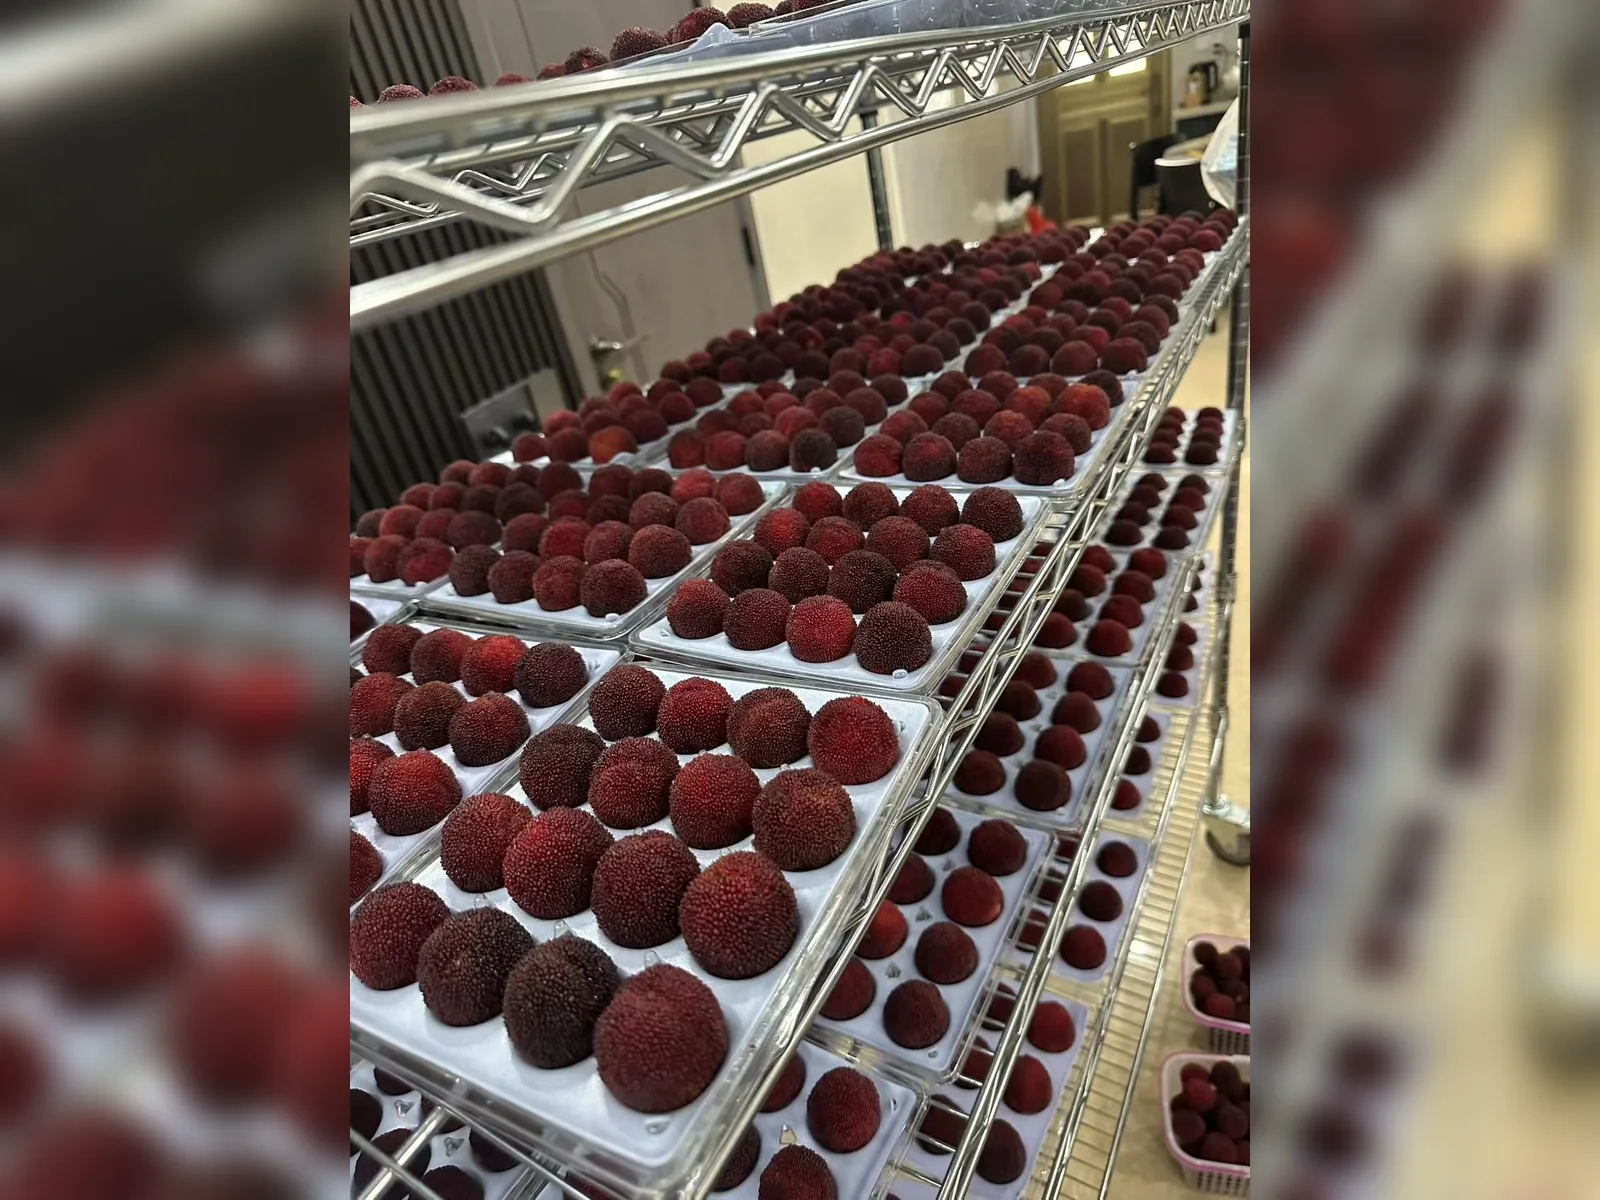
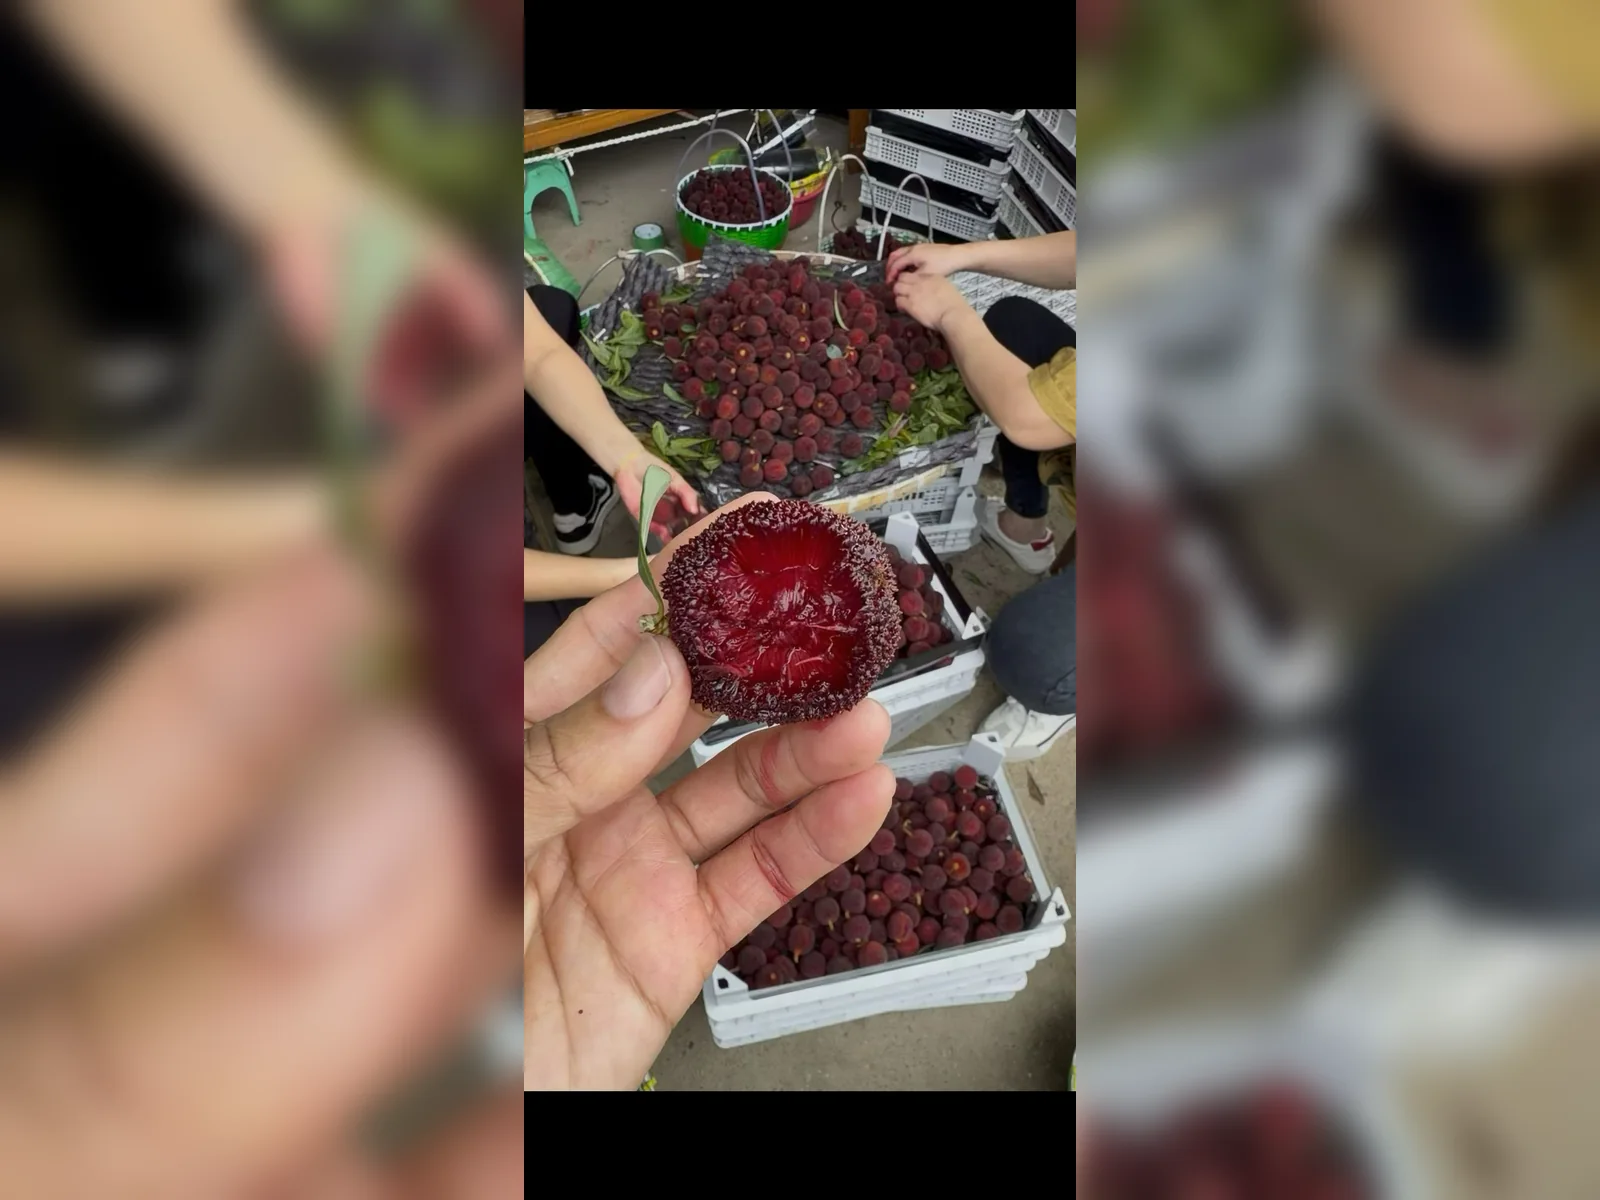
Overview
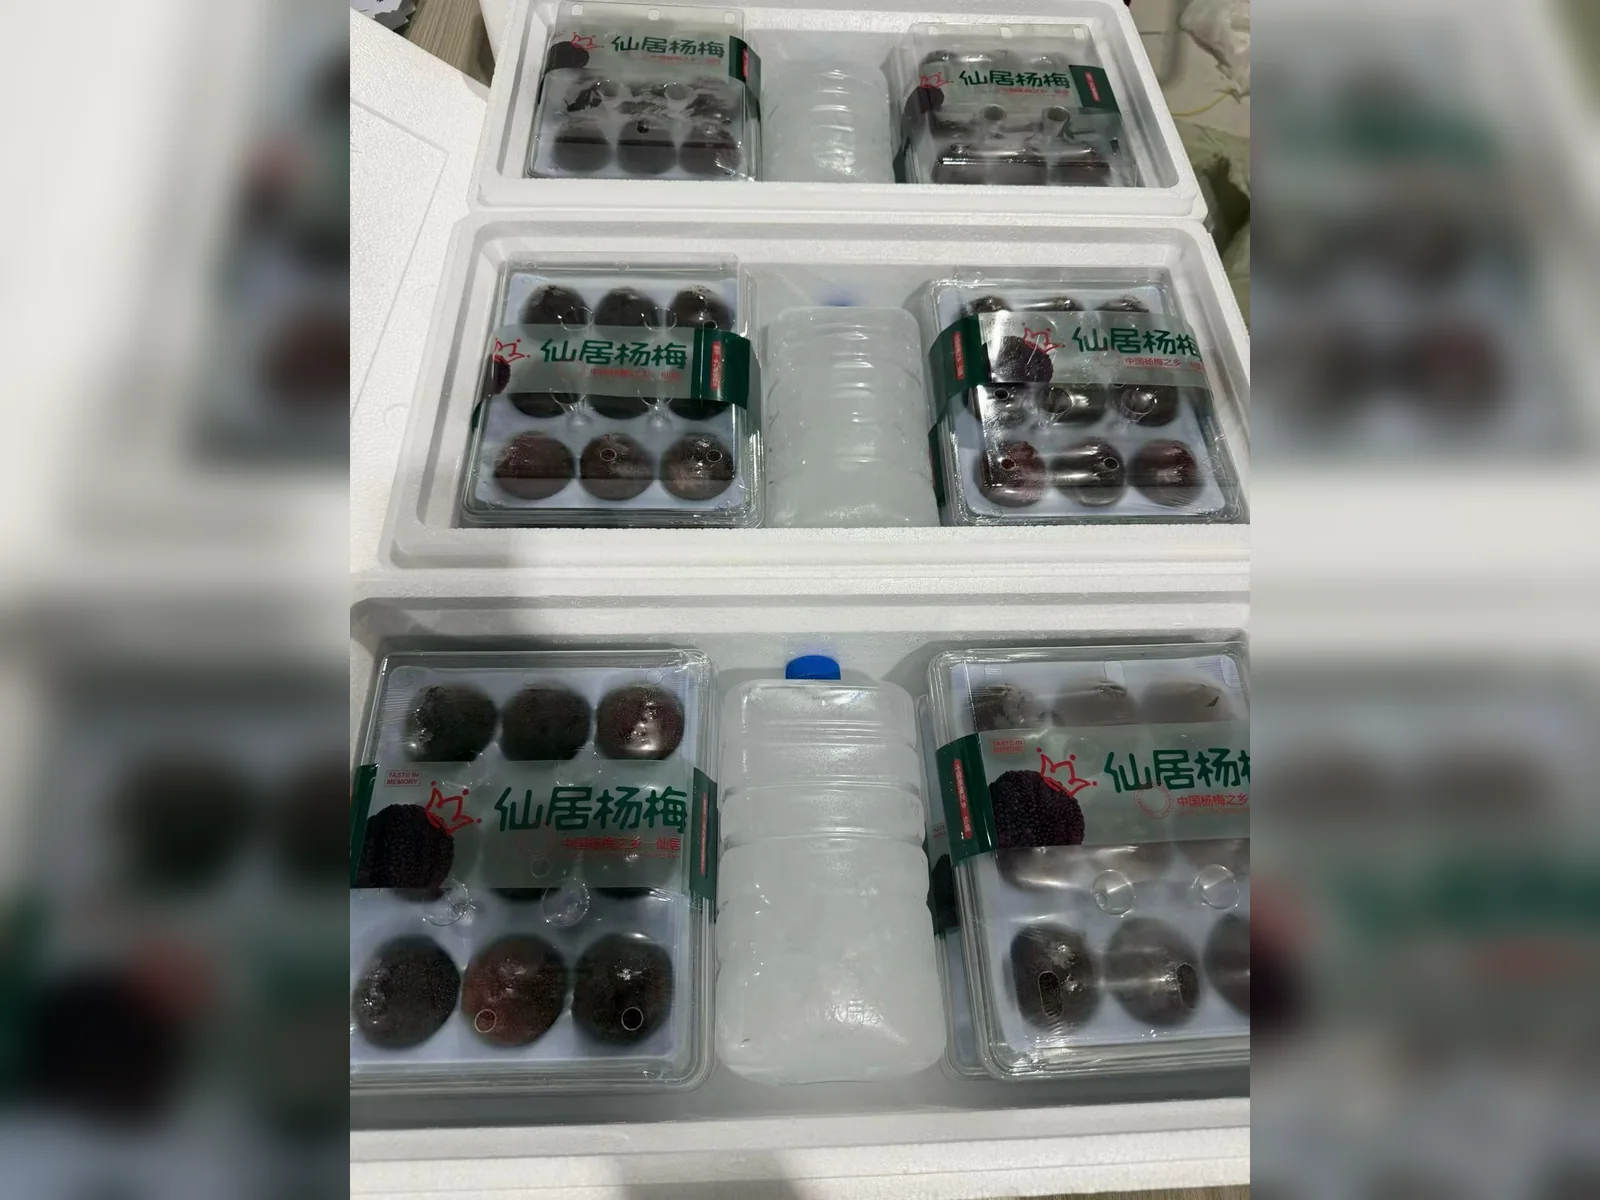
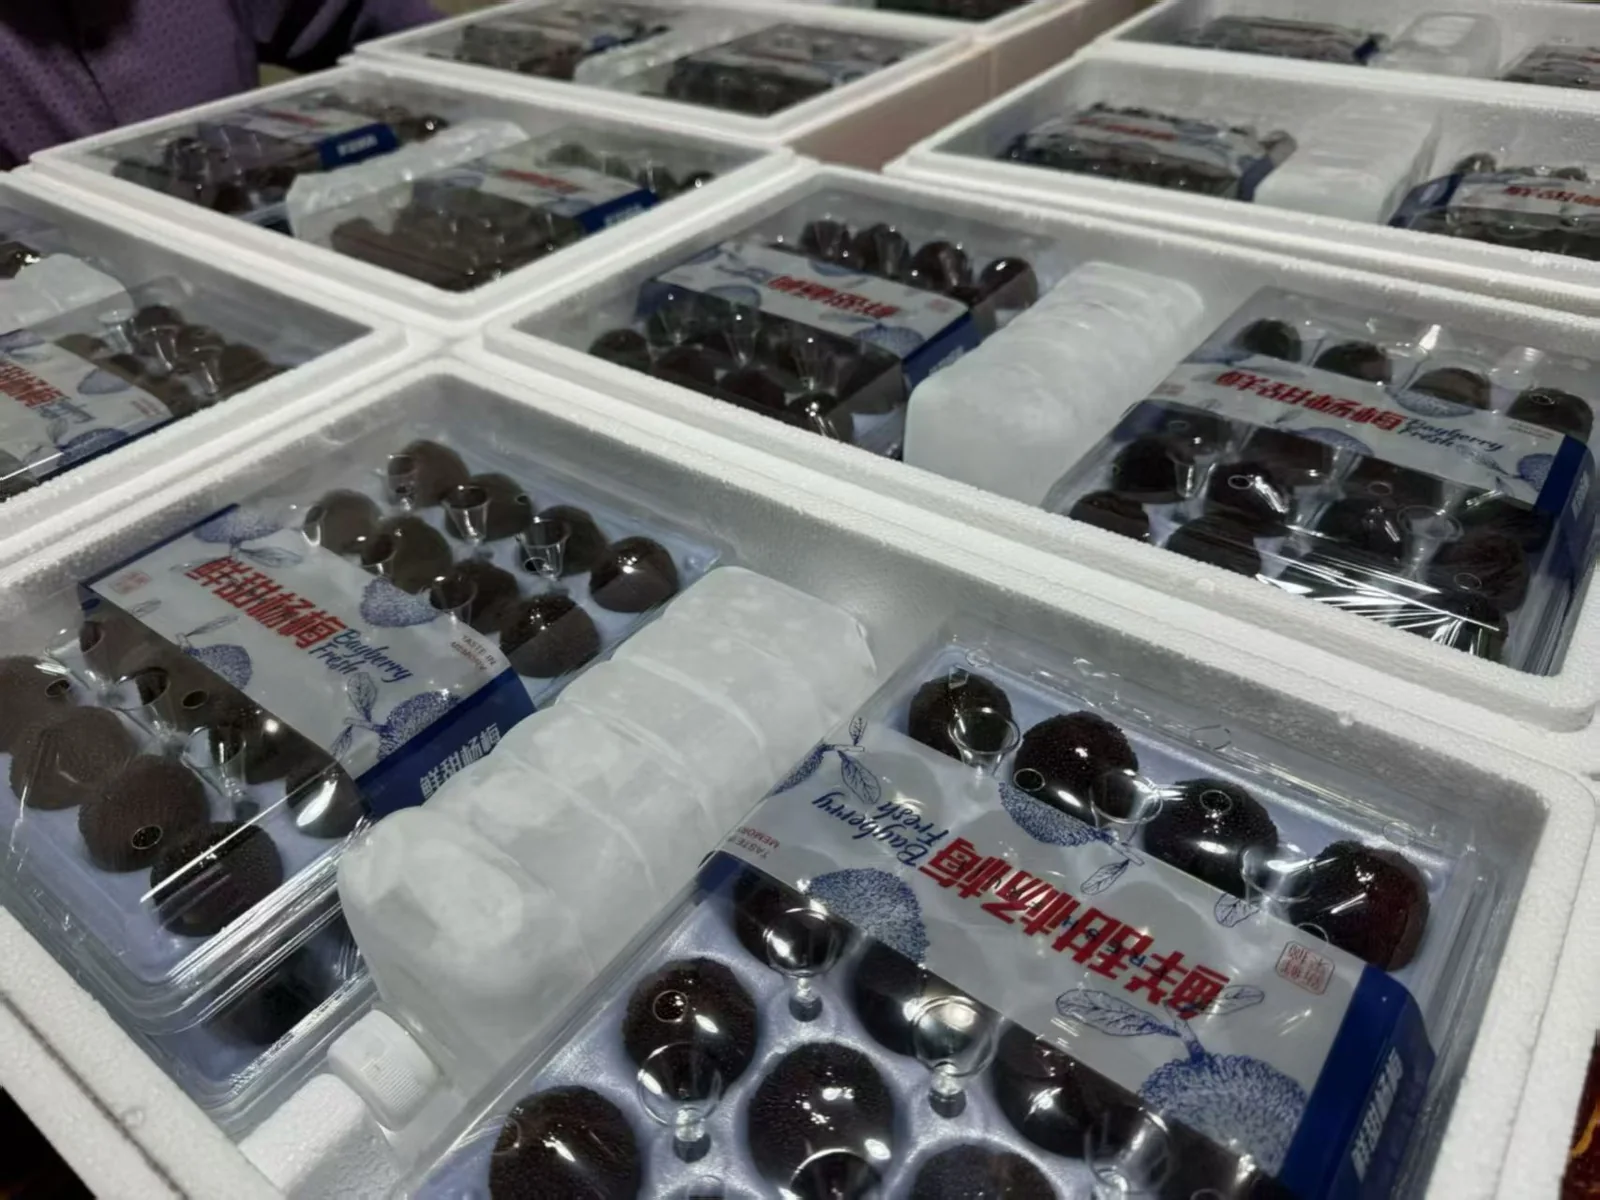
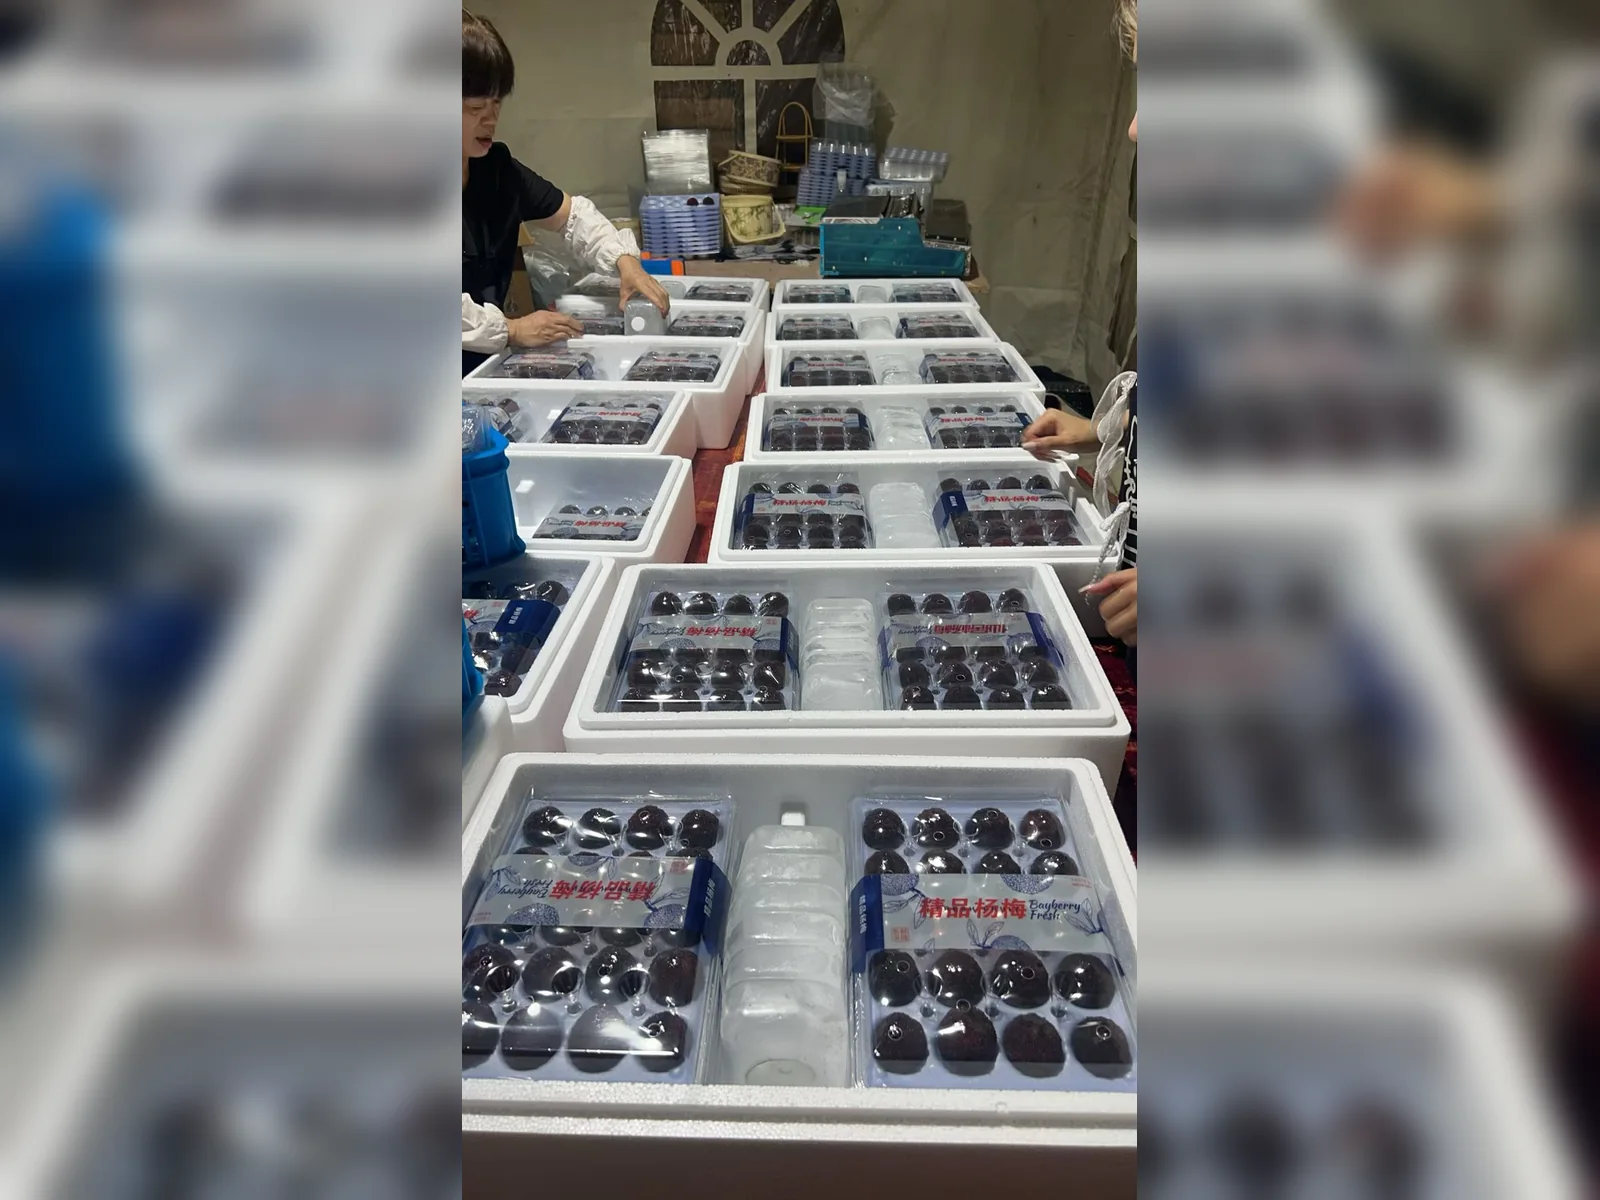
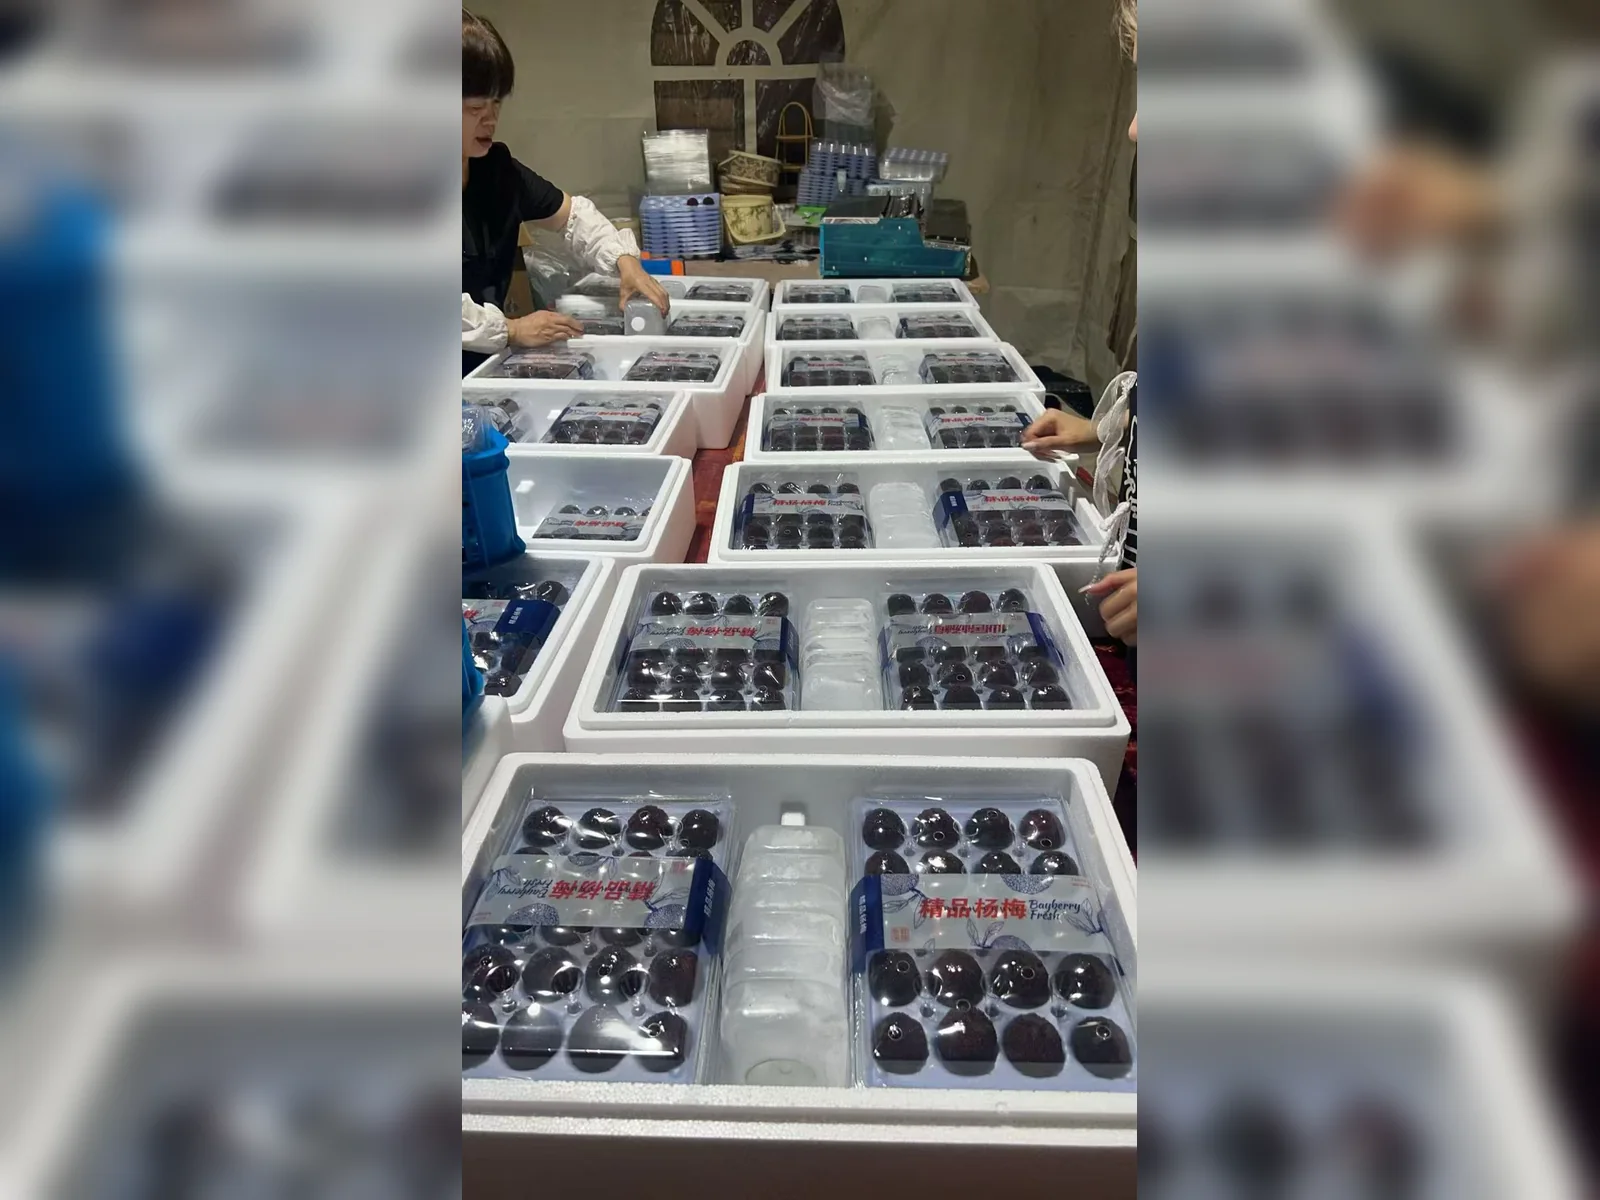
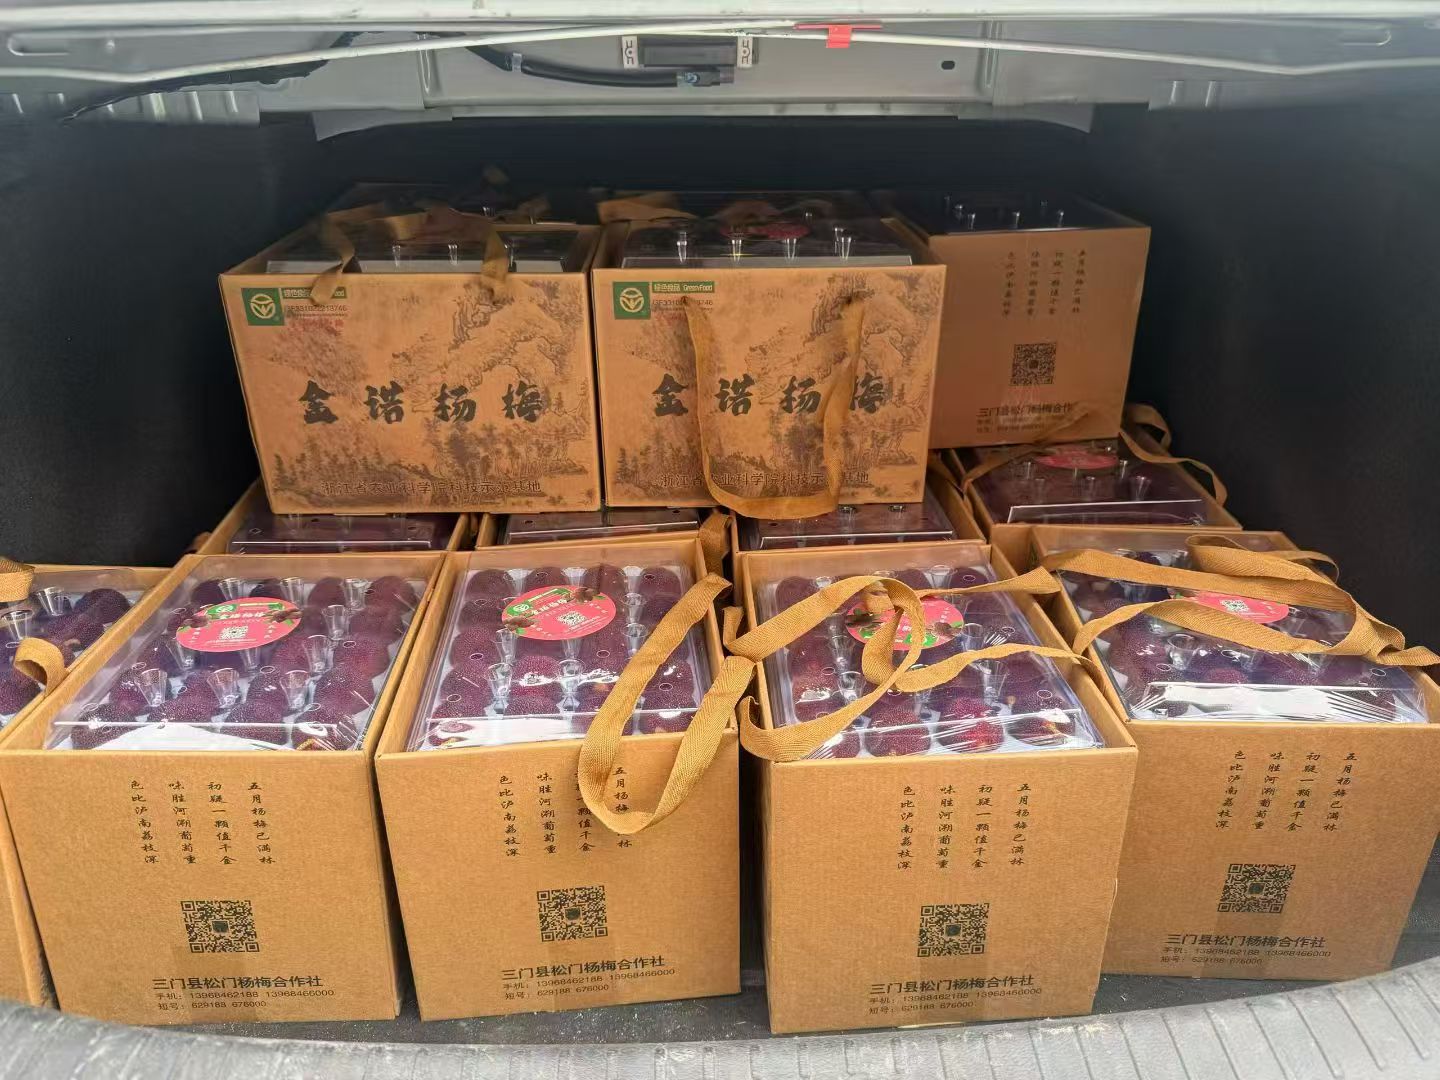
Plan the pack inside the shipping carton.
Carry the assembled pack into its next handling step.
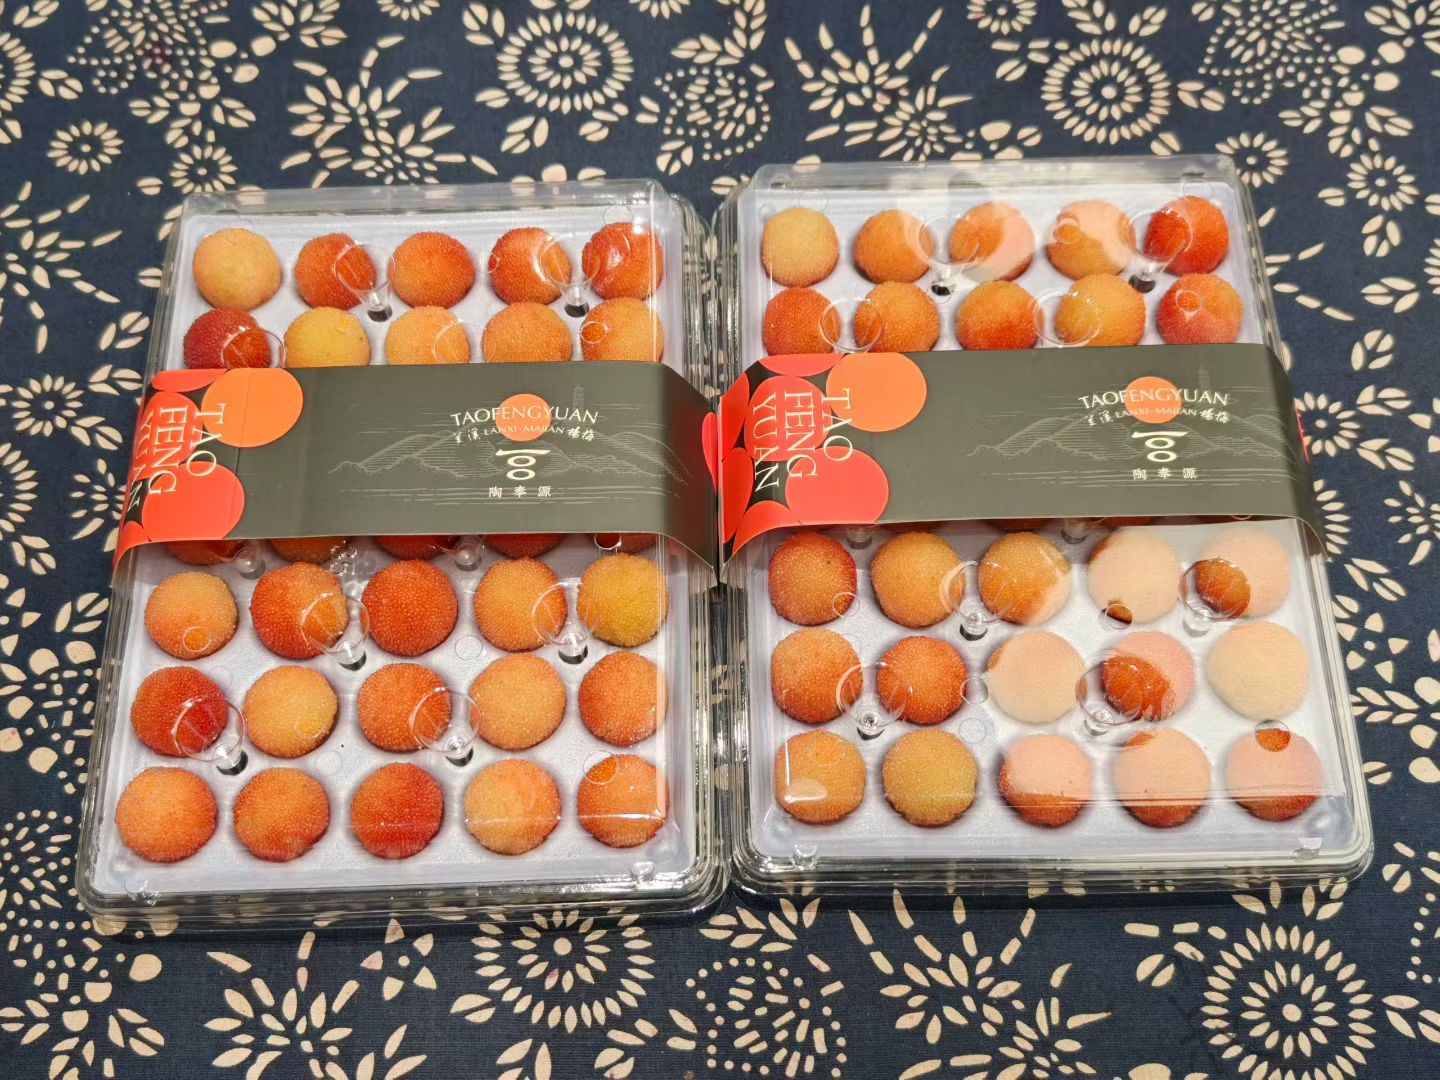
- Set the number and orientation of complete packs in the outer carton.
- Check space for supports, dividers and the carton closure.
- Review the packing and unpacking order with the actual components.
- Keep the carton dimensions, count and packing notes with the complete-pack version.
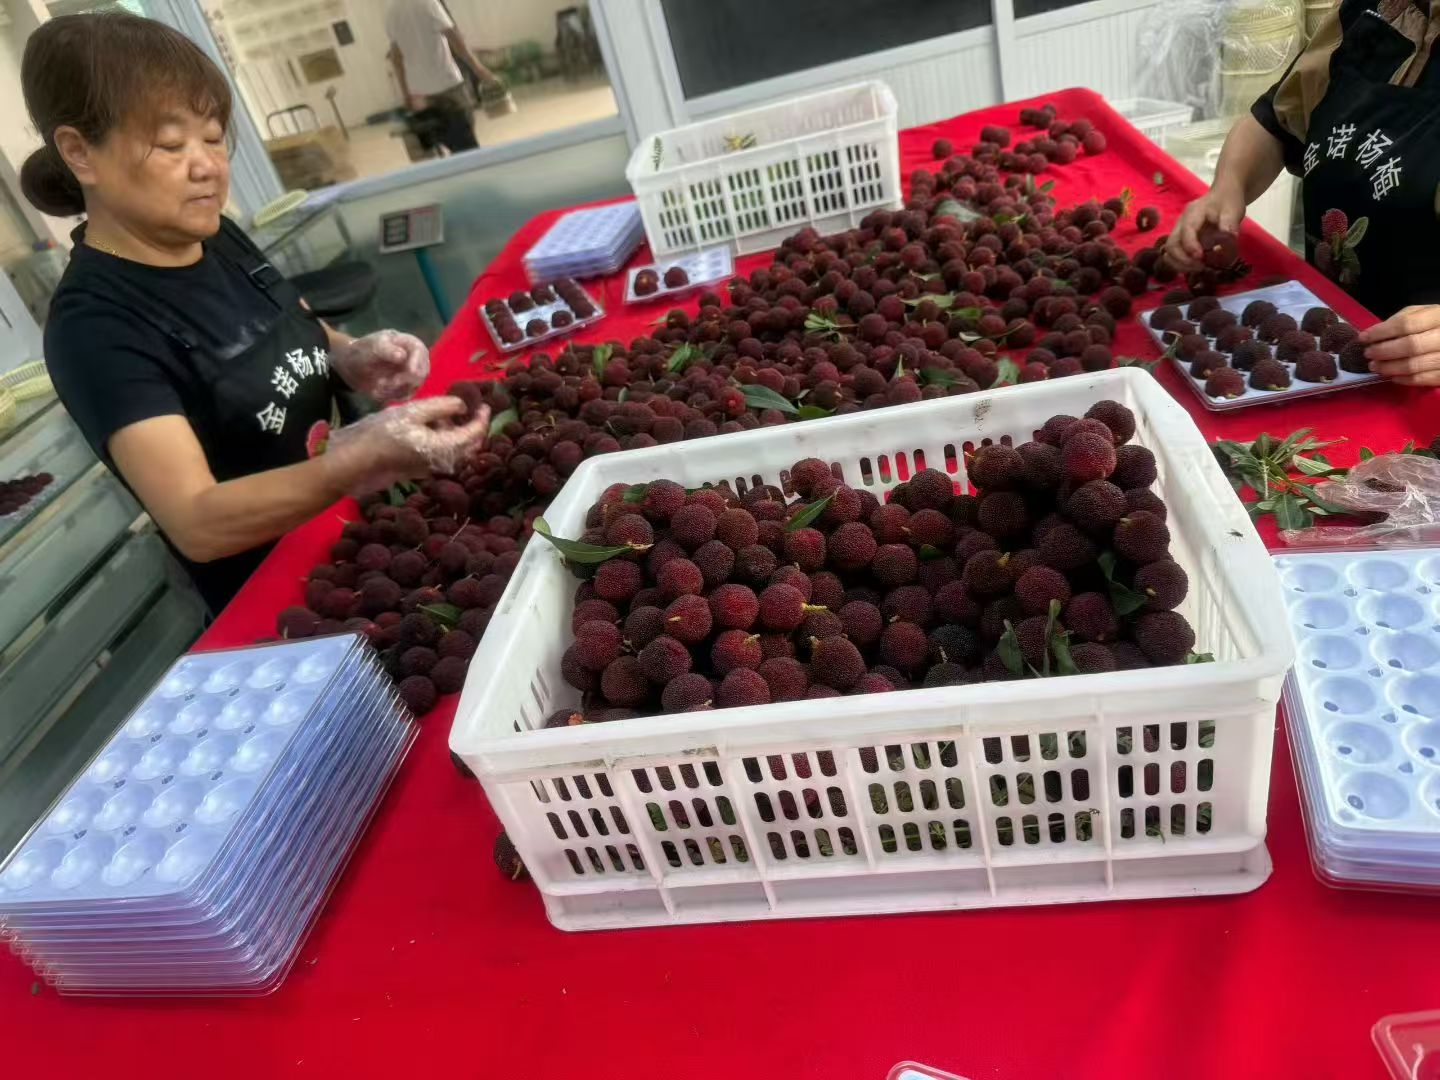
The examples below show packing arrangements to discuss. They do not establish the shipping performance of a different pack.
Pack-out
4 photos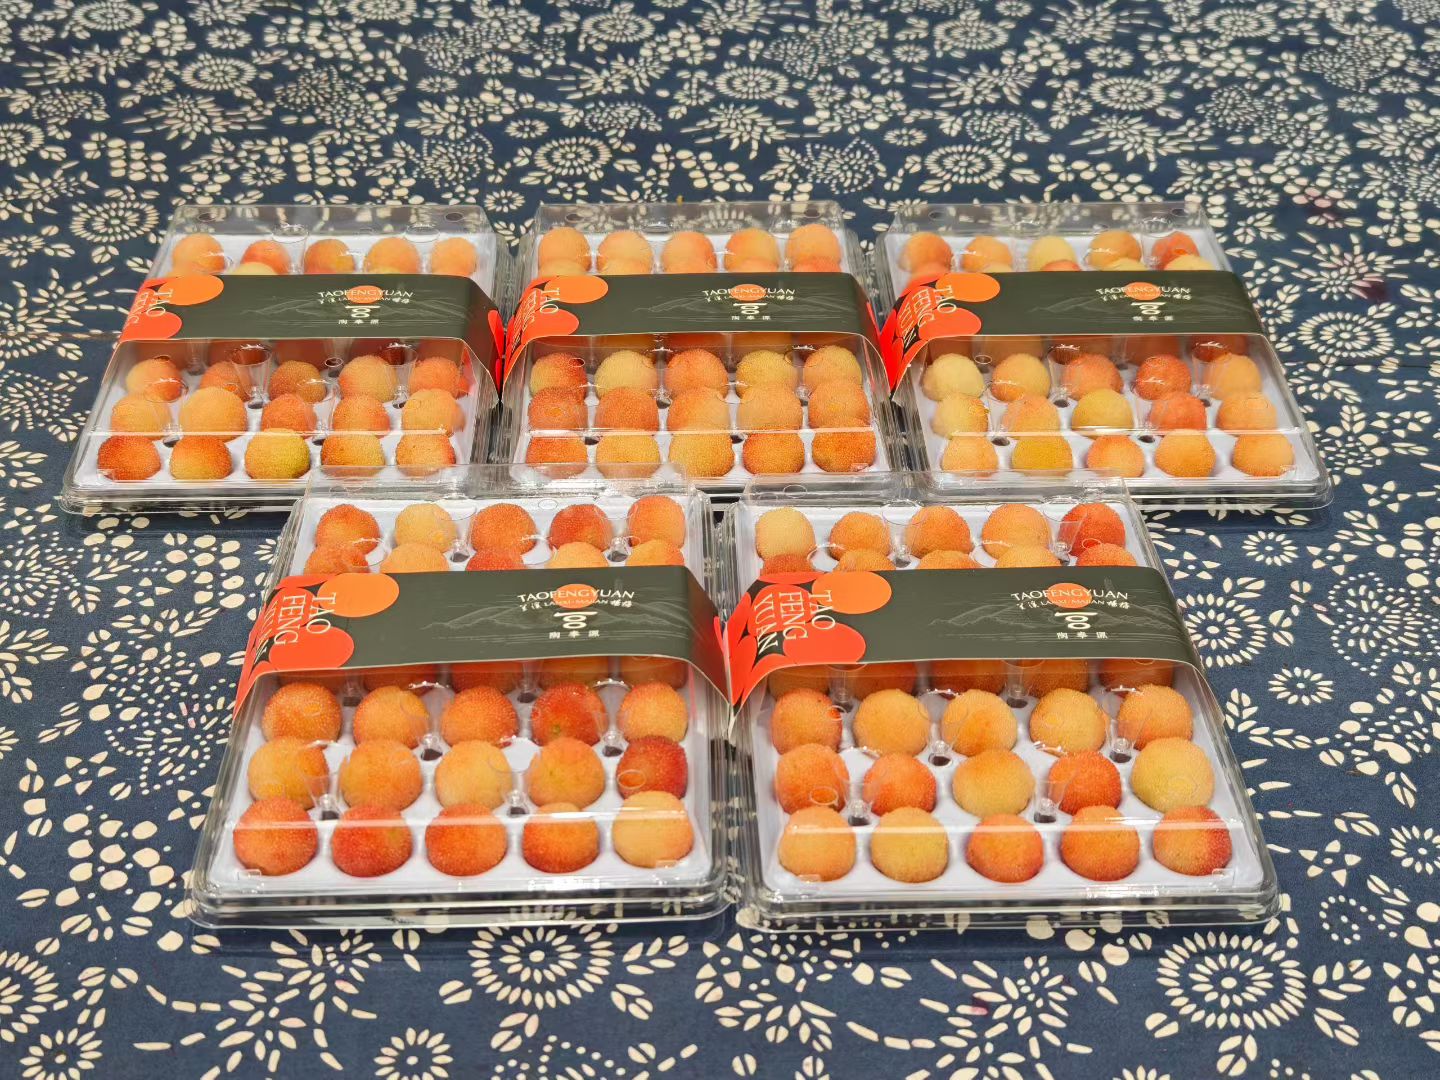
Project view
Agree who handles each part.
Set the development, supply and sample-review scope together.
| Work | Review with A BOX | Confirm for your project |
|---|---|---|
| Structure and tooling | Product fit, component interfaces and the proposed development scope. | Which parts A BOX will develop or supply, and the versions to review. |
| Artwork and added components | Dimensions, placement and how the parts meet. | Who supplies the artwork, labels, sleeves, inserts or outer boxes. |
| Samples and assembly | The sample arrangement, observations and changes to resolve. | Who provides the product and components, and who confirms the complete pack. |
Agree the supply scope component by component; coordinating a complete pack does not mean every part is made by the same factory.
Process
Keep one complete-pack version.
Keep drawings, artwork and packing notes tied to the same complete-pack version. If a part changes, review the connected parts before confirming the next sample.
See the final confirmation checksOverview
List the parts of your pack.
Use a blank checklist to describe each component and its place in the assembly.
- Name the component
- Record its reference and quantity in one complete pack.
- Describe the connection
- Note the part it fits with, its orientation and the assembly order.
- Agree responsibility
- Confirm who designs, supplies and checks that component.
- Identify the version
- Keep the drawing, artwork or sample reference with the open question.
This is a blank discussion checklist. It does not calculate quantities or confirm a supply list for your project.
Download the blank checklist (.txt)Questions
Questions about the complete pack.
Does every component need to come from A BOX?
Agree the source of each component. Include anything supplied by your team or another supplier so its dimensions and assembly can be reviewed with the pack.
Can we start before every dimension is final?
Start with the product, an available pack or reference, and the presentation or handling change you need. Identify the measurements still needed during the discussion.
What should we review in a complete sample?
Review the real product with the agreed components, how they are assembled and how the complete pack fits into the outer carton. Record the conditions and observations that matter to your project.
Discuss the whole pack.
Bring the product, retail presentation and shipping requirements into one conversation.
Start a packaging brief