Egg packaging

Egg packaging.

Compare egg trays and closed packs by count, egg size, protection and the way they are filled and transported.

SEARCH THE PRODUCT DIRECTORY

Use a reference or bring your own pack.

Browse packaging references, then share the closest model with us to discuss dimensions, materials and fit for your product.

34PRODUCT PHOTOS

Showing 12 of 34 references · 34 photos

Round petal format · photo 1 of 1

Round petal formatEgg packaging
Pack details: Round petal format

In the photo: Clear circular flower-shaped pack with five egg pockets around a center. Listed size: Ø140 × 68 mm Egg reference: 45–60 g.

Confirm dimensions, material, egg fit and availability with a sample.

A4 · photo 1 of 1

A4Egg packaging
Pack details: A4

In the photo: Clear closed 2 × 2 egg pack; four brown eggs. Listed size: 123 × 123 × 73 mm

Confirm dimensions, material, egg fit and availability with a sample.

A6 · photo 1 of 1

A6Egg packaging
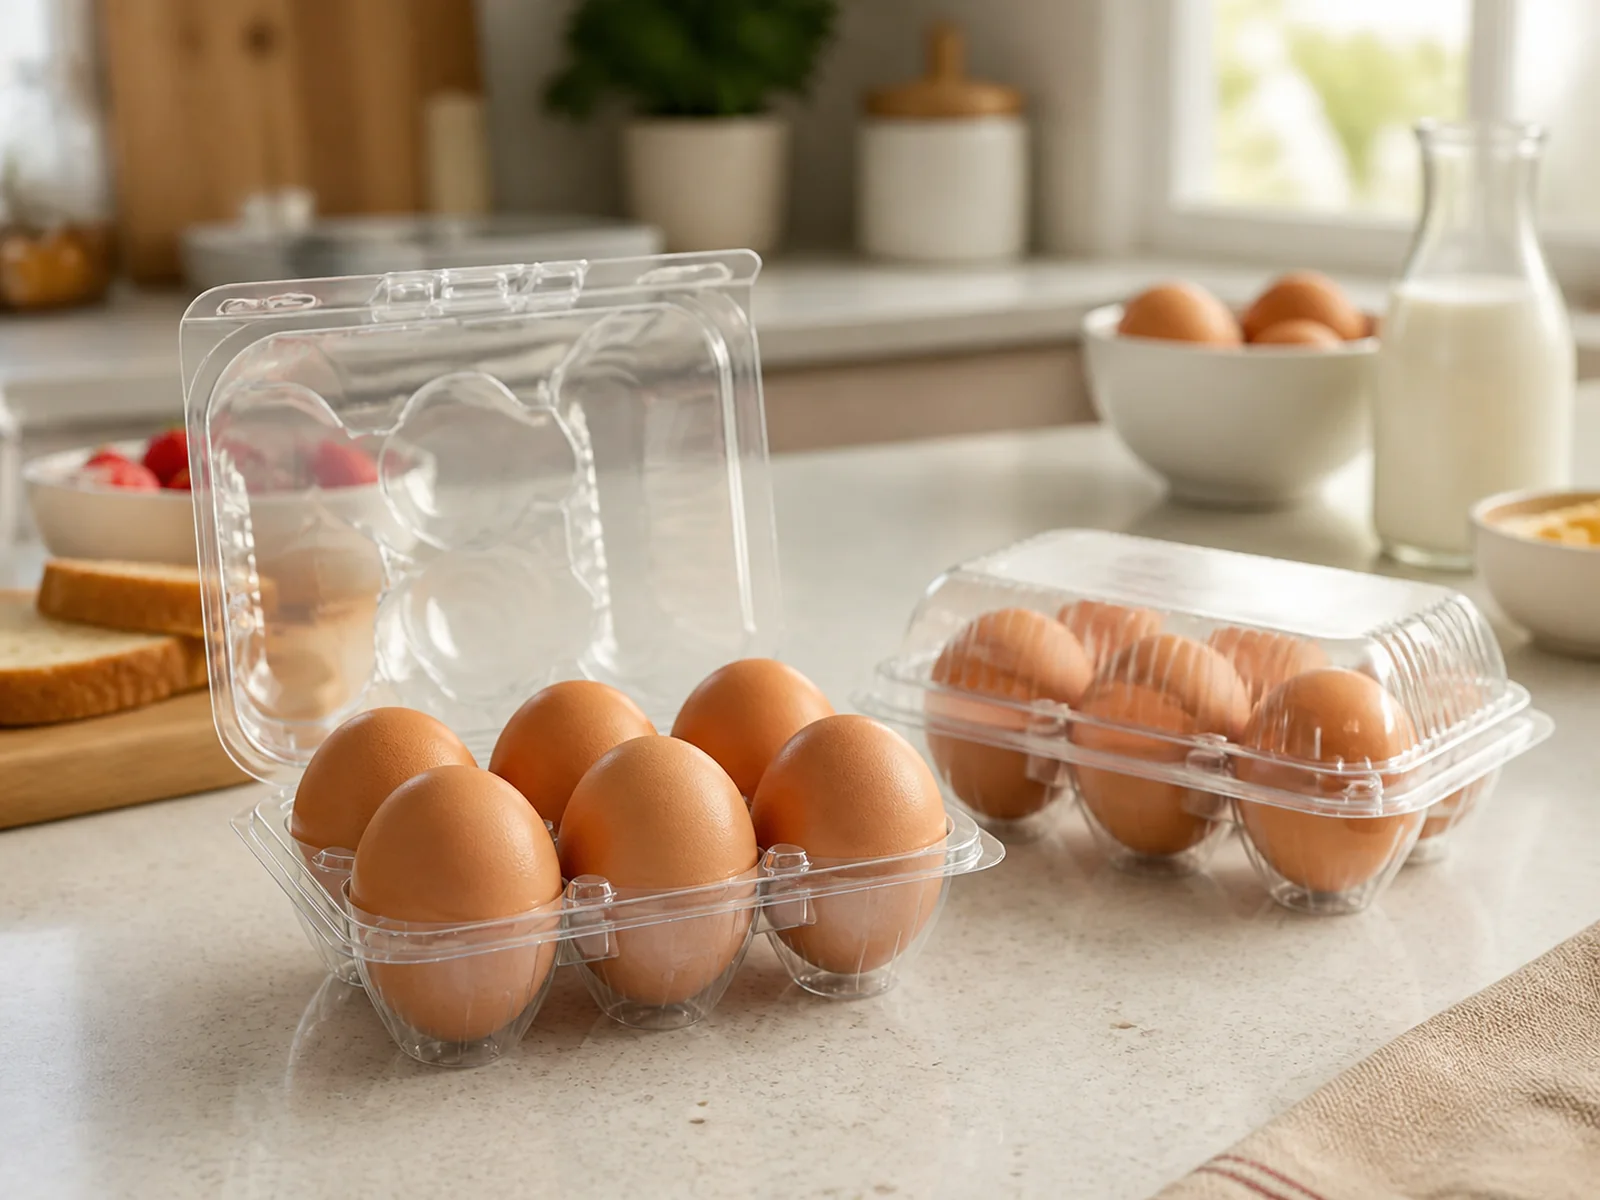
Pack details: A6

In the photo: Clear closed 2 × 3 egg pack. Listed size: 179 × 124 × 73 mm

Confirm dimensions, material, egg fit and availability with a sample.

A8 · photo 1 of 1

A8Egg packaging
Pack details: A8

In the photo: Clear closed 2 × 4 egg pack. Listed size: 237 × 122 × 75 mm

Confirm dimensions, material, egg fit and availability with a sample.

B10 · photo 1 of 1

B10Egg packaging
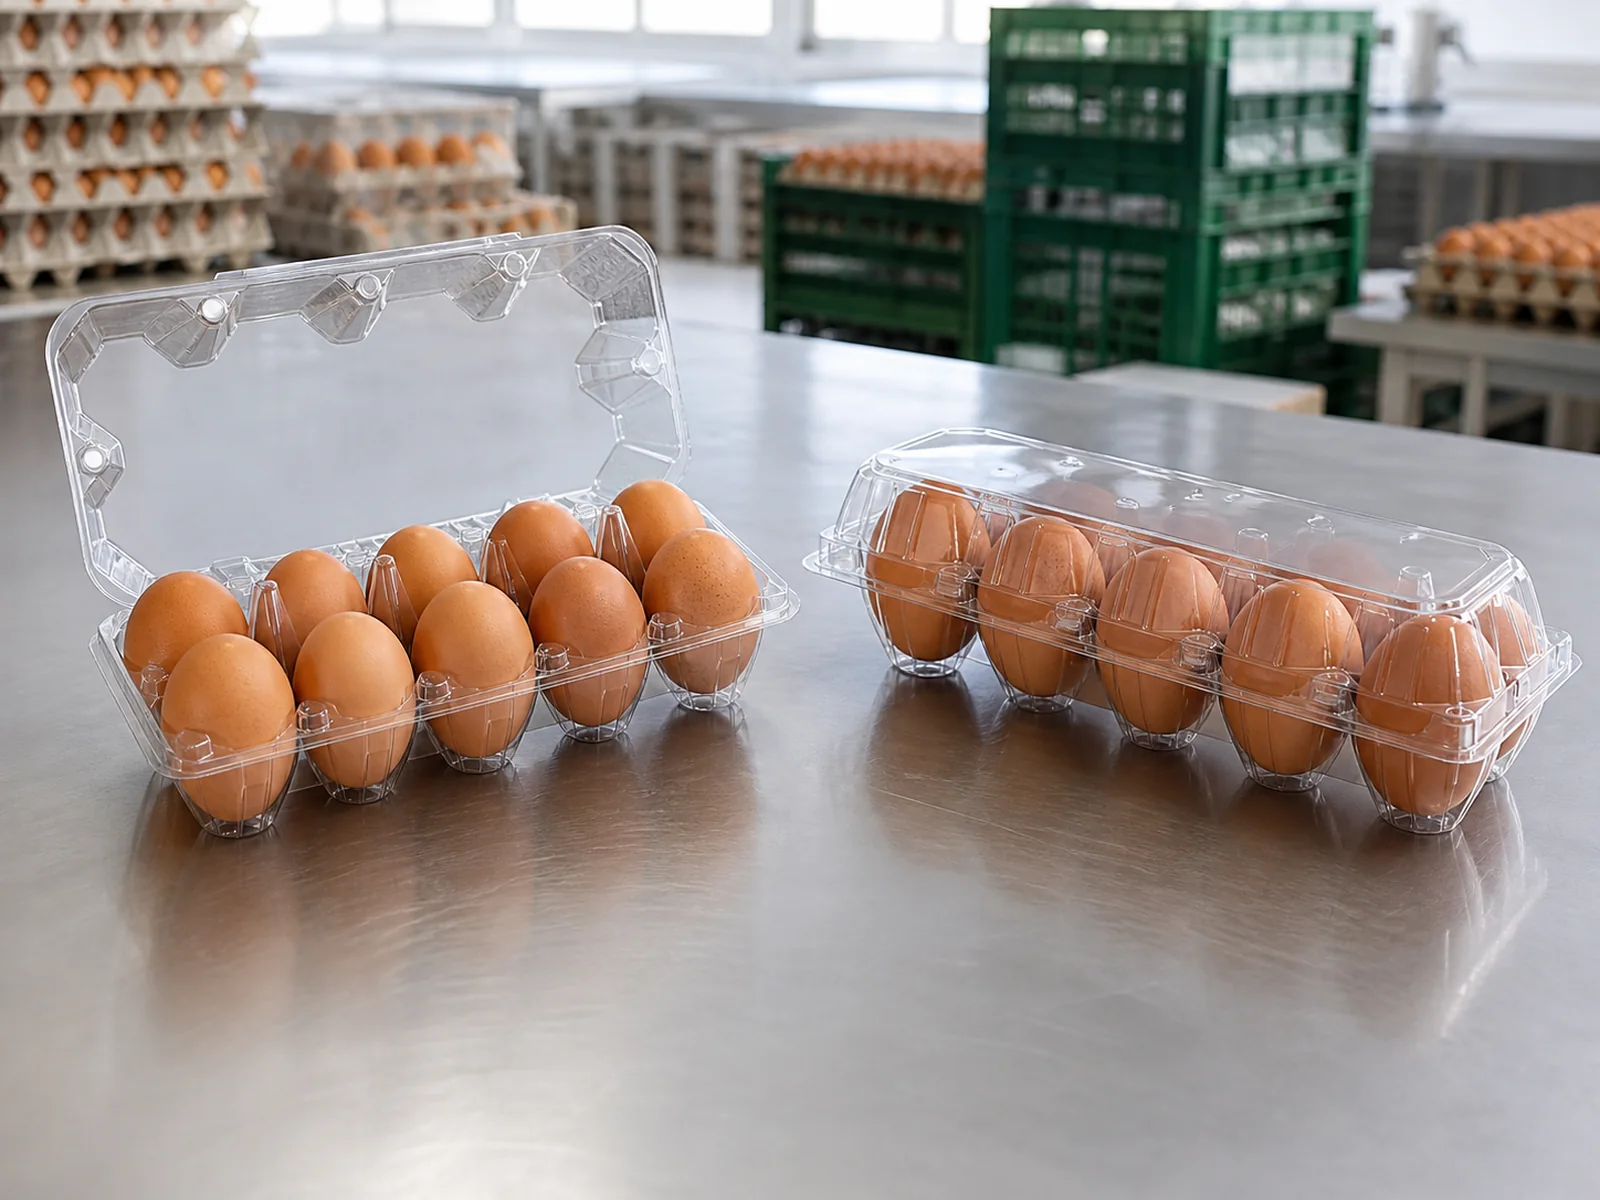
Pack details: B10

In the photo: Clear closed long 2 × 5 egg pack. Use the B10 photo reference when discussing this pack; confirm its dimensions with us.

Confirm dimensions, material, egg fit and availability with a sample.

B6 · photo 1 of 1

B6Egg packaging
Pack details: B6

In the photo: Clear closed 2 × 3 pack with pointed separators. Listed size: 173 × 119 × 71 mm

Confirm dimensions, material, egg fit and availability with a sample.

B8 · photo 1 of 1

B8Egg packaging
Pack details: B8

In the photo: Clear closed 2 × 4 pack with pointed separators. Listed size: 227 × 119 × 71 mm

Confirm dimensions, material, egg fit and availability with a sample.

C15 · photo 1 of 1

C15Egg packaging
Pack details: C15

In the photo: Clear closed 3 × 5 egg pack. Listed size: 247 × 150 × 70 mm Egg reference: 60–75 g.

Confirm dimensions, material, egg fit and availability with a sample.

C20 · photo 1 of 1

C20Egg packaging
Pack details: C20

In the photo: Clear closed 4 × 5 egg pack. Listed size: 247 × 198 × 68 mm Egg reference: 60–75 g.

Confirm dimensions, material, egg fit and availability with a sample.

C28 · photo 1 of 1

C28Egg packaging
Pack details: C28

In the photo: A filled clear pack with shaped lid pockets and a carrying handle. Listed size: 290 × 242 × 70 mm Egg reference: 60–75 g.

Confirm dimensions, material, egg fit and availability with a sample.

C30 · photo 1 of 1

C30Egg packaging
Pack details: C30

In the photo: Clear closed rectangular 5 × 6 pack without handle. Listed size: 295 × 246 × 71 mm Egg reference: 60–75 g.

Confirm dimensions, material, egg fit and availability with a sample.

C30T · photo 1 of 1

C30TEgg packaging
Pack details: C30T

In the photo: A filled clear pack with individual lid domes and a prominent carrying handle. Listed size: 288 × 285 × 70 mm Egg reference: 60–75 g.

Confirm dimensions, material, egg fit and availability with a sample.

Found a reference that could suit your product?

Stage 1: Your eggs

Count, size range and shape

Starting routes

Begin with egg count and size.

Share the number per pack and the normal egg size range so cavity fit can be reviewed.

Count and egg sizeUse the pack you intend to sell or handle.What to check
  • Share the desired count and normal egg size range.
  • Check cavity contact and lid clearance with representative eggs.
Handling routeExplain where the pack goes next.What to check
  • Describe filling, closing and moving between operations or shops.
  • Bring the carton arrangement and stacking questions into the sample review.

Project inputs

Allow for differences in egg shape and size.

Review representative eggs in the intended tray or closed pack. Check contact and clearance across the size range you normally handle.

Represent the egg size and shape rangeBring eggs that reflect what you normally pack.What to check
  • Describe the usual size range and shape variation, with measurements and units when available.
  • Check how smaller and larger examples sit in the cavities, including contact and movement.
Review the same eggs in the intended packKeep the handling route with the fit question.What to check
  • For an open tray, review support, separation and access during filling and handling.
  • For a closed pack, also check the space above the eggs, closing and the intended stack.
Browse egg packaging references

Overview

Discuss the material and use.

Identify the material requirements for your storage, handling and destination. Confirm availability for the selected format.

Bring the material question for your chosen packStart from the format and the conditions in which it will be used.What to check
  • Share any material requirement and the intended storage, handling and destination conditions.
  • Ask which material information and documents apply to the exact format before agreeing a sample.
Discuss material and food-contact requirements

Stage 2: The filled pack

Cavity contact, closing and stacking

Project view

Review cavity fit and stacking.

Check support around the egg, clearance above it and contact between stacked packs.

Use the catalog photos to locate visible features, then check them with your eggs and the exact sample.

A4 and B8 are different catalog references. The photos show their visible state; agree fit, closing, stacking and handling checks with the exact sample.

Cavity contact

The A4 photo shows four eggs in a closed, clear pack with a 2 × 2 layout.

Try the normal range of egg sizes in the same sample. Check where each egg touches the base and sides, and whether it moves.

View the A4 pack photo
Separation and raised features

A raised feature is visible at the centre of the A4 pack.

Check the spaces between eggs in the filled sample. Review where the lid and neighbouring packs make contact before agreeing a stacking arrangement.

View the A4 pack photo
Lid and closing edge

The B8 photo shows eight eggs beneath a closed, shaped lid.

Open and close the same filled sample. Watch the egg clearance and each closing point, including any place that needs extra pressure.

View the B8 pack photo
Openings

Identify the opening and its position on your sample. Discuss the storage and handling conditions; appearance alone does not establish airflow or protection.

Label position

The B8 photo lets you see the shaped lid and the eggs beneath it.

Try the intended label on the exact pack. Check visibility, opening access and contact with the next pack.

View the B8 pack photo
Stack and carton contact

Use the intended pack orientation, layers and carton. Look at contact between packs and carton walls, then check the packs again after handling.

Comparison

Match the pack to your process.

Review filling, closing, carrying, carton packing and the normal handling steps with a sample.

A4 and B8 are different references, not before-and-after views of one pack. Follow these steps with the same sample to review your packing method.

  1. Fill the sample

    The A4 photo shows a filled, closed pack. Use your own sample to check filling.

    Open your sample in its normal filling position. Place and remove the intended eggs, watching access, separation and contact at the edges.

    View the A4 pack photo
  2. Close and reopen

    B8 is a separate photo reference showing a filled, closed pack.

    On your sample, check the space above the eggs and close each point. Reopen it and inspect egg position, contact marks and the closing edge.

    View the B8 pack photo
  3. Move the filled pack

    Describe how packs are picked up and transferred. Check movement, closure and egg contact before and after those steps. If equipment is involved, identify it for the sample review.

  4. Pack the carton

    Use the intended carton, pack count and orientation. Check contact, remaining space and removal, then agree any further transport or load checks for this arrangement.

    Plan the carton arrangement

Comparison

Identify the required change.

Discuss cavity count, dimensions, closure or presentation when an existing format does not meet the need.

Cavities, closing and overall size

Show the current pack and mark what should stay fixed. Explain whether the issue is egg contact, lid clearance, opening, handling or carton space.

A structural change needs review with representative eggs and the intended packing arrangement before it is agreed.

Labels and presentation

Bring the label size, artwork and intended position with the exact pack reference. Check visibility, opening access and contact between stacked packs.

Explain the presentation you need before assuming that a different label, material or finish is available for the chosen format.

Stage 3: The sample review

Your packing route and open questions

Overview

Confirm the sample and documents.

Ask for the dimensions, material information and relevant sample checks for the exact format.

  1. Identify the same sample.

    Keep its reference, dimensions and material information with the review. Record which smaller and larger eggs you use, including measurements and units when available.

  2. Follow the packing route.

    Use the intended filling, closing, carrying and carton arrangement. Note where eggs or packs make contact and what changes after handling.

    Use the handling checklist
  3. Agree what still needs checking.

    Share the observations and unresolved questions. Ask which dimensions, material information and documents apply to this format and destination.

    Review material and document questions
What to include in your first message
  • The chosen reference and photo link, or your own sample photos.
  • Egg count per pack, size range and any unusual shape.
  • The filling, closing, storage and carton arrangement.
  • What should stay the same, what should change, and the question you need answered.

Copy the reference from the catalogue and include it with these details. Opening the contact page does not send or transfer them.

Discuss your egg packaging with A BOX

Tell us about your egg packaging.

Start with count, egg size and packing method. A reference photo is useful when dimensions are not final.

Start a packaging brief
A BOXPackaging assistant · AI

What are you packaging?

Tell us what you need, or ask about materials, samples and customization.

This assistant uses AI. Our team confirms prices, minimum quantities and timing. We keep this conversation to help with your inquiry. Contact details you share are saved for our team to follow up.