Fresh produce packaging
Fresh produce packaging.
Compare clamshells, trays and punnets for the fruit you pack and the way it is filled, handled and sold.
Process
Start with the fruit.
Fruit and pack sizeStart with what you pack today.What to check +
- Name the fruit and its usual size variation. Add the weight or count you know.
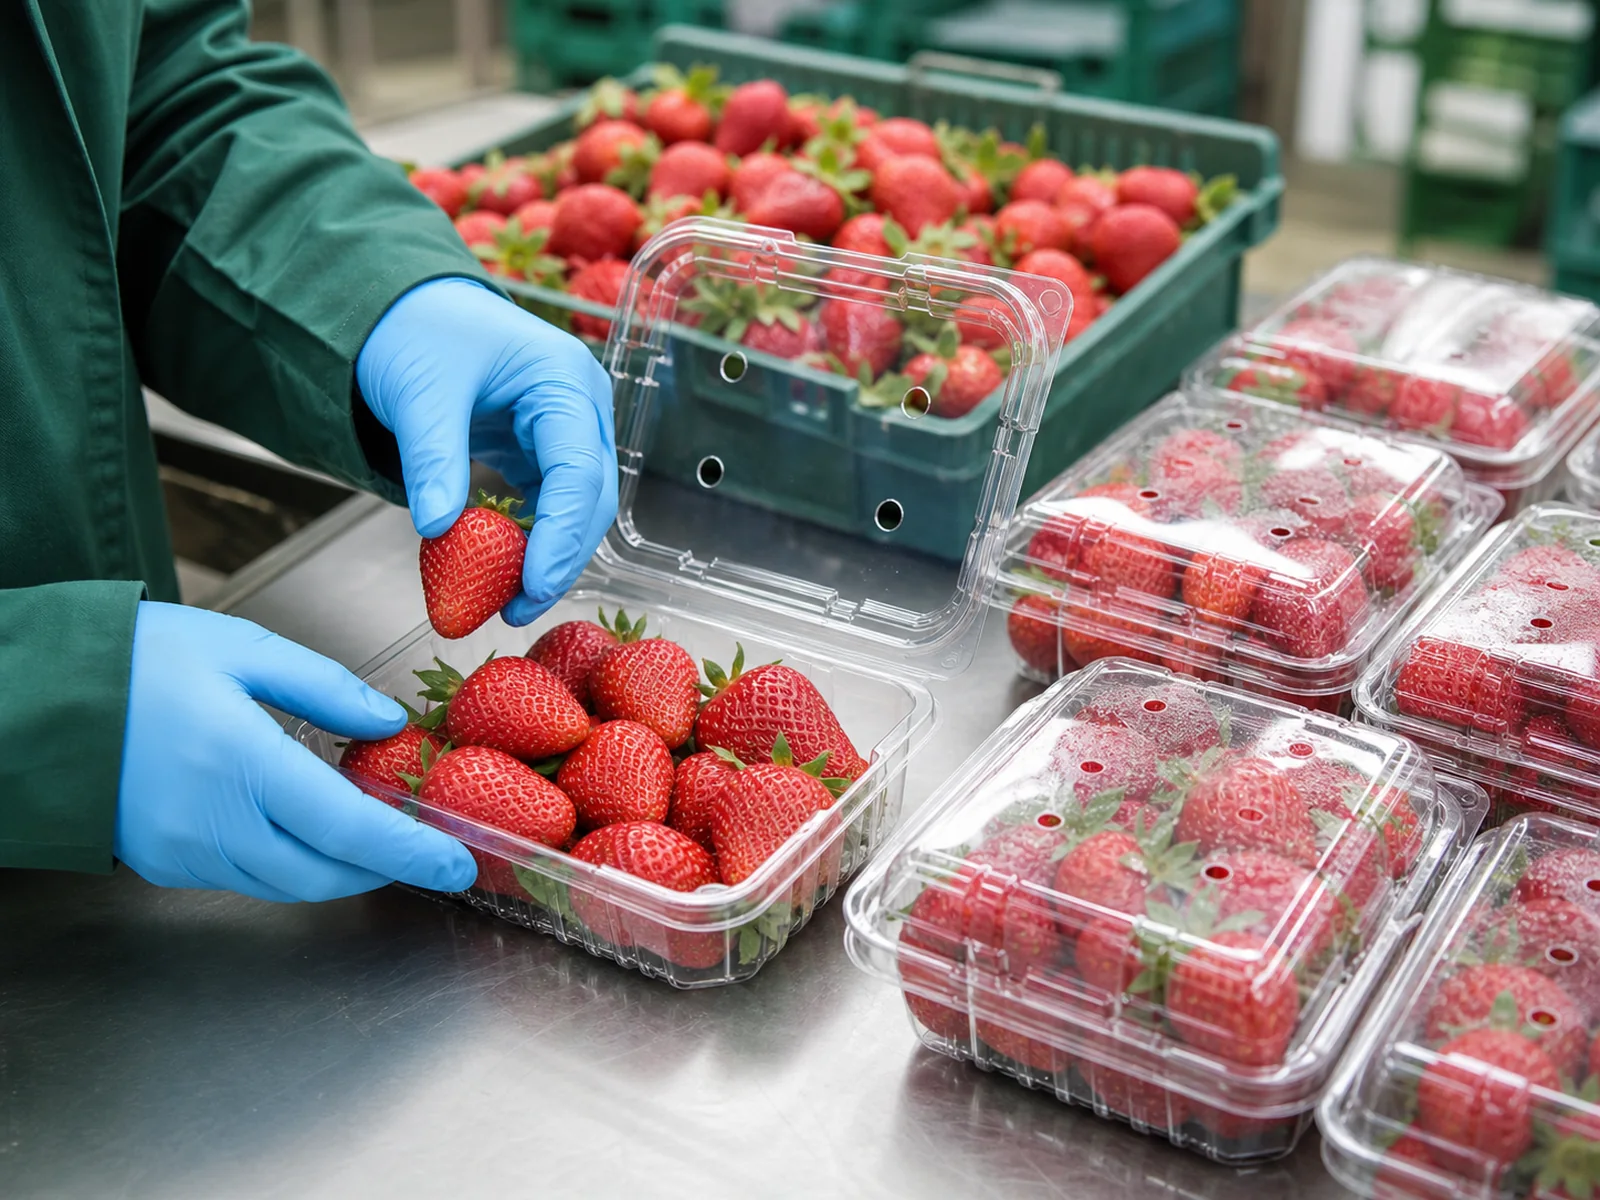
- A photo of the fruit beside the current pack can help explain the question.
Packing and sellingDescribe the journey to the customer.What to check +
- Explain how fruit is filled, cooled, handled and displayed.
- Name the difficulty you want to resolve, such as access for filling or pressure at closure.
Comparison
Find a format for your packing method.
ClamshellConnected base and lid.What to check +
- Check filling access, hinge movement and closing around the fruit.
- Review vents, labels and closed height alongside the carton.
Tray or punnetAn open base or a separate closure.What to check +
- Check support and contact at the bottom and rim.
- If you need a lid or film, review the exact closure and packing process.
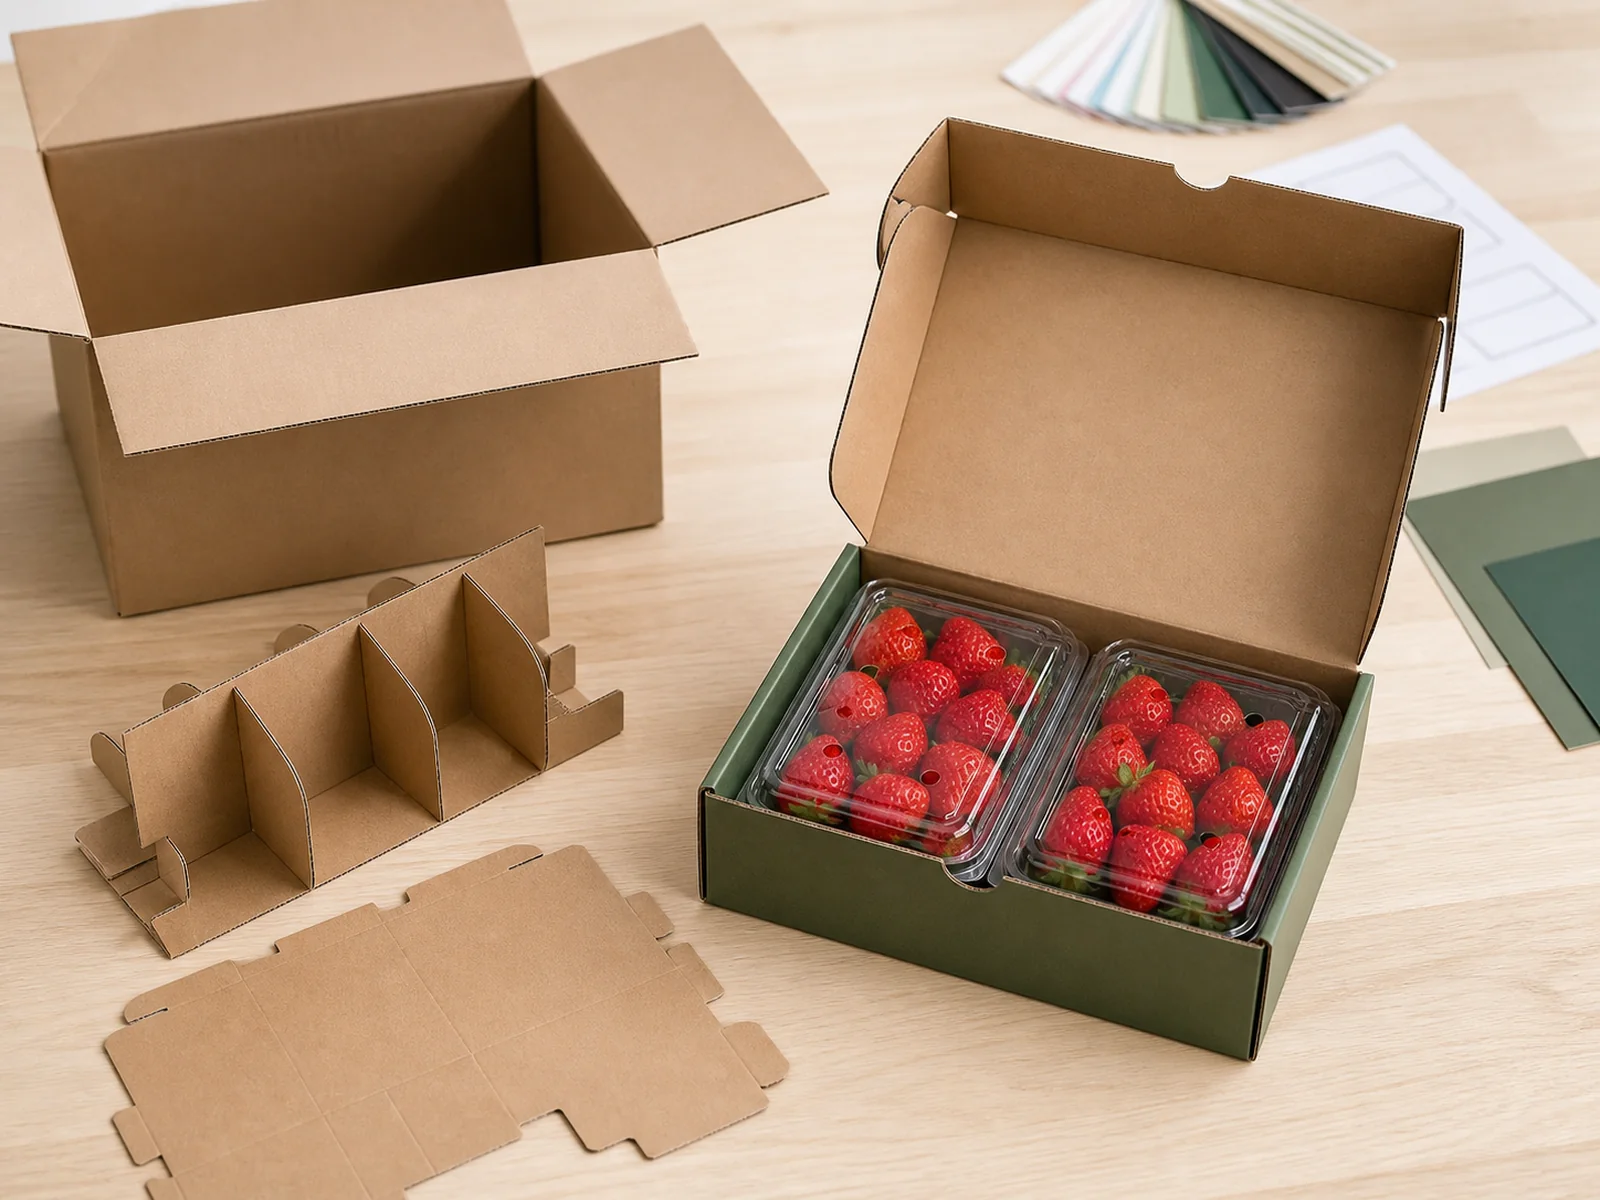
Complete packRetail pack, support and outer carton.What to check +
- Identify the insert, label or sleeve and the closed pack size.
- Review orientation, count and carton arrangement together.
Structural sketches explain the formats. Confirm dimensions and fit with the exact reference and your fruit.
SEARCH THE PRODUCT DIRECTORY
Browse packaging references.
These photos cover several produce and food packaging formats. Copy a reference and its photo link to discuss the exact structure, dimensions and fit for your fruit.
Showing 12 of 117 references · 217 photos
Project view
Choose the next step for your fruit pack.
Keep the reference and your question together.
Use the directory to find the closest reference. Keep its complete name and identify the view you mean; similar-looking packs may have different details.
- Note what should stay the same.
- Name the fit, filling or closing question you want to check.
Overview
Check fit with the real fruit.
Look at the fruit where it rests.
Fill a sample with fruit from the size range you normally pack.
- Look at the bottom and side contact before closing the pack.
- Compare the fruit with its condition before packing. Note visible marks and where it moved or pressed against the pack.
Overview
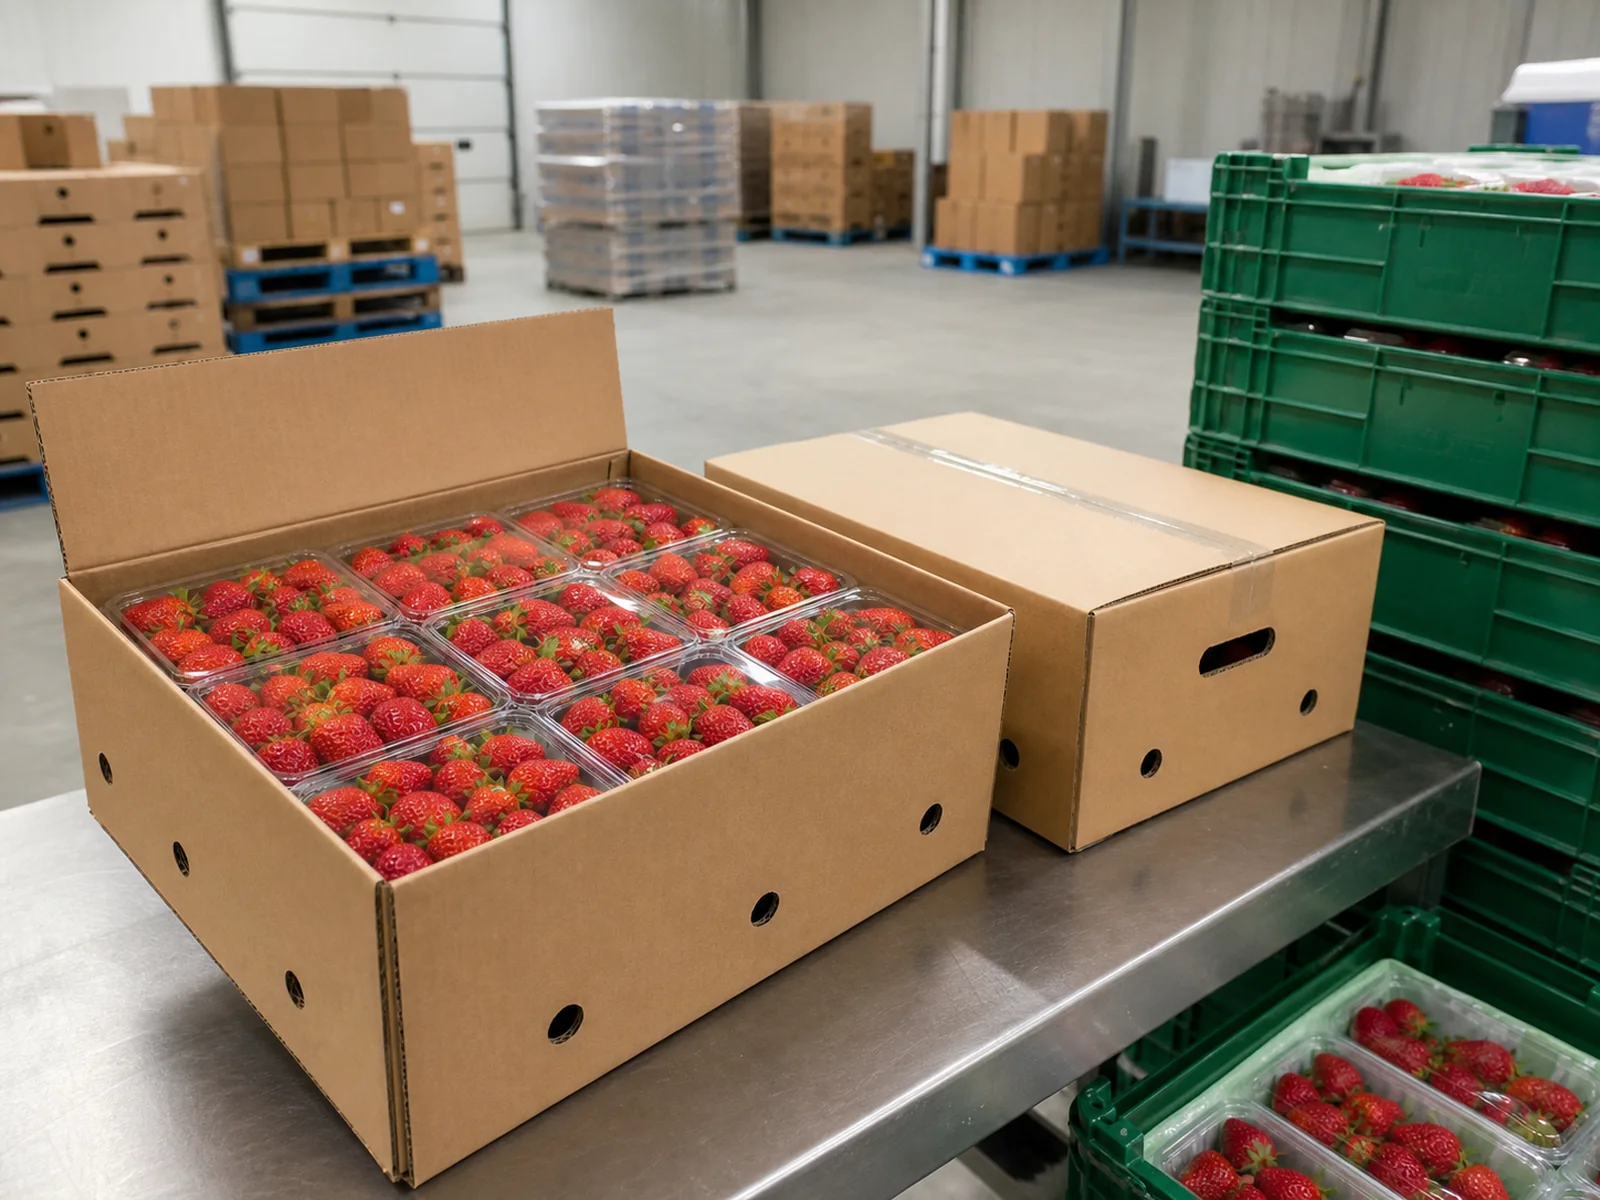
Plan the outer carton too.
Begin with one complete, closed pack.
Keep the fruit, support, lid and any sleeve together when checking the outer pack.
- Measure its closed outer dimensions.
- Include projecting rims, labels and the space needed to lift it.
Overview
Existing format or custom development?
Start with the fruit, the current pack and the question you need answered. A catalogue reference is helpful when you have one.
Project view
Packaging in use.
Packaging and project examples
Produce-packaging illustrations