Produce trays and punnets
Produce trays and punnets.
Choose an open tray, a separate lid or a sealing-film format around your produce and packing process.
Project inputs
Choose how the pack closes.
Starting routes
Three ways to finish the tray.
Open trayAccess stays open above the produce.What to check +
- Check support at the base and sides.
- Review exposure, handling and any sleeve or outer pack.
Separate lidA separate part closes over the rim.What to check +
- Identify both tray and lid references.
- Check seating, closure, headspace and opening with the filled sample.
Top-seal rimFilm meets the upper edge of the tray.What to check +
- Identify the film and the sealing equipment or method.
- Review the rim, contact area and actual process before agreeing a sample check.
Structural sketches only. A similar-looking rim does not establish lid fit or sealing suitability.
SEARCH THE PRODUCT DIRECTORY
Browse packaging references.
These photos cover several produce and food packaging formats. Copy a reference and its photo link to discuss the exact structure, dimensions and fit for your fruit.
Showing 12 of 163 references · 263 photos
Overview
Support the produce inside.
Where does the produce rest?
Fill the tray with the usual size range. Look under and around the produce for the points carrying its weight.
What to note
Note where the produce touches the base, rocks or moves when handled normally.
Comparison
Match the tray to the closure.
- Tray reference and rim
- Sleeve or outer pack, if used
- Filling and handling
Follow the exposed pack through handling.
- Keep the tray reference with the intended count or weight.
- Name any sleeve, insert or outer pack and check access for filling.
Use the exact components and packing conditions for the sample check. Similar-looking rims do not establish compatibility.
Overview
Check empty and filled packs separately.
Empty nestingHow empty trays sit inside one another.What to check +
- Check separation and feeding in the normal packing process.
- Record whether trays catch or require extra handling.
Filled stacking and cartonHow closed, loaded packs support one another.What to check +
- Use the actual produce, lid or film and intended orientation.
- Check contact, clearance and movement in the intended carton.
Comparison
Make the change specific.
More room for the produce.
Example change: more depth while keeping the opening size fixed.
Bring to the discussion
Mark the dimensions that can change and those that must stay. Include the intended produce and pack count.
Next step
Review the cavity, closure clearance and outer carton in a structural development discussion.
Explore structural developmentNext step
Review a complete sample pack.
Gather the pack.
Keep the tray, produce, closure and carton together with their references.
Try the real sequence.
Fill, close and handle the sample as you intend to pack it.
Agree the next change.
Share what you observed and identify what to recheck in the next sample.
Need a sample-review checklist?
Use the checklist to keep the sample references, observations and agreed next steps together.
Open the sample checklistProject view
Tray and punnet references.
Packaging and project examples
Fruit clamshell and punnet references
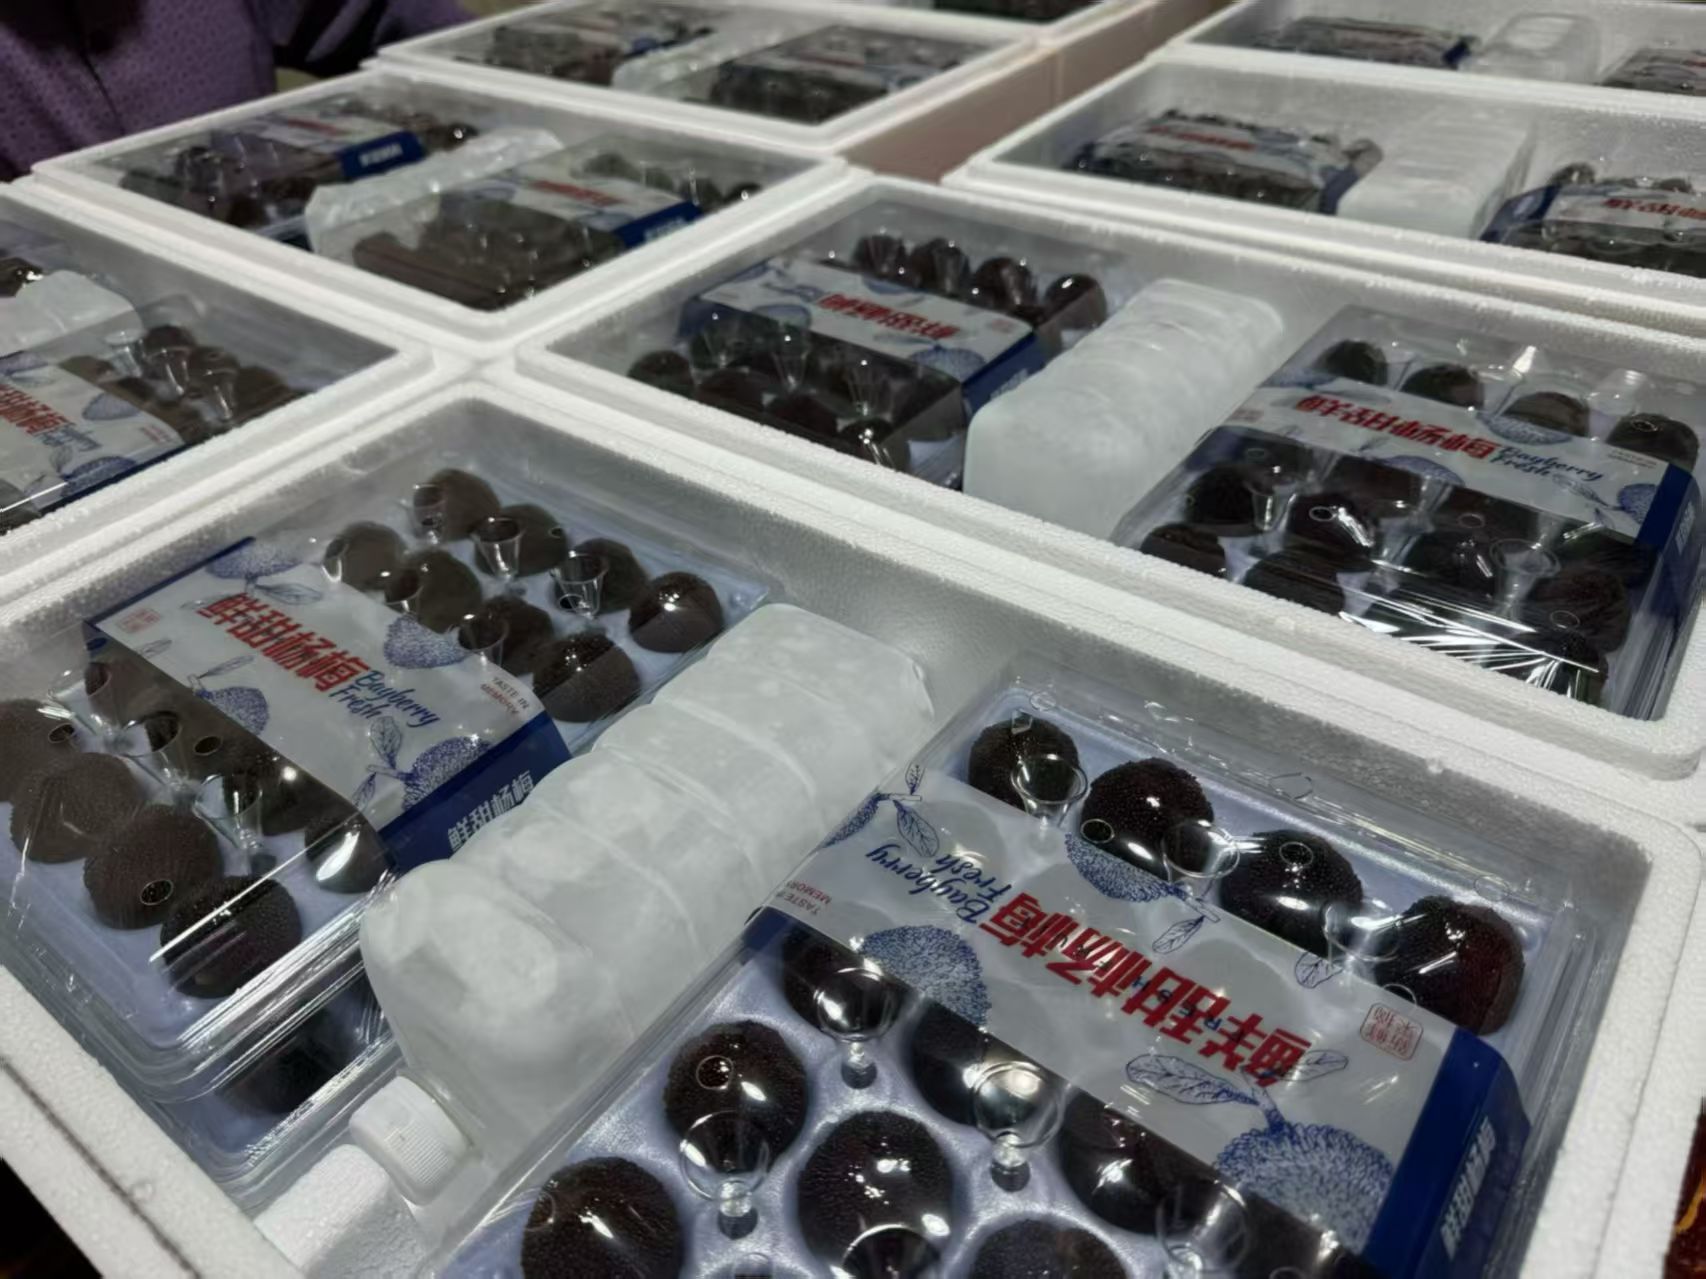
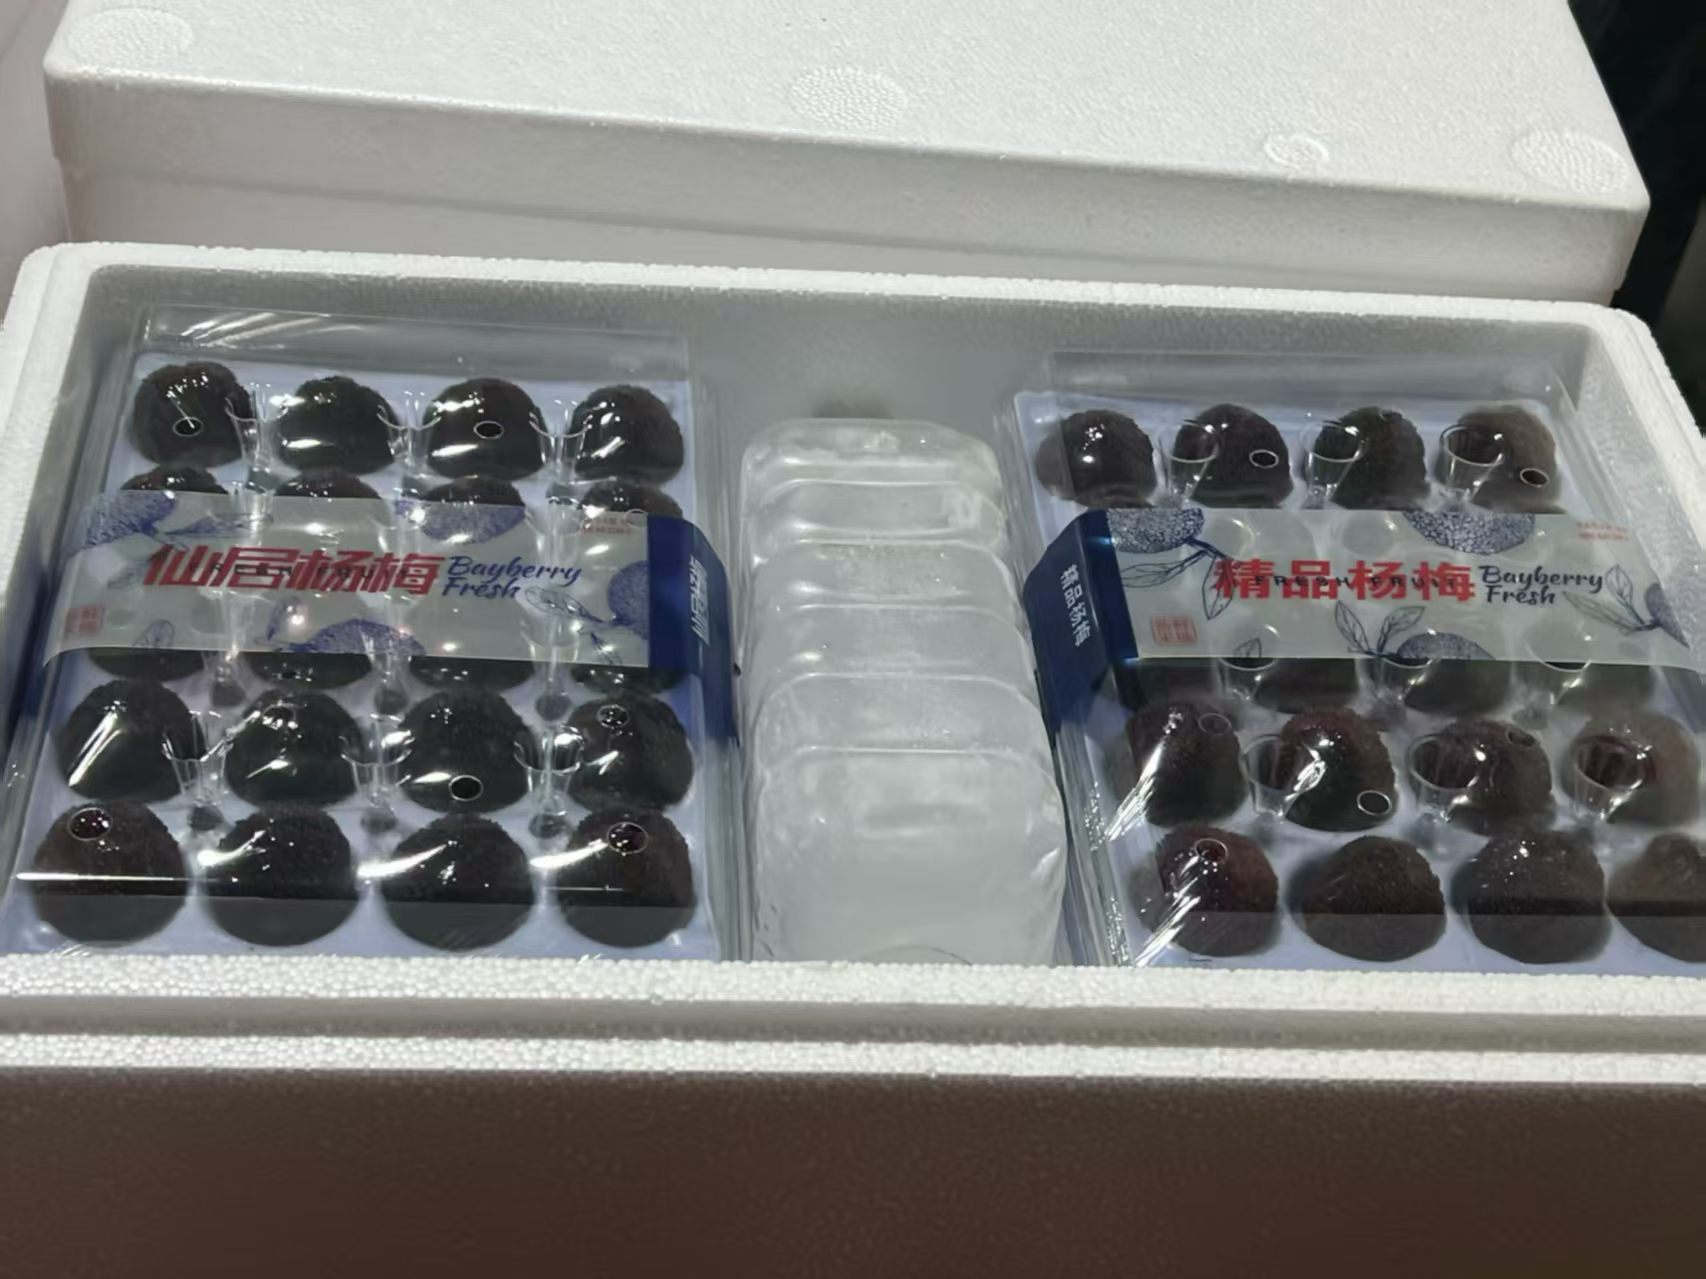
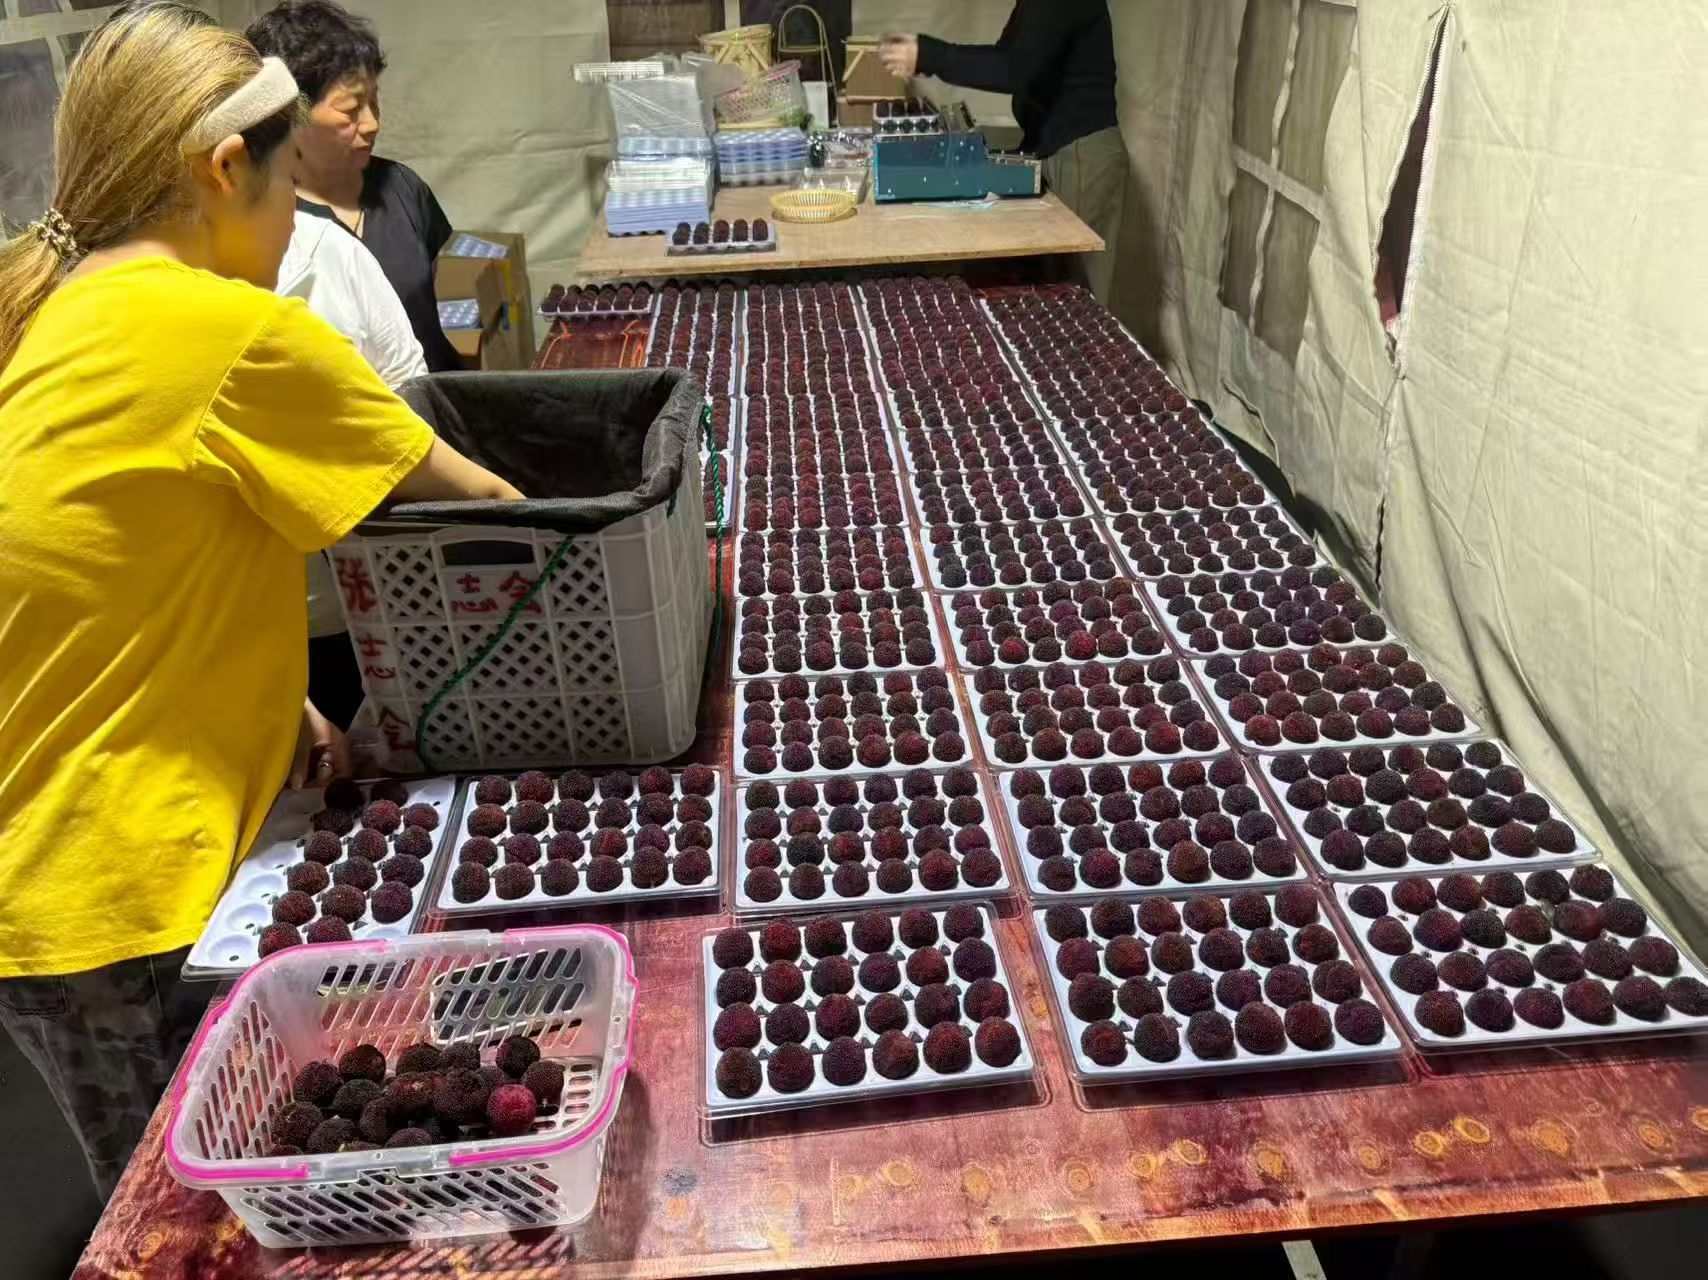
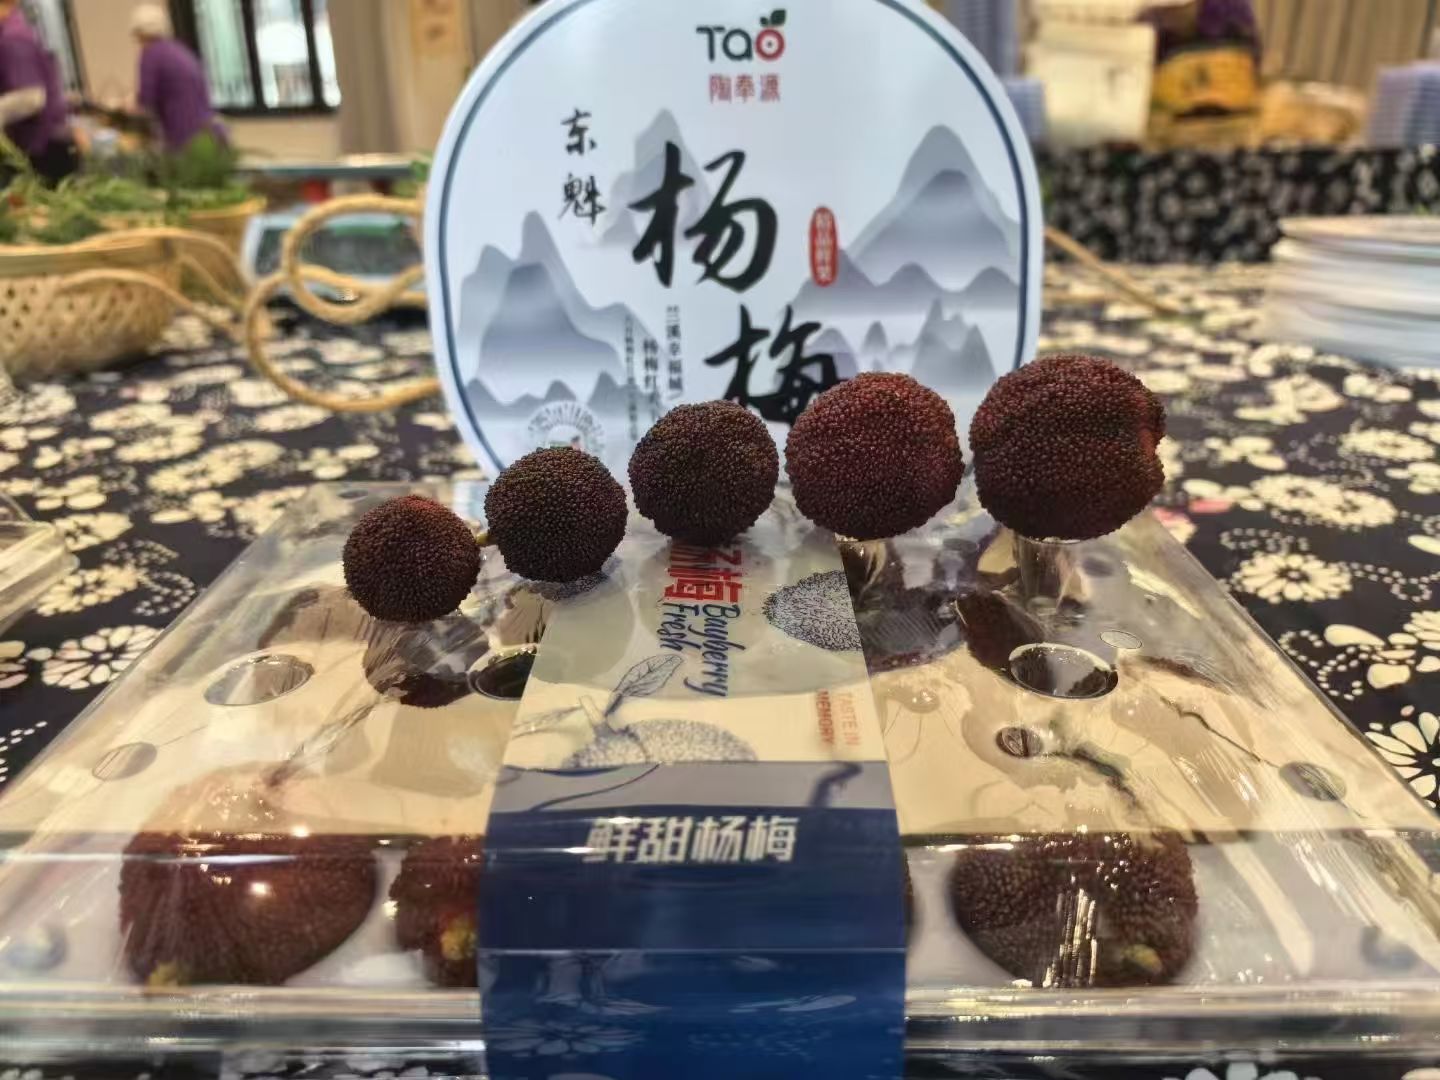
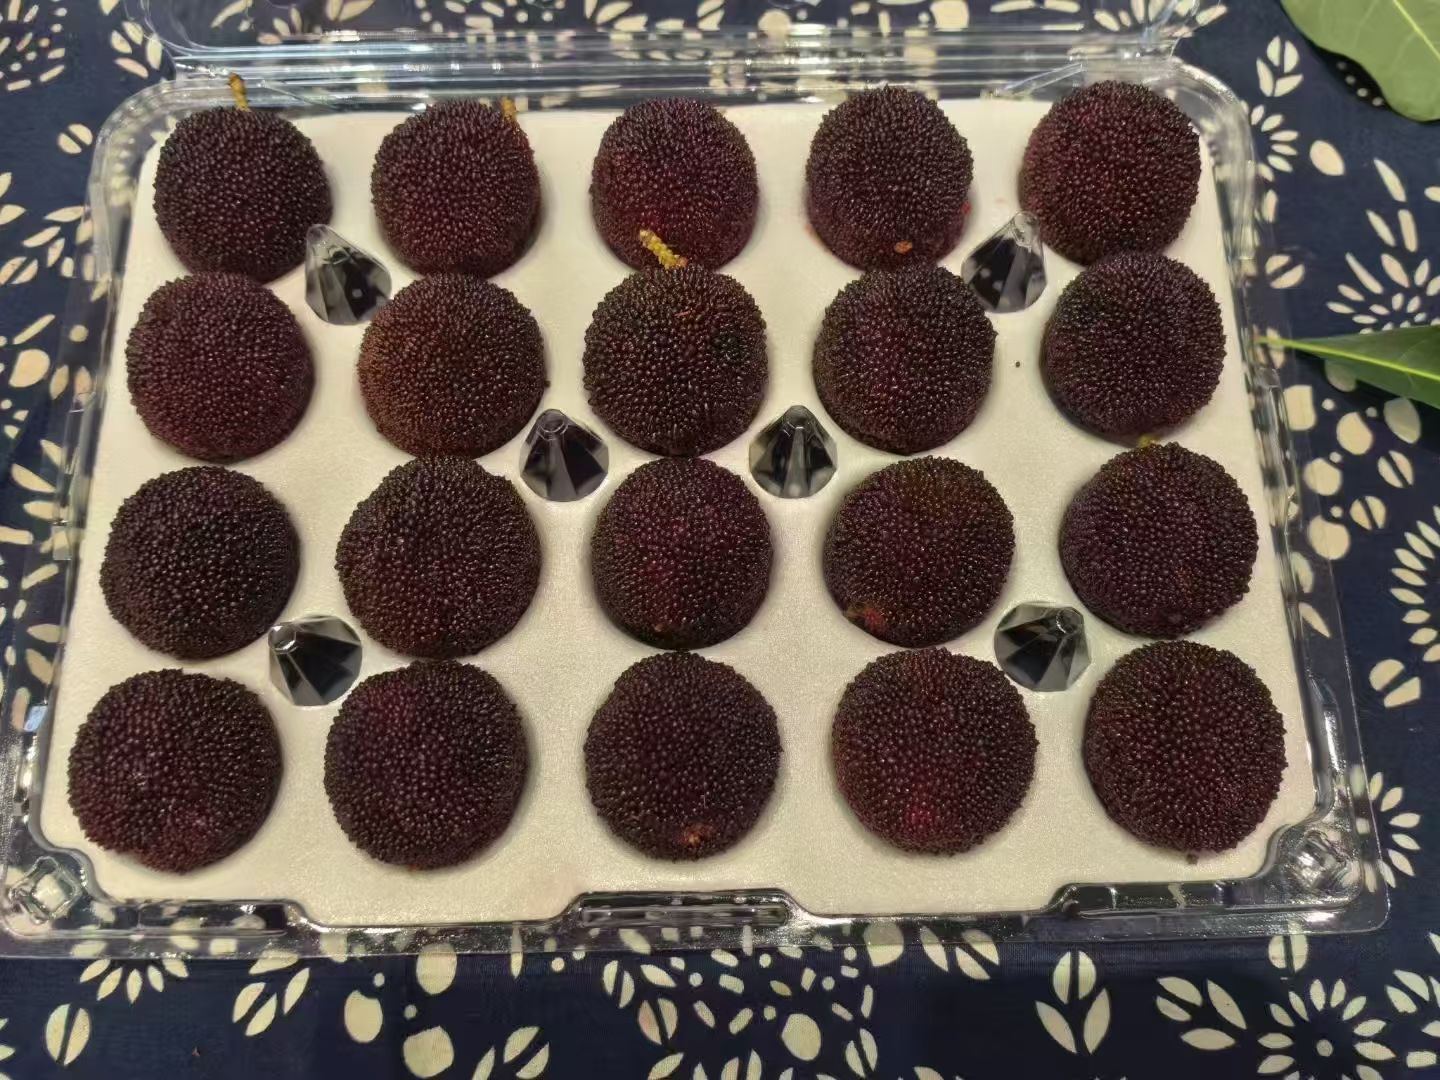
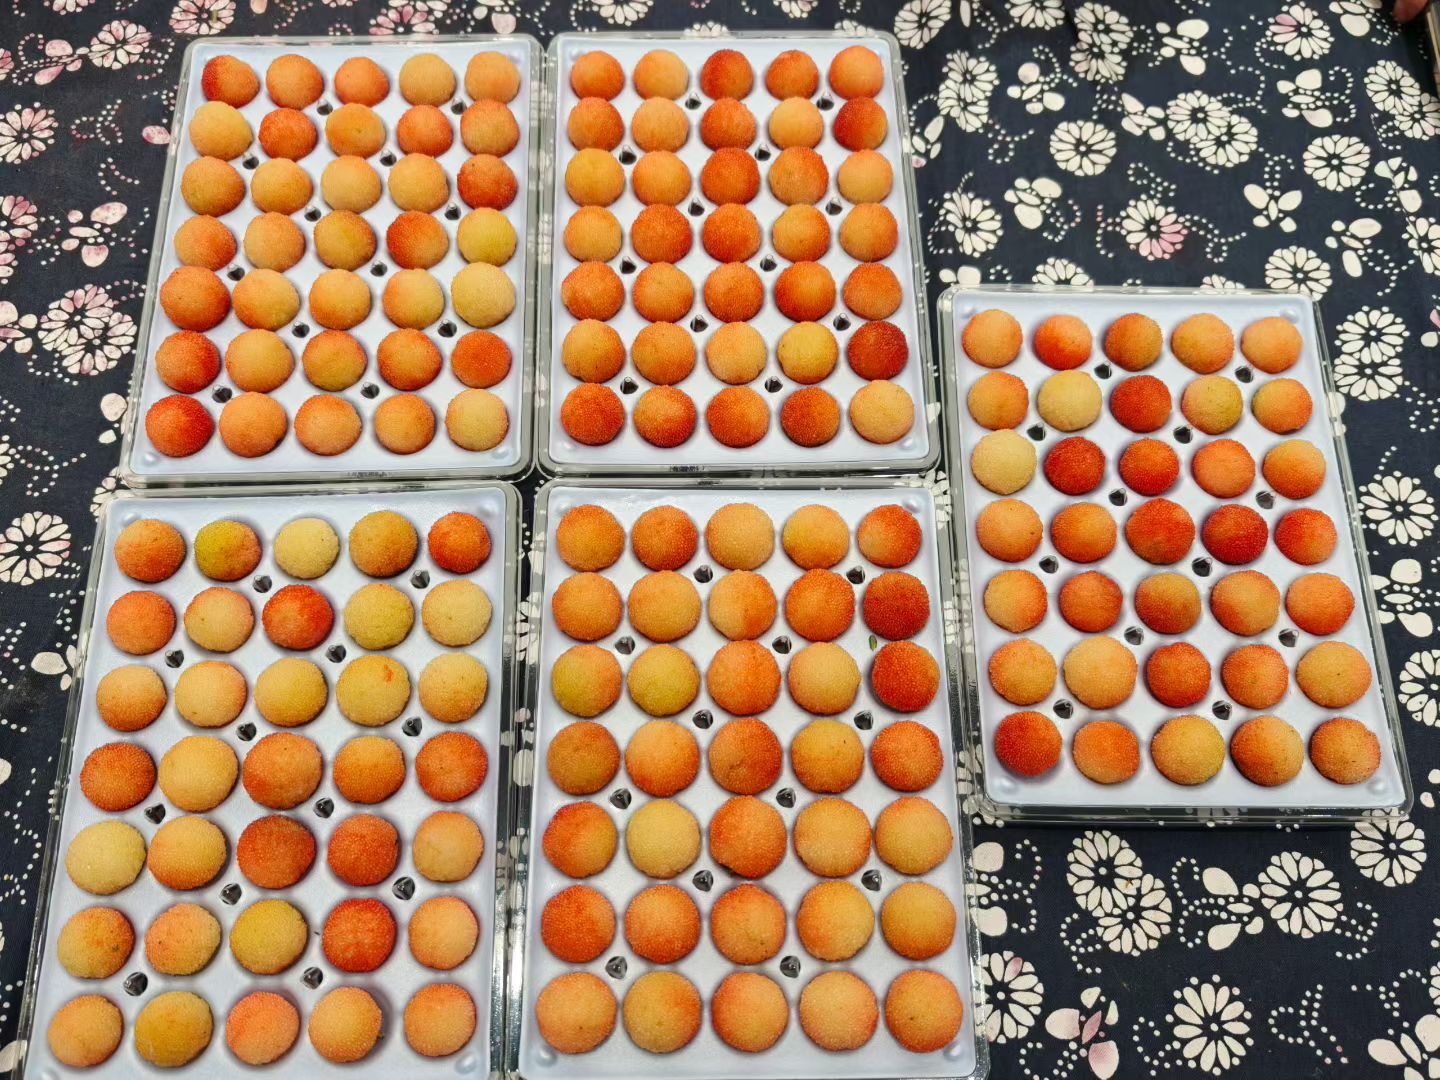
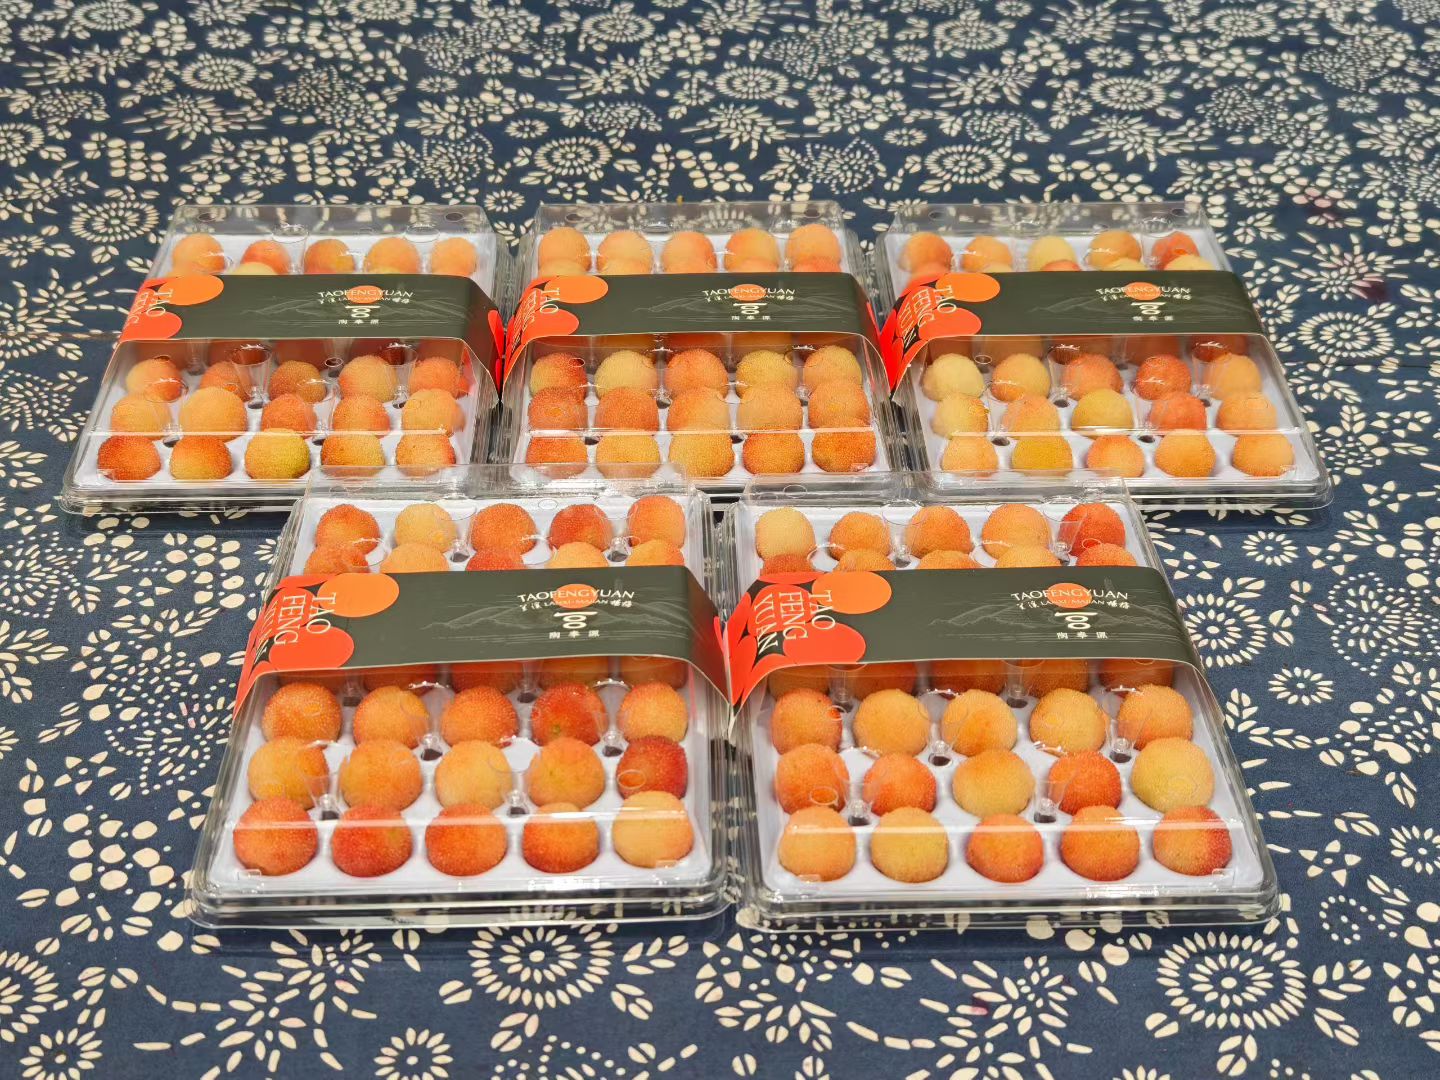
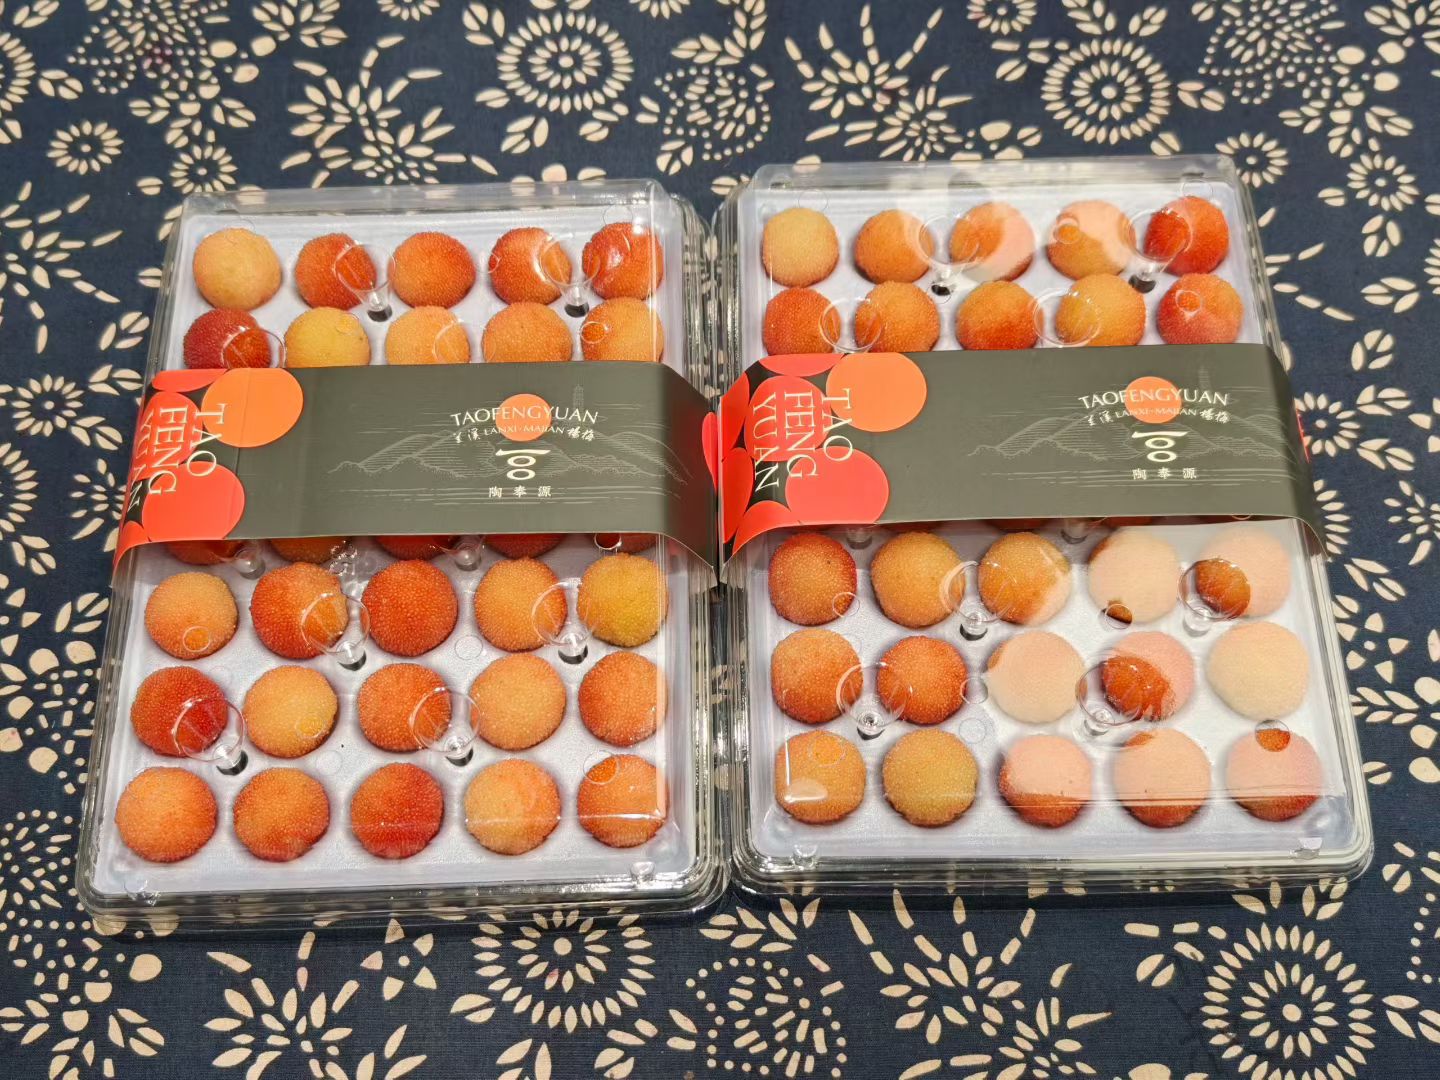
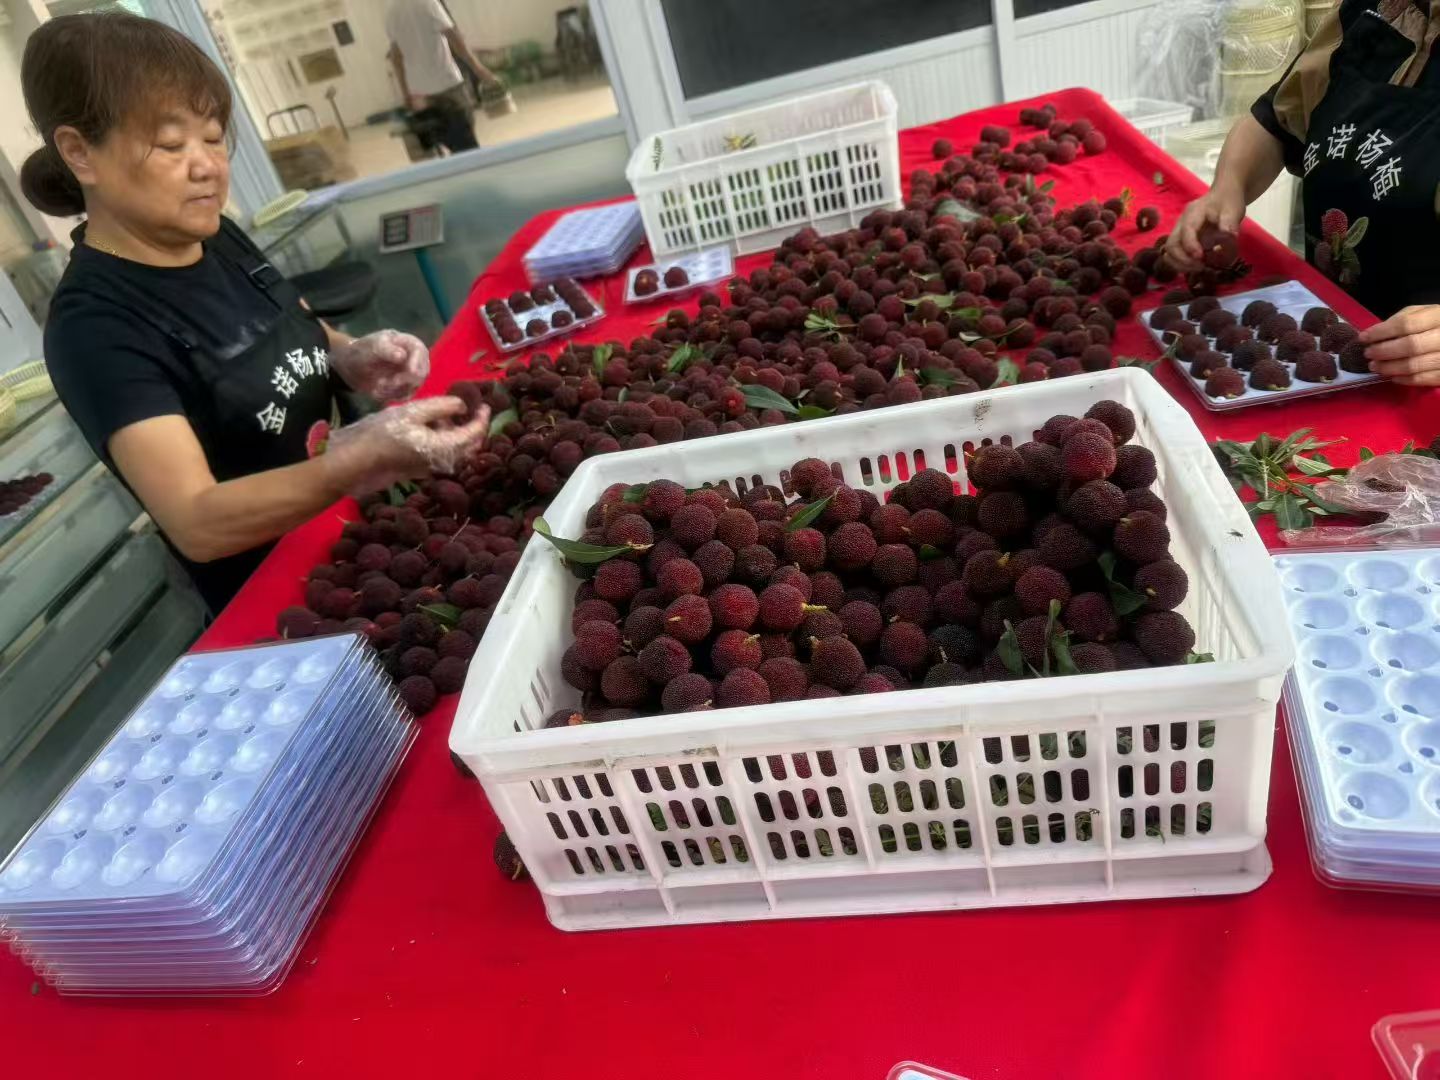
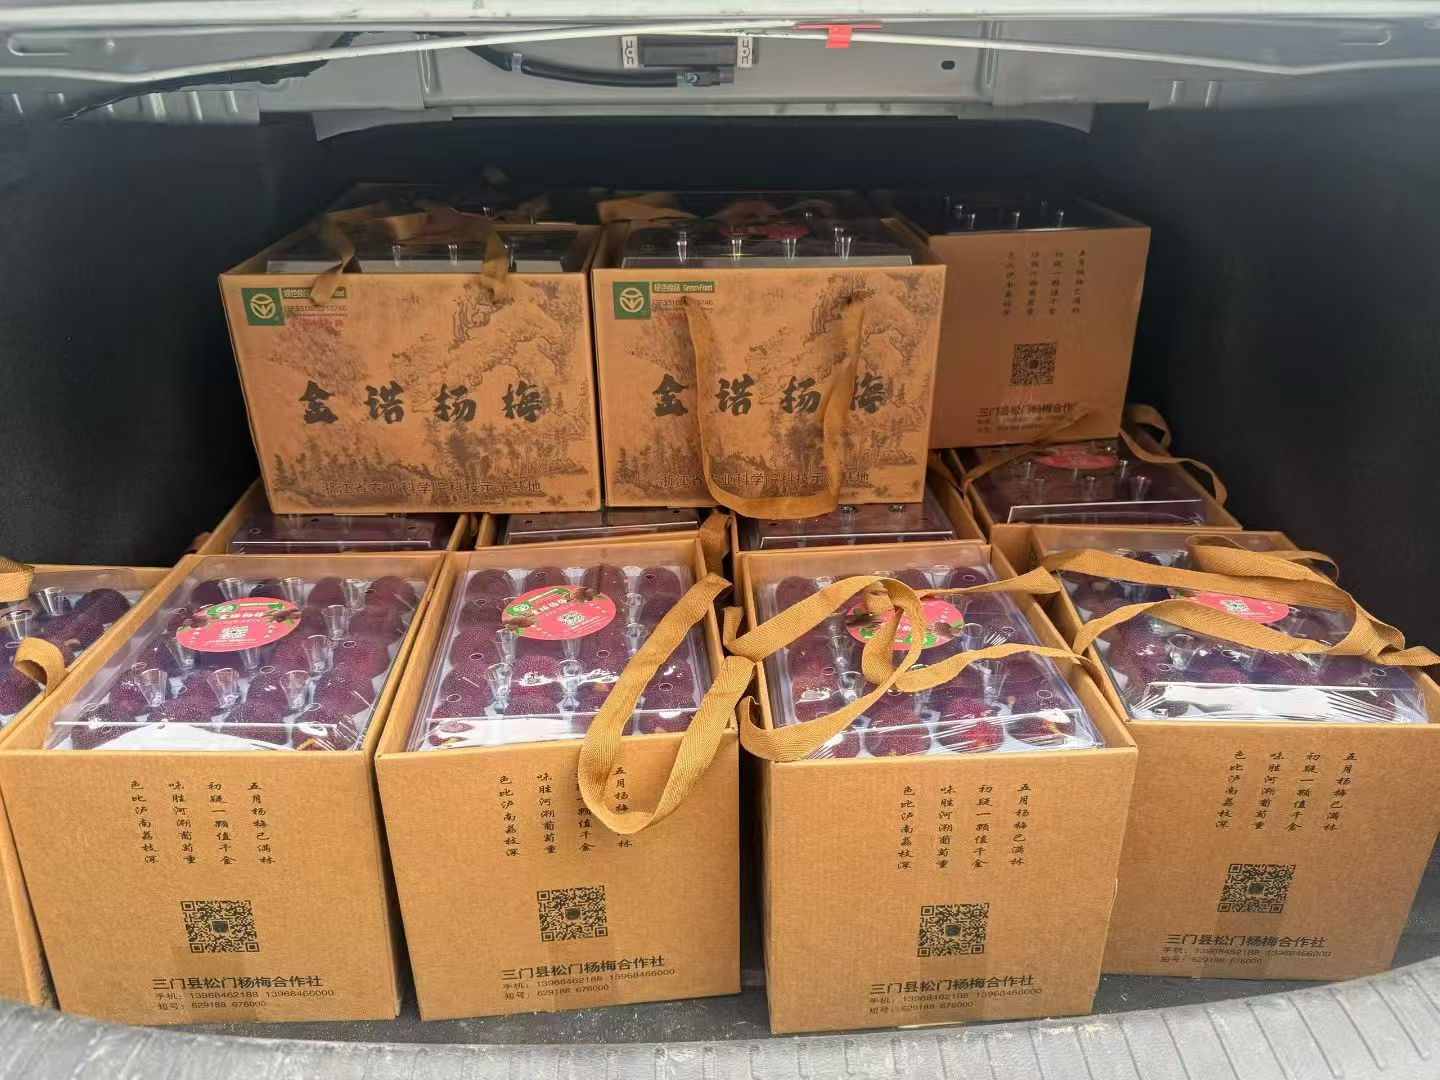
Scroll to see all 10 views →
Produce-packaging illustrations