Coordination guide
Coordinate inner and outer packaging.
Use this guide to connect each component, its dimensions and its role in the complete pack.
Overview
Start with the pack you have.
Start with the product and the packaging you already have. You can read this guide and prepare notes without a project number or finished specification.
- What is being packed?
- Describe the product, count or portion and how the pack will be used.
- What already exists?
- Name the tray, support, sleeve, presentation box or carton you have. A photo or description can start the discussion.
- What needs to change?
- Choose the main issue: product movement, how parts fit, presentation, packing order or carton arrangement.
Project view
List the packaging layers.
L1 — Product and use condition
L2 — Inner protection or primary container
L3 — Support, accessory or divider
L4 — Identity and presentation
L5 — Outer box or presentation structure
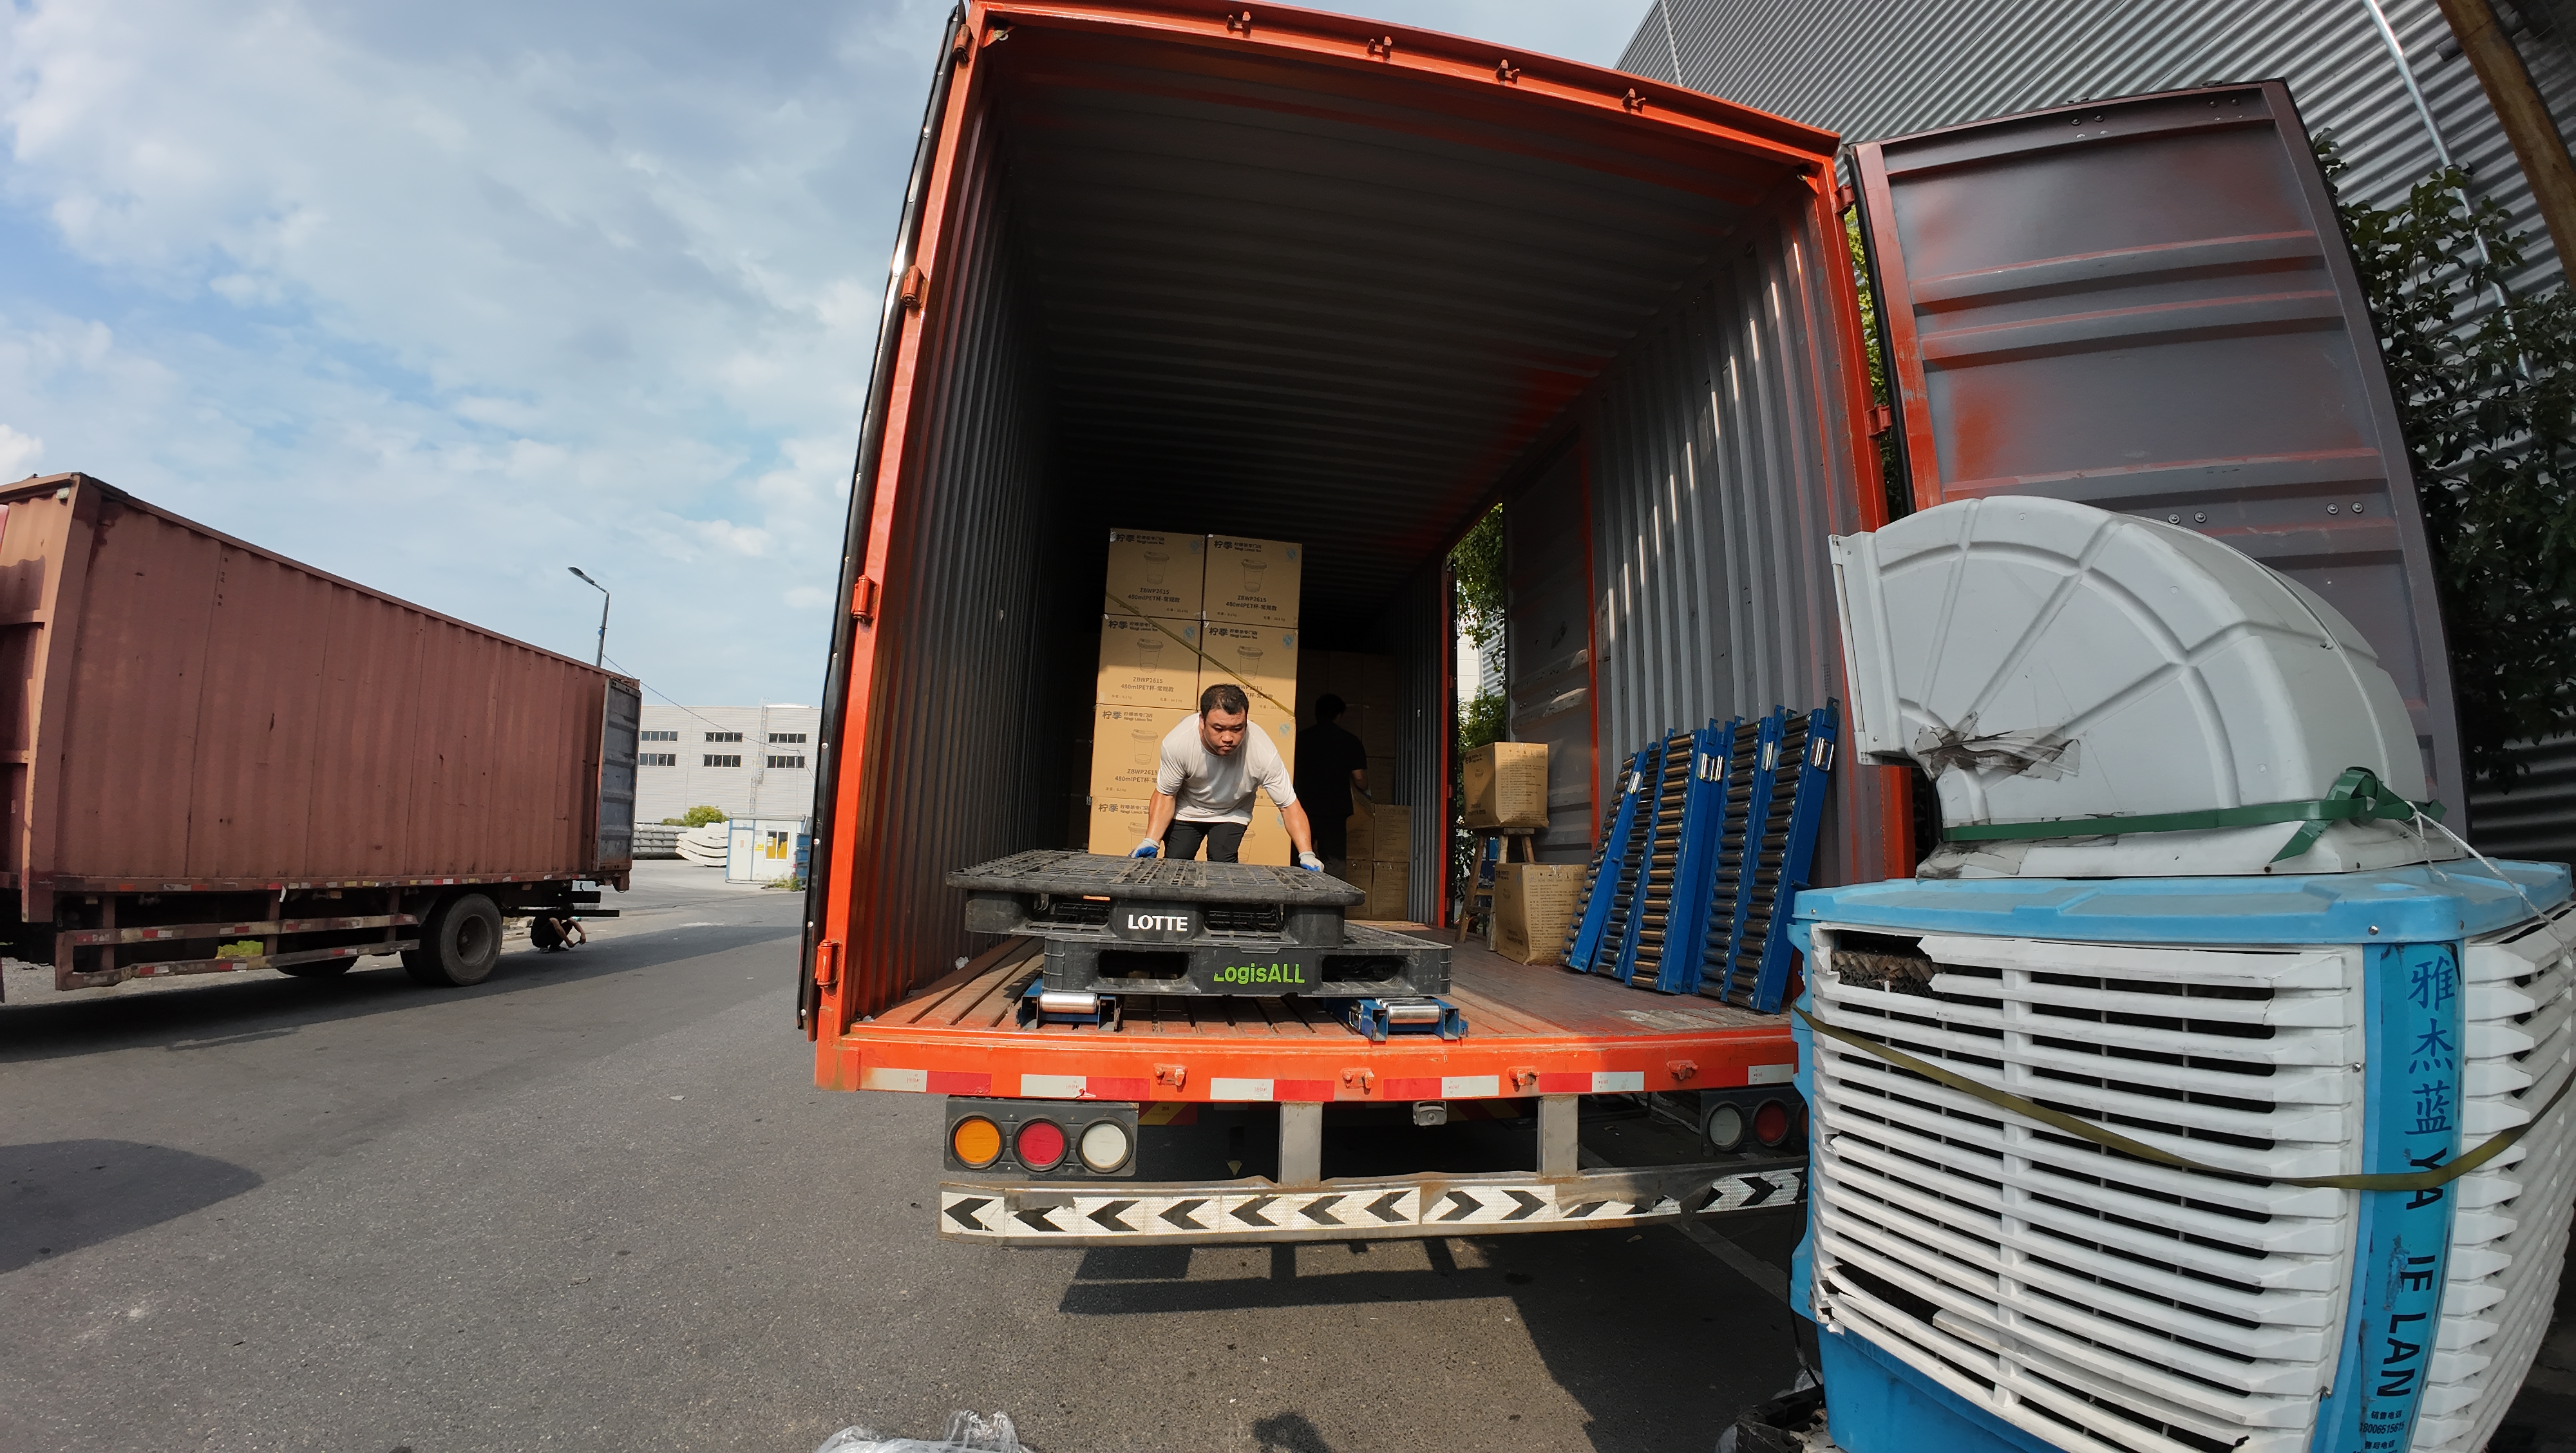
L6 — Corrugated shipper and handoff
Process
Check the fit between layers.
Product dimensions → inner fit
Inner outside dimensions → support or outer fit
Support position → identity and presentation
Closure and opening → label, sleeve and box access
Assembled pack dimensions → shipper count and orientation
Component change → affected approvals and files
Comparison
Agree who supplies and reviews each part.
Team supplying the design input
Team holding the reference files
Responsibility for each component
Team checking measurements and samples
Team managing artwork
Team reviewing the sample
Team confirming the production version
Next action and when it is needed
Process
Keep one current set of references.
- Keep the current set together
- Group the component references, drawings or artwork and sample notes being reviewed. Use a date or version so the set is easy to identify.
- Describe each change once
- Name the changed part and keep the earlier reference alongside it. Point out connected parts that may need to be checked again.
- Separate a proposal from a confirmed version
- Keep open questions with the proposed change. Record the agreed reference when the sample review is complete.
Process
Review the assembled sample in five steps.
Product in the inner pack
Observe fit, support and contact with the closure. Keep the product and sample references with the observations.
Connected parts
Assemble the pack with its supports and other components. Record clearances, interference and any adjustment to discuss.
Presentation and opening
Check that the label, sleeve or box works with the opening path. Mark changes on the corresponding artwork or drawing.
Packing into the shipper
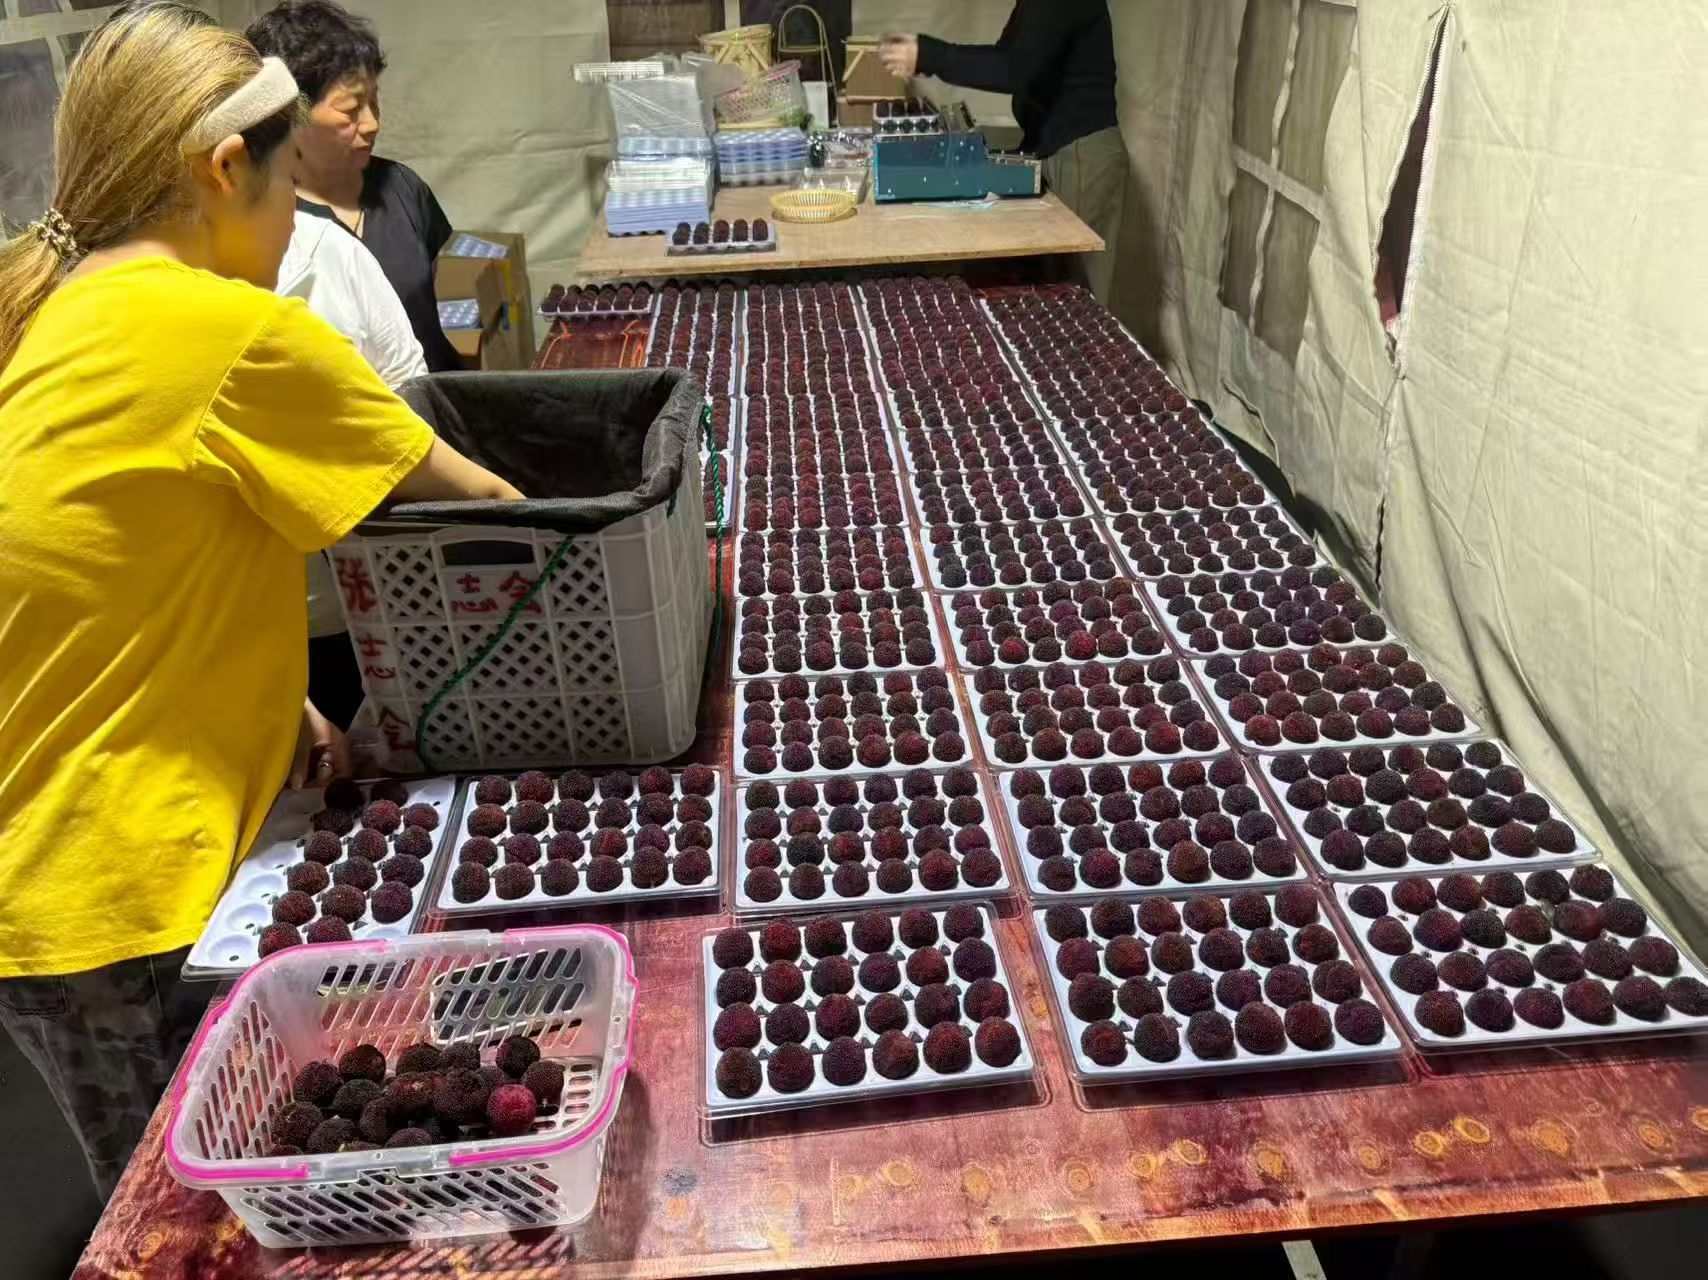
Record the orientation, layers, dividers and actual arrangement. Use a packing note and photos of the assembled sample.
Handling and next decision
Review the agreed handling conditions. List observations, any repeat checks and the version that both sides still need to confirm.
Process
See what a useful review note contains.
ILLUSTRATIVE EXAMPLE · NOT A CUSTOMER PROJECT
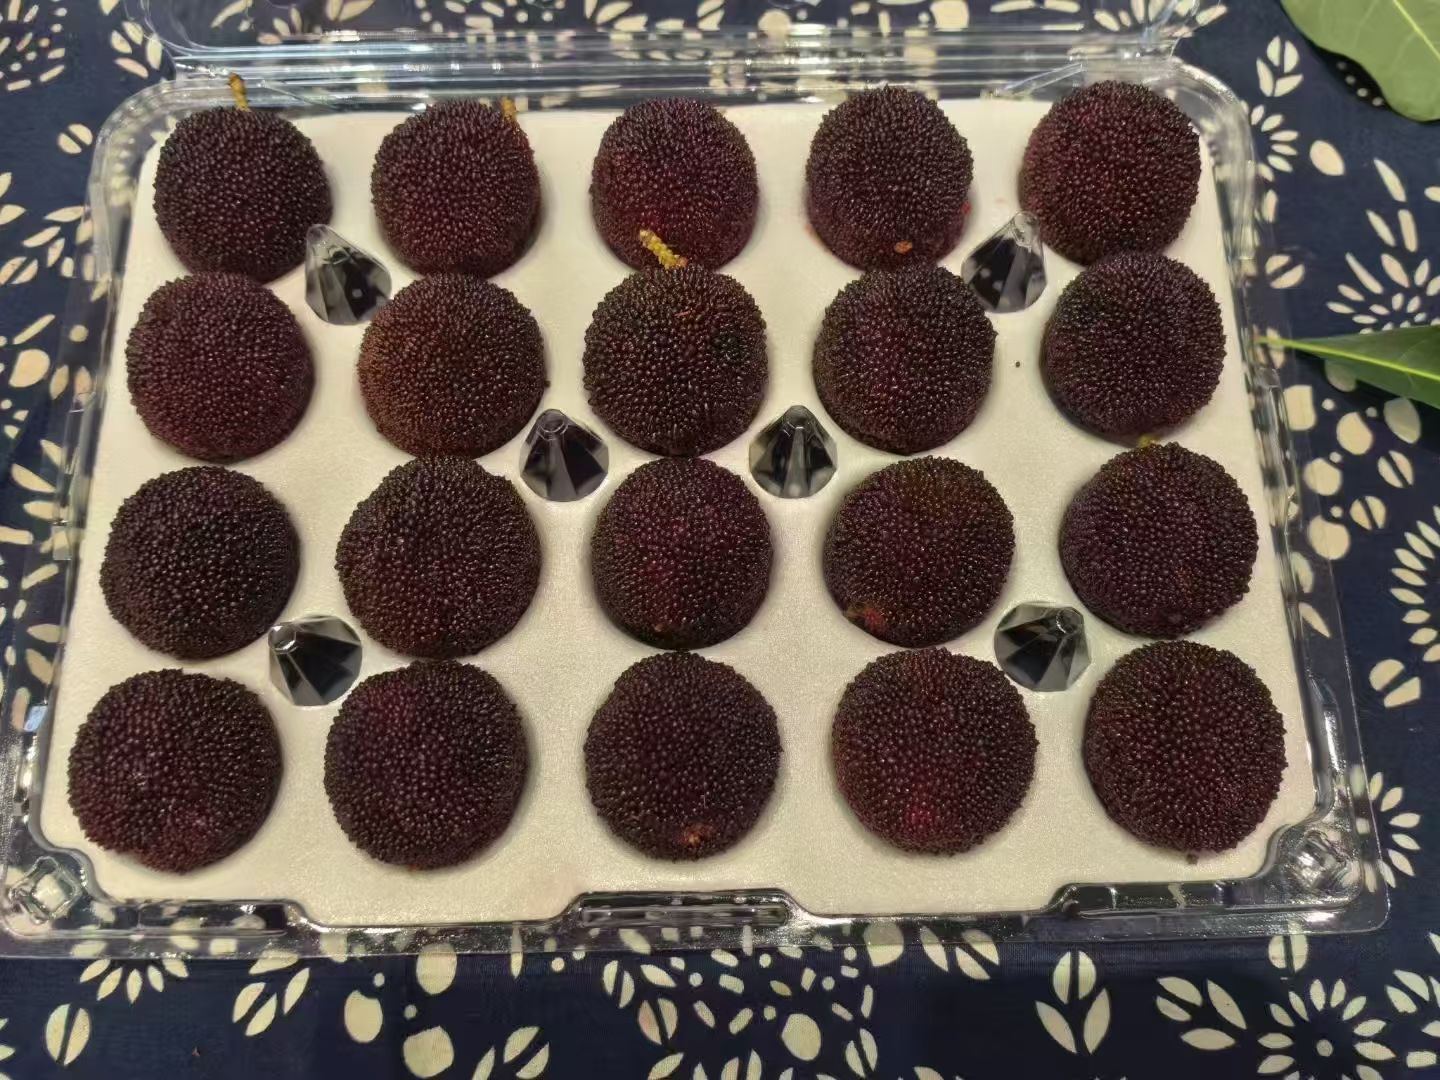
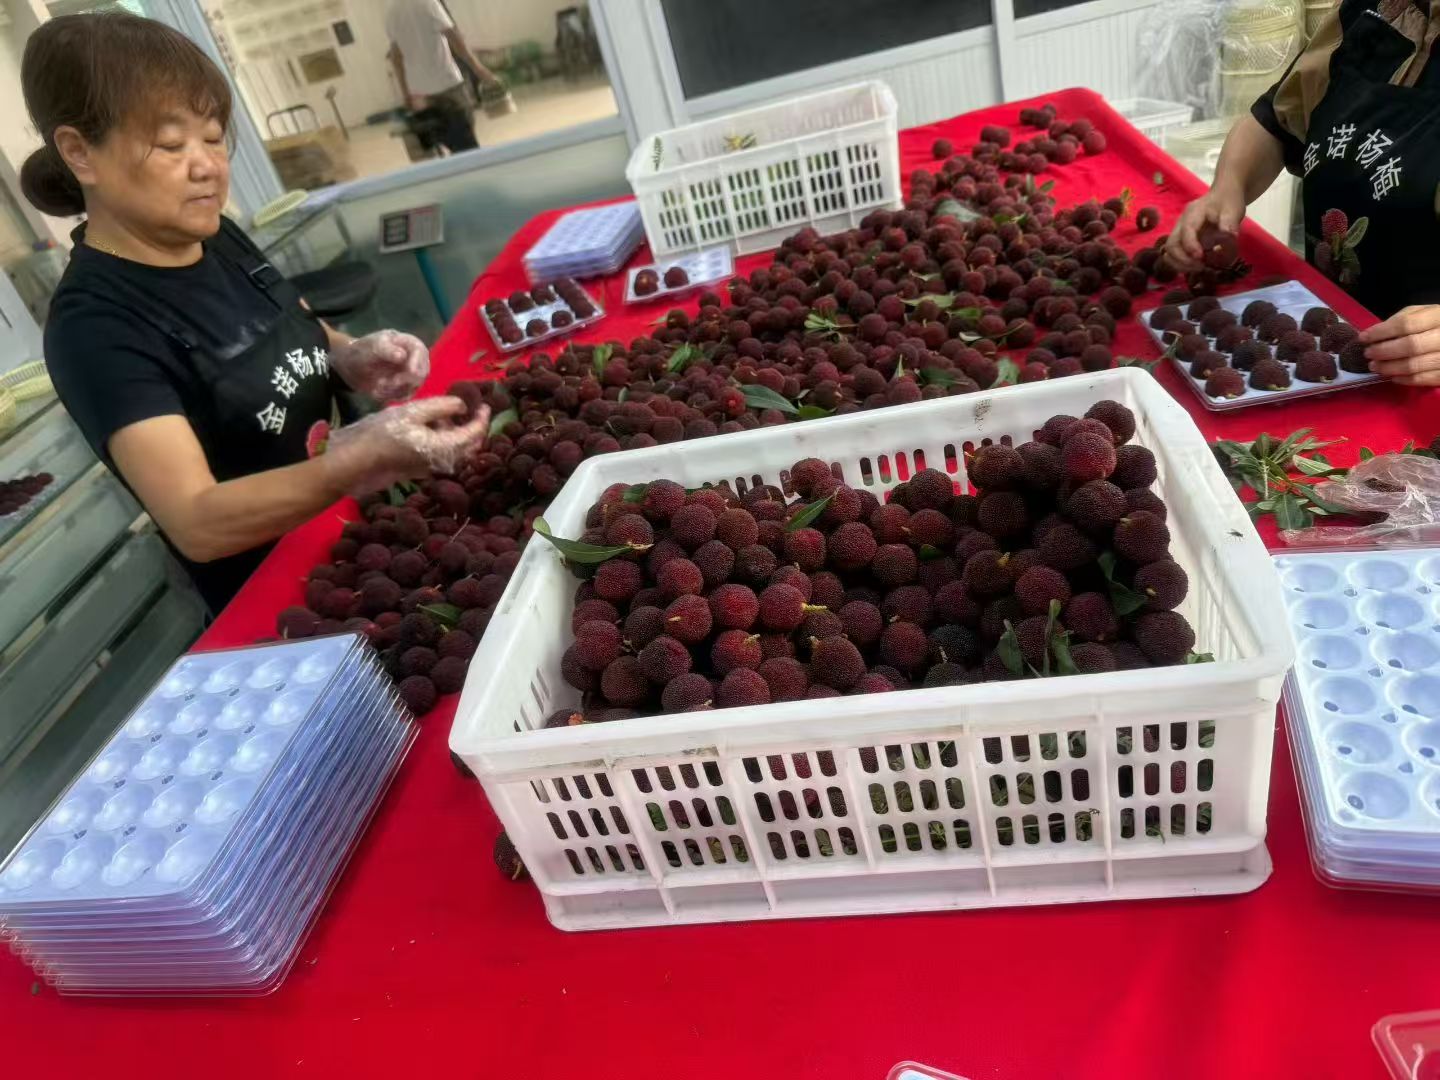
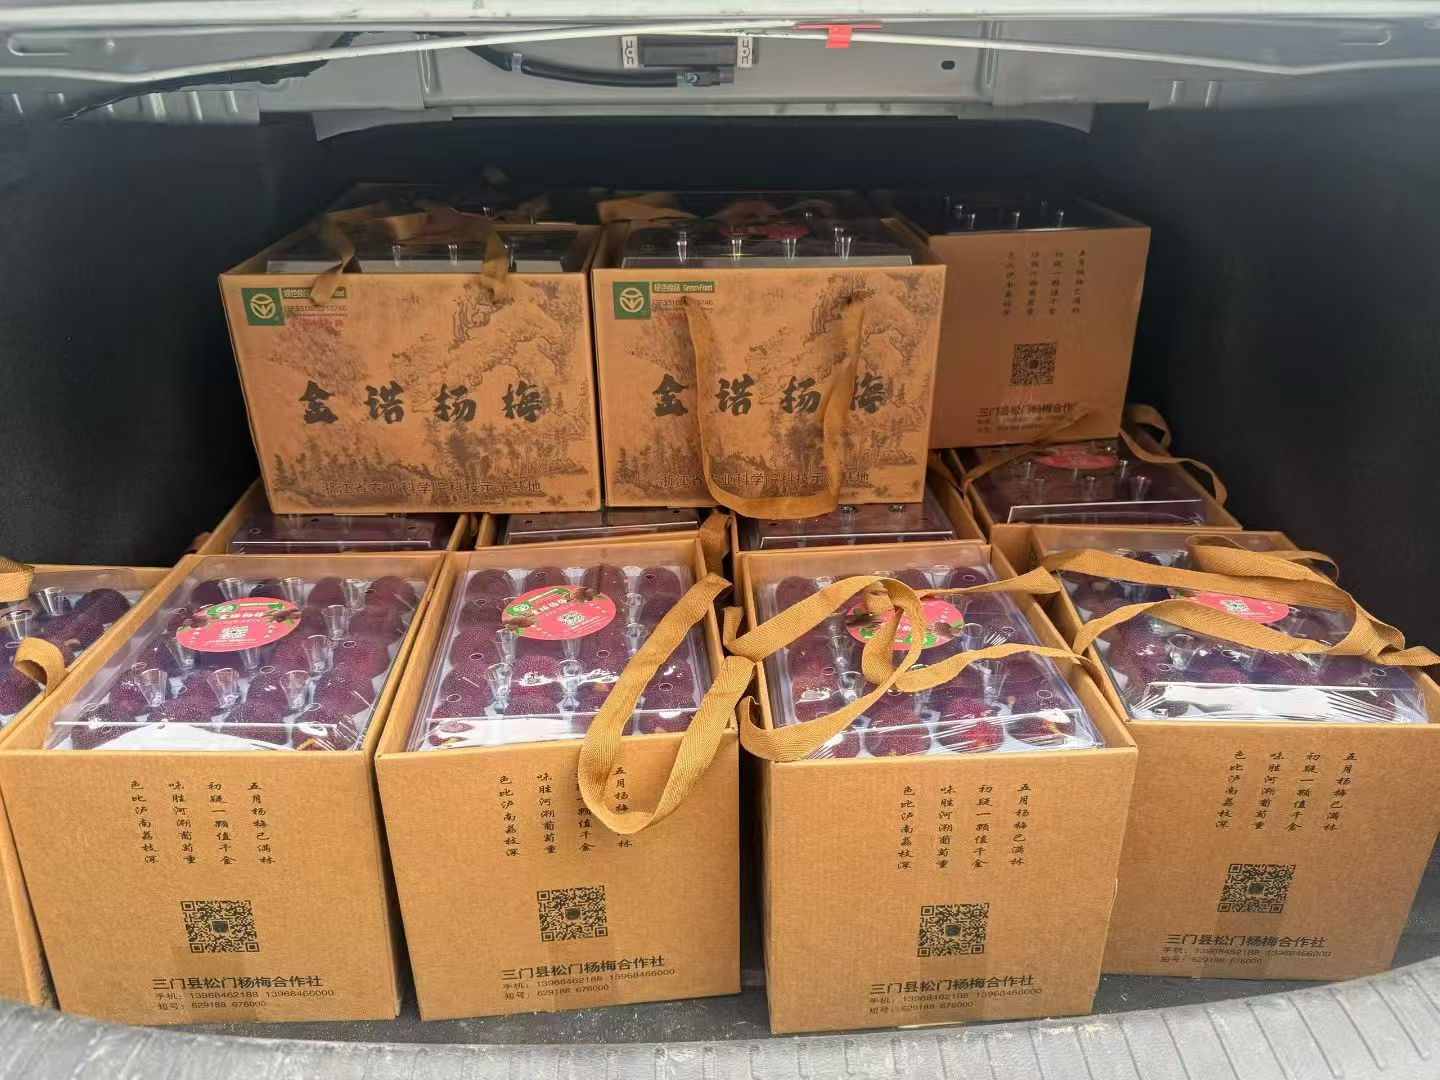
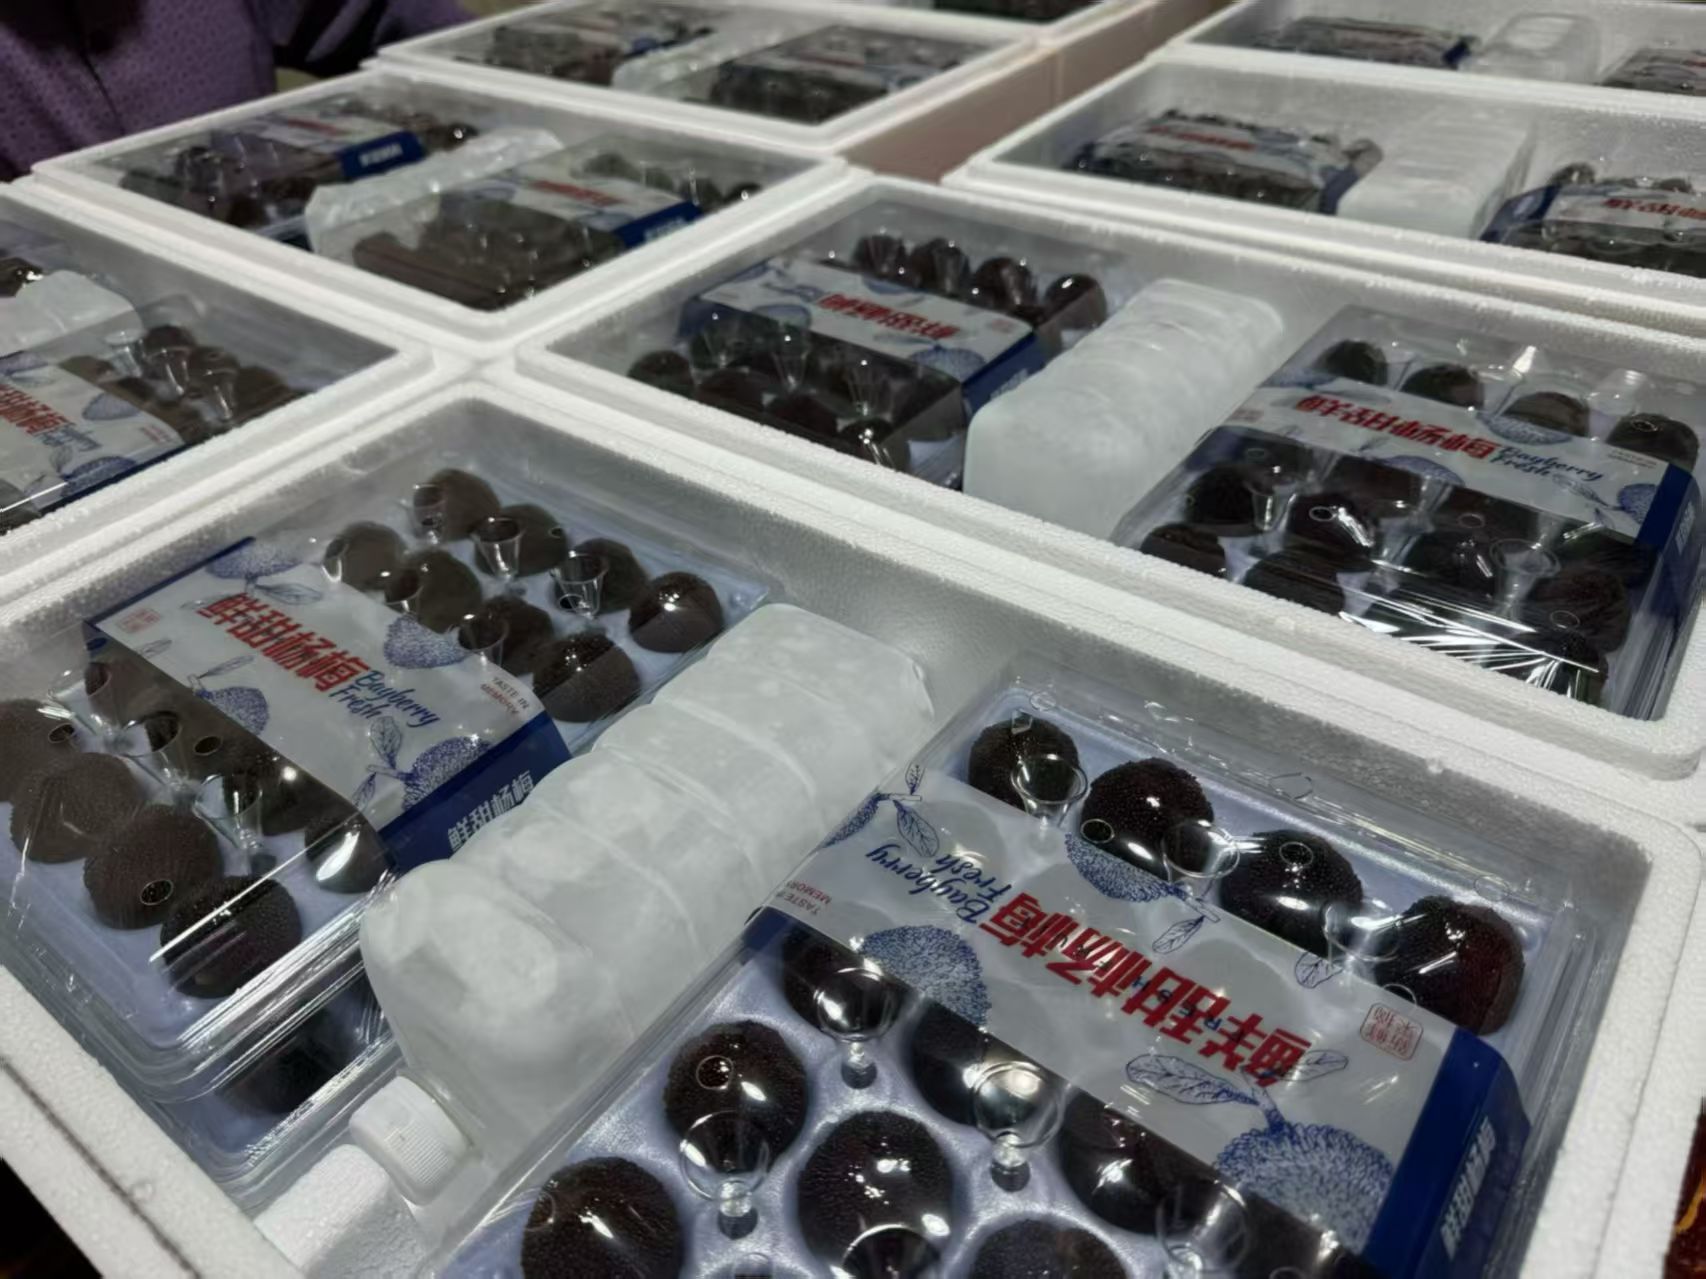
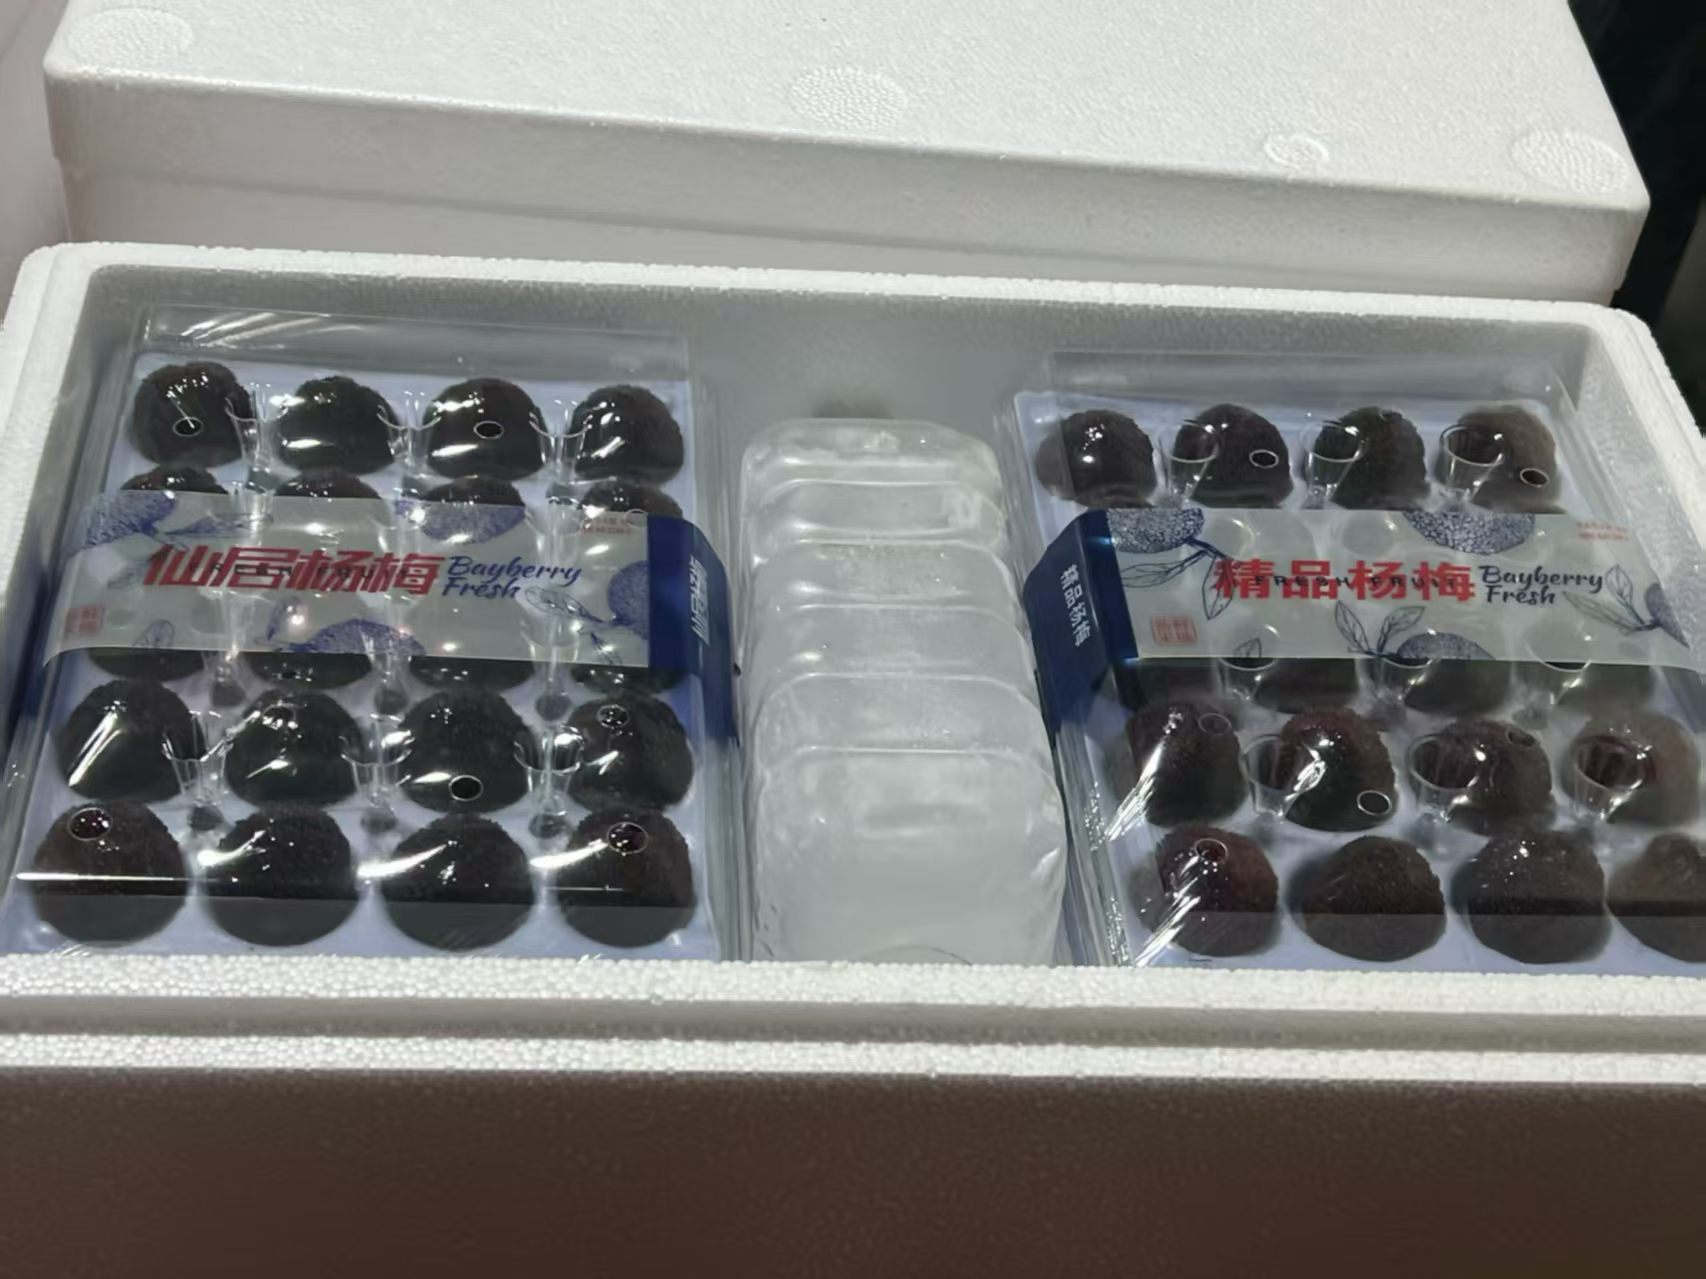
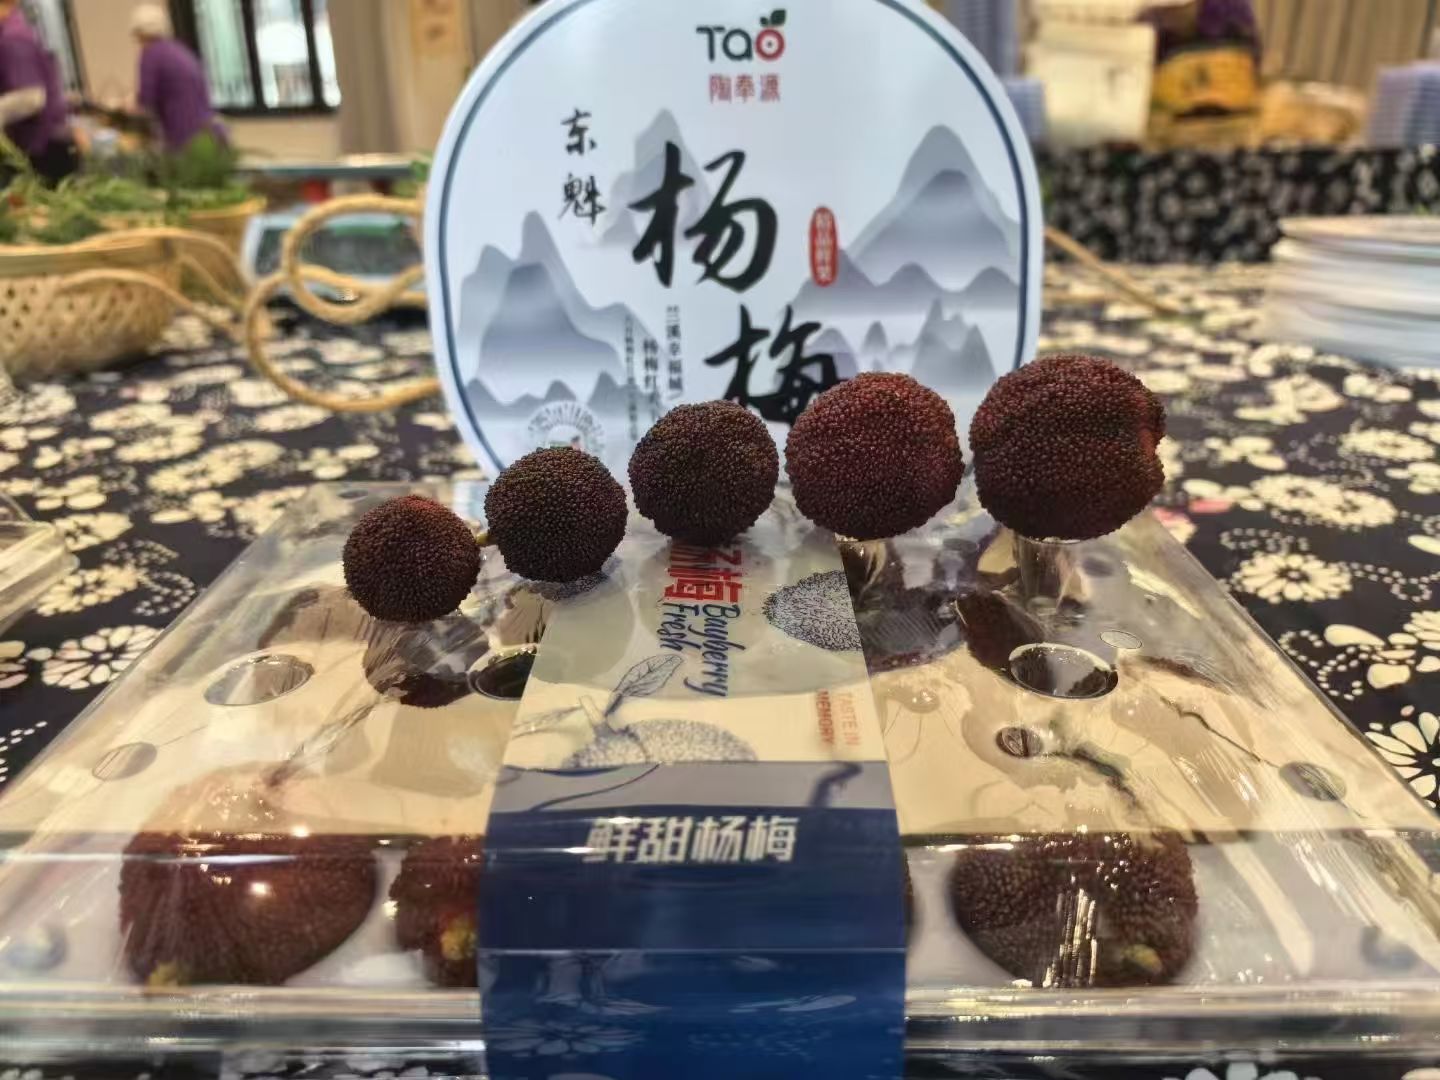
A fruit gift-pack review note
- Parts to review
- Fruit, inner tray, support, presentation sleeve, gift box and shipping carton.
- Arrangement to discuss
- Fruit in the supported tray, tray inside the gift box, and closed gift packs arranged inside the shipper.
- Still to confirm
- Fruit variation, component references, assembled dimensions, carton arrangement and who supplies each part.
- Next step
- Bring the available components together for a sample review. Record the chosen arrangement only after it has been checked.
Process
Take your complete-pack notes forward.
Use the notes below to keep what you know and the questions you want to discuss. Copy them before leaving or refreshing this page; they are not saved or sent to A BOX.
Share your copied notes through the contact method you choose. A photo or a short description is enough to begin the conversation.
Your complete-pack handoff
Fill in what you know. Leave open questions for the conversation. Entries stay on this page until you copy them; nothing is sent.
Product, use and primary-pack reference.
Pads, dividers, labels, sleeves and presentation box.
Assembled-pack and carton dimensions, units and orientation.
Which connected component changes when a dimension or design changes.
Current versions and the teams responsible for each component.
Remaining measurements, sample checks and decisions.
Packaging and project examples
Inner and outer pack interfaces
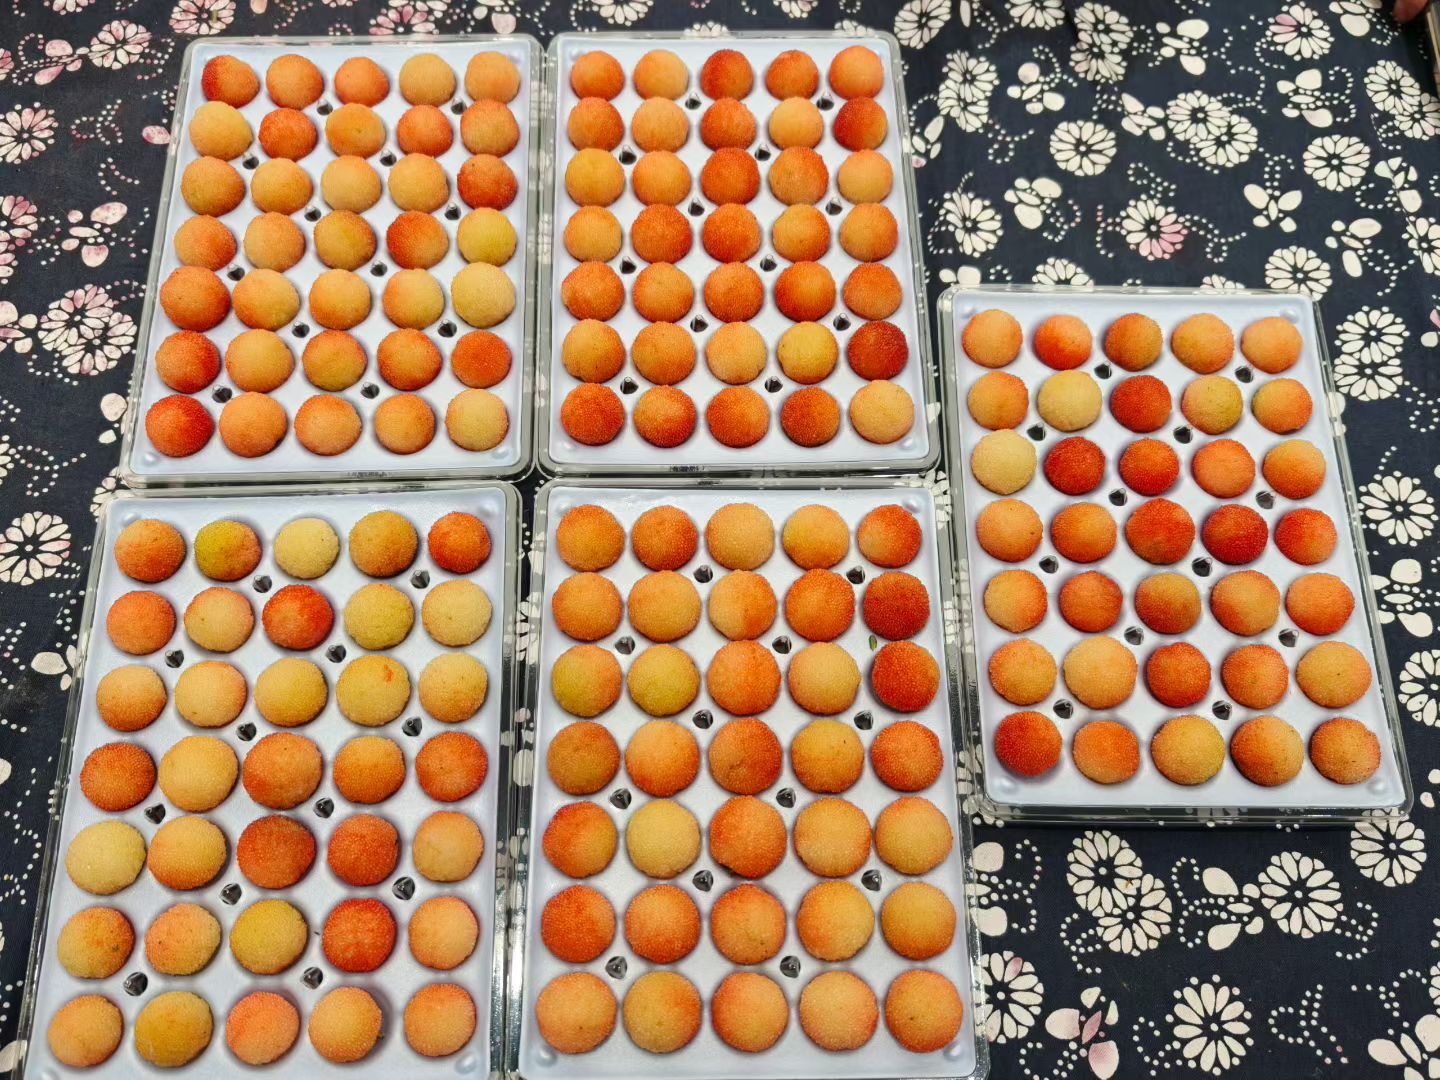
Complete packaging system
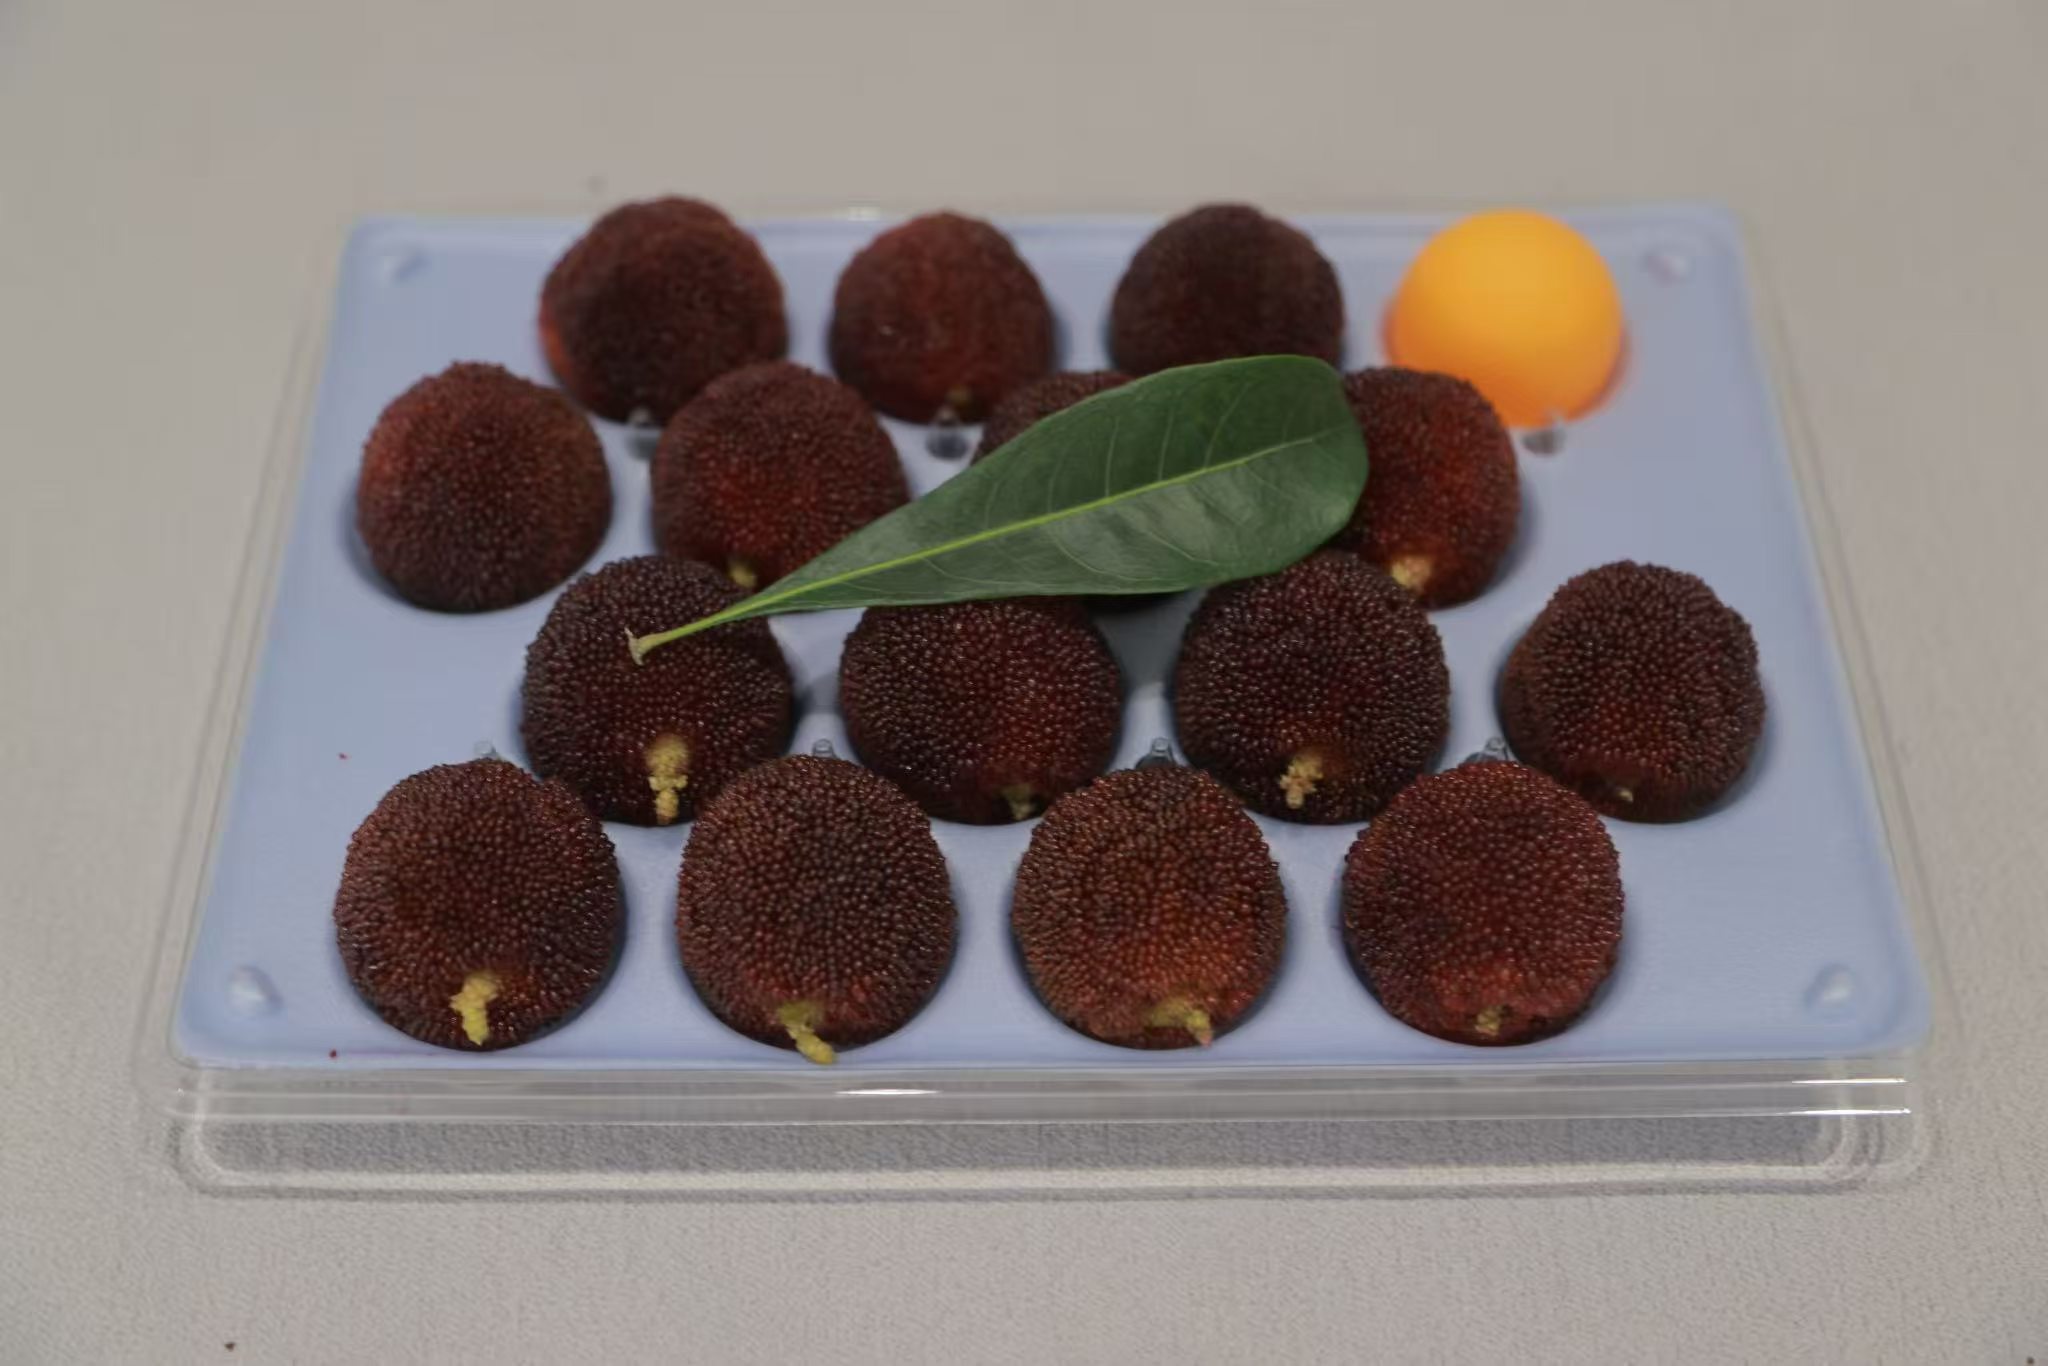
Inner and outer packaging guide