Resource guide
Choose a development route.
Compare the options with your product, a current pack or reference, and the change you need.
Comparison
A guide for your next conversation.
- Describe your product and the change you need.
- Compare the three development options.
- Copy three optional notes for a conversation.
This is a reading guide, not an automatic route assessment.
Overview
Start with three useful inputs.
- Product and use
- What will go in the pack, and how will it be filled, handled or presented?
- Current reference
- Bring an existing pack, sample, model or drawing if you have one. A description is enough to start.
- Change or question
- Name the main problem to solve and anything that must stay compatible.
Other details that can help later
Measurements with units, connected components, quantity direction and timing can help narrow the discussion. Add them when available.
Overview
Review the starting pack.
Use these six questions with an available pack, sample or drawing. Keep unanswered questions for the review; they do not prevent you from starting.
- Does the real product fit, including its normal size variation?
- Can it be filled, closed and opened in the intended way?
- Which size, feature or presentation needs to change?
- Which connected lid, support or outer carton must stay compatible?
- What happens during handling, storage and display?
- Which dimensions or sample observations are still needed?
Record observations in your own notes; this list does not score or approve the pack.
Download the blank checklist (.txt)Comparison
Compare the same question across three routes.
Starting point
An identified existing reference that appears close to the job.
An identified reference plus a clearly bounded change.
A product and use requirement that available geometry cannot resolve.
Project view
Name the required change.
Product envelope and support
Closure, rim or sealing interface
Material and use conditions
Stacking and nesting
Artwork, label or sleeve
Presentation box
Shipper and pack arrangement
Sample review and affected files
Overview
Frame a direction to discuss.
Example: change the presentation of an existing pack.
Illustrative discussion example, not a completed customer project.
- Starting point
- An identified tray is available; the buyer wants to change its sleeve and presentation.
- What stays fixed
- The product quantity and the outer-carton arrangement should remain compatible.
- Direction to discuss
- Review an adaptation of that reference, starting with sleeve placement and the connected components.
- Still to confirm
- Actual dimensions, closure access, sample fit and whether any structural or tooling change is needed.
The example explains how to frame a question. Your development route still needs review against your own product and requirements.
Comparison
Agree the next sample question.
Bring the product and use, a current pack or reference, and the change or question you want to discuss. A BOX can help work through the fit and sample questions with you.
Agree the next drawing or sample to review and the observations it should answer. You do not need a complete engineering file to begin.
Next step
Keep your own copy.
The optional notes below let you copy what you know. Keep your own copy before leaving; entries are not saved on reload and nothing is sent to A BOX.
If copying is unavailable, select and copy the text shown by the notes tool. Clearing notes can be undone on this page.
Write and copy your notesOverview
Discuss the first question.
Use your notes to explain the product and the first question you need to resolve. Opening the contact page does not send or transfer those notes.
Discuss your packaging optionsYour three development notes
Fill in what you know. Leave open questions for the conversation. Entries stay on this page until you copy them; nothing is sent.
What the pack needs to hold, protect, close or present.
Describe an available pack, sample or drawing. Leave this open if you have none.
What needs to change, what must stay compatible, and the question you want to discuss first.
Packaging and project examples
Development examples
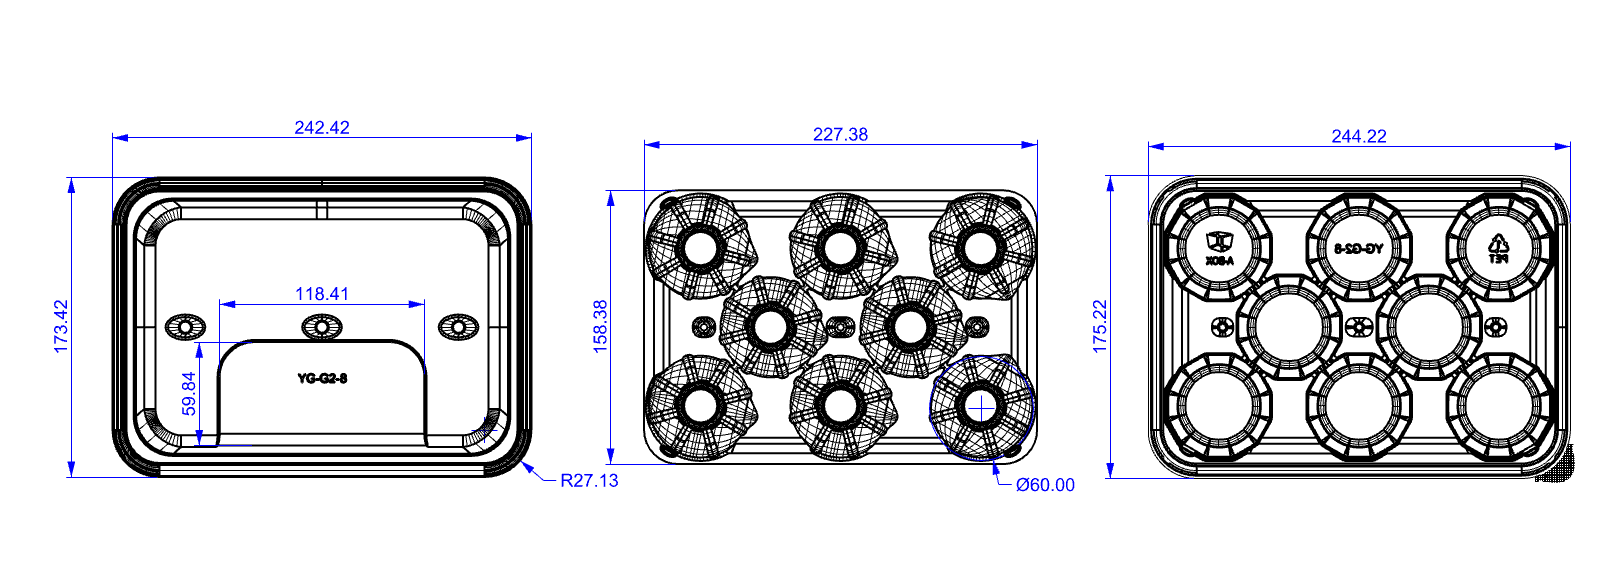
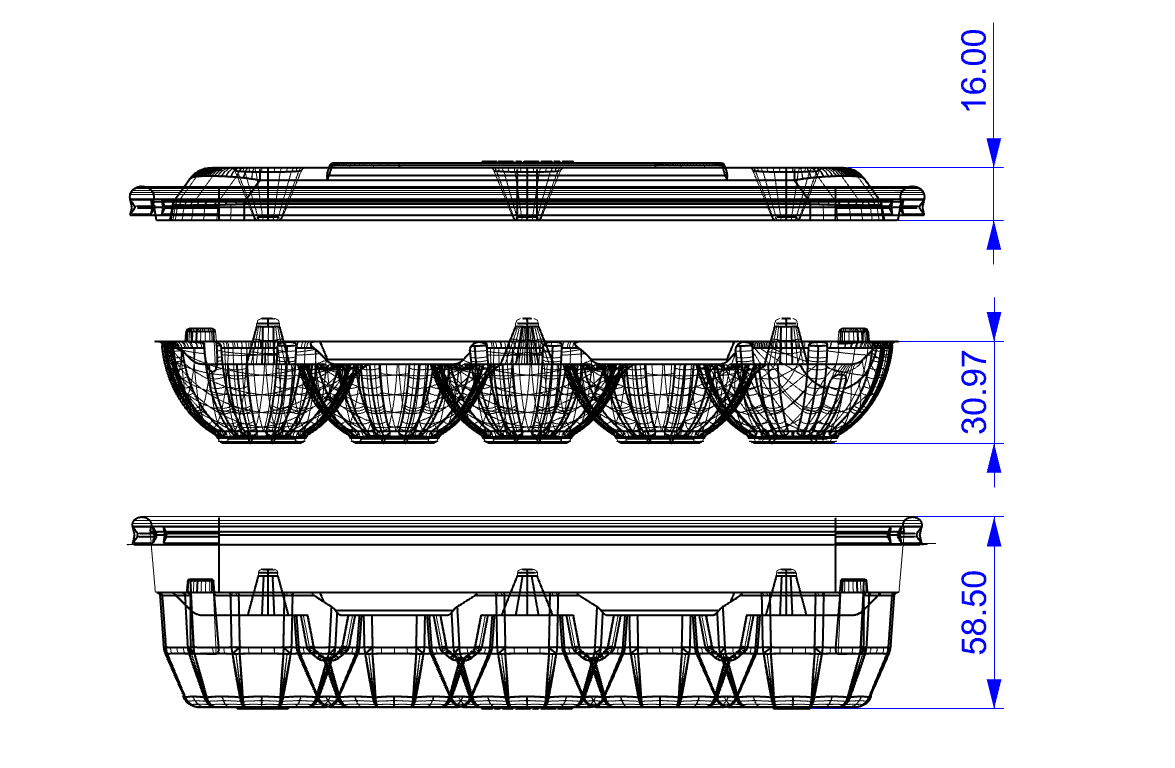
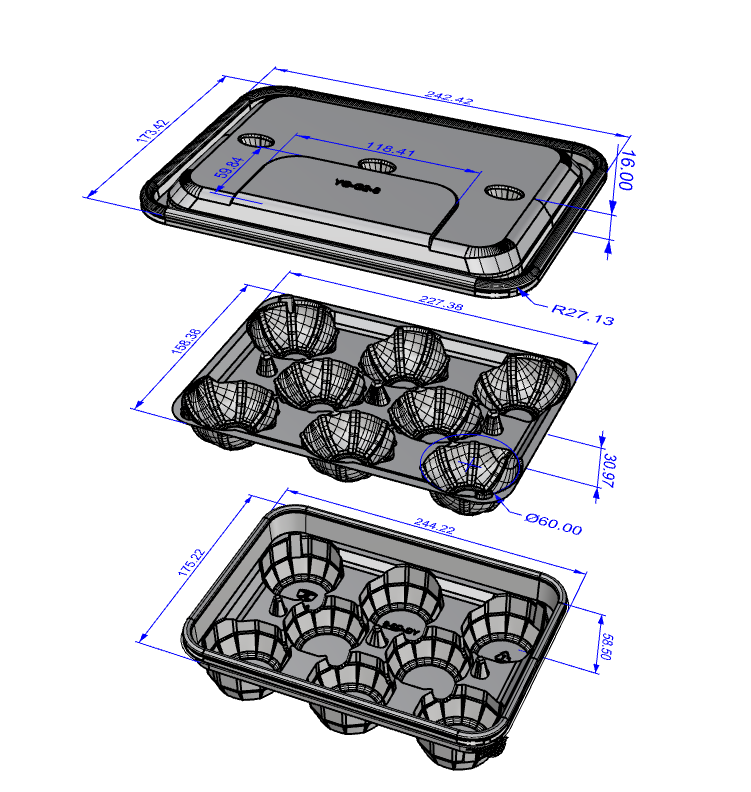
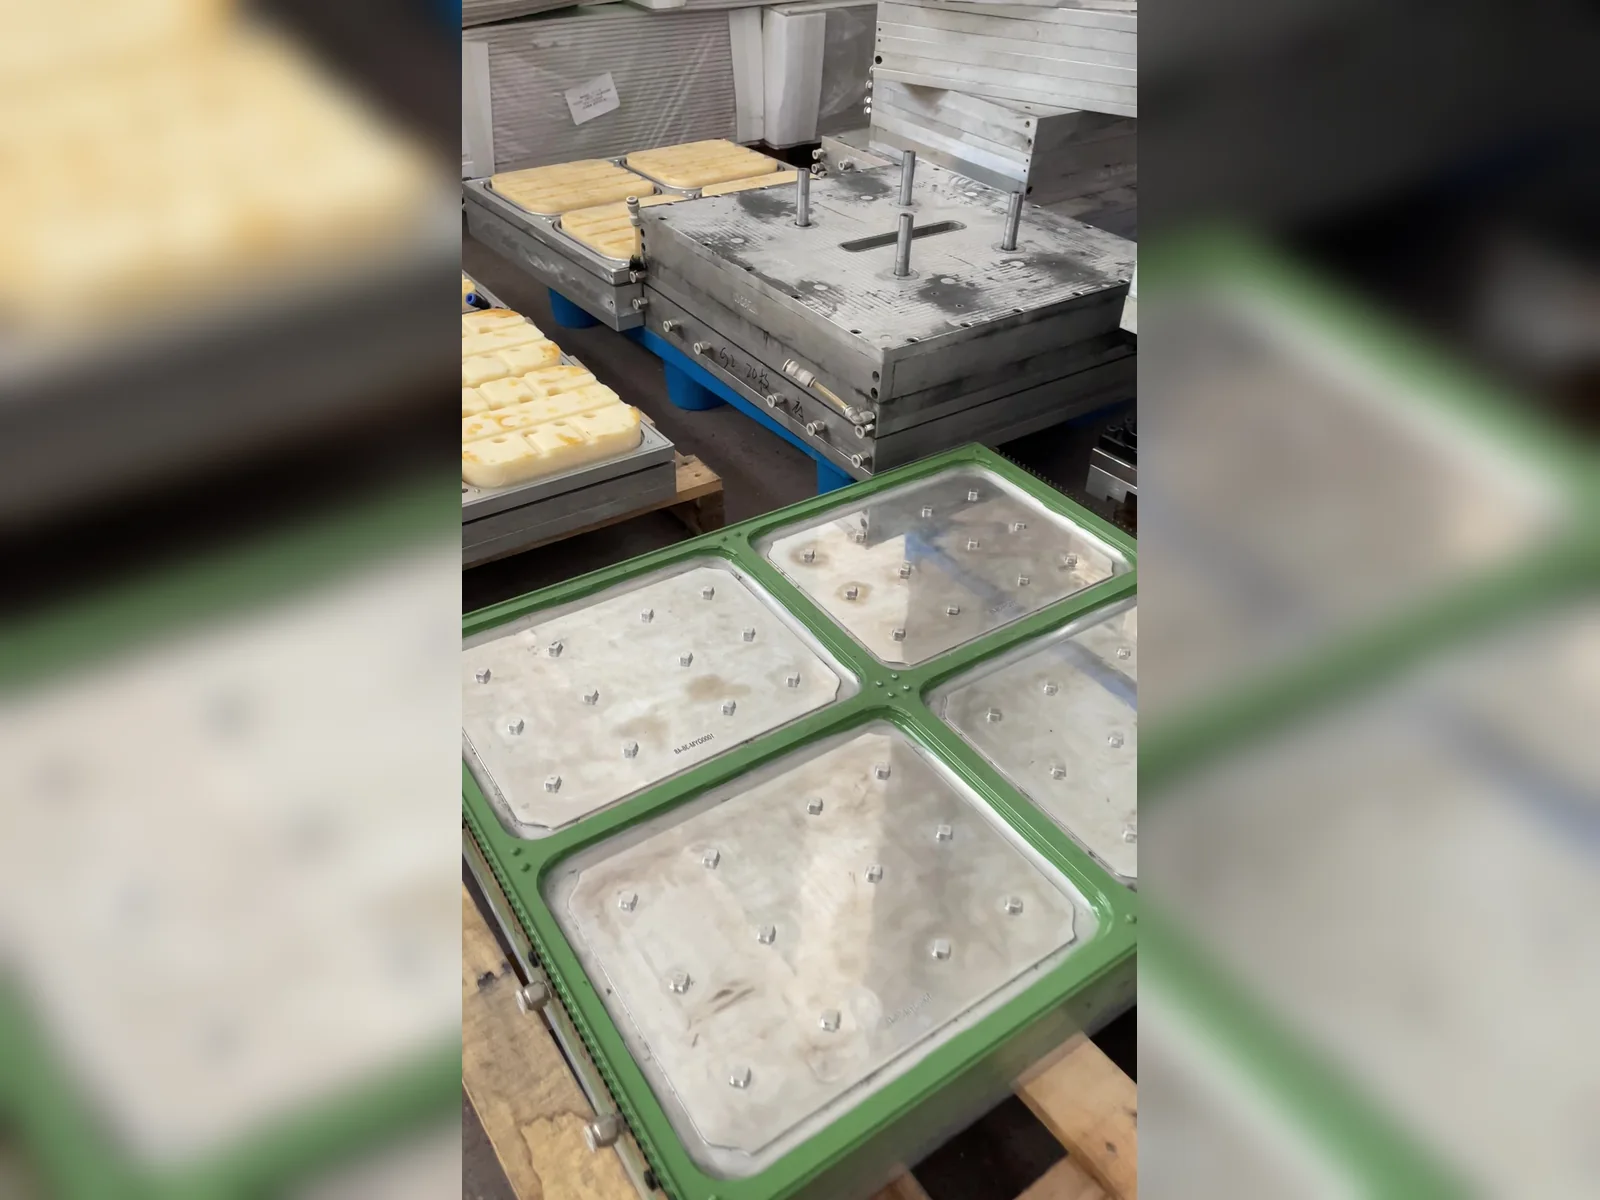
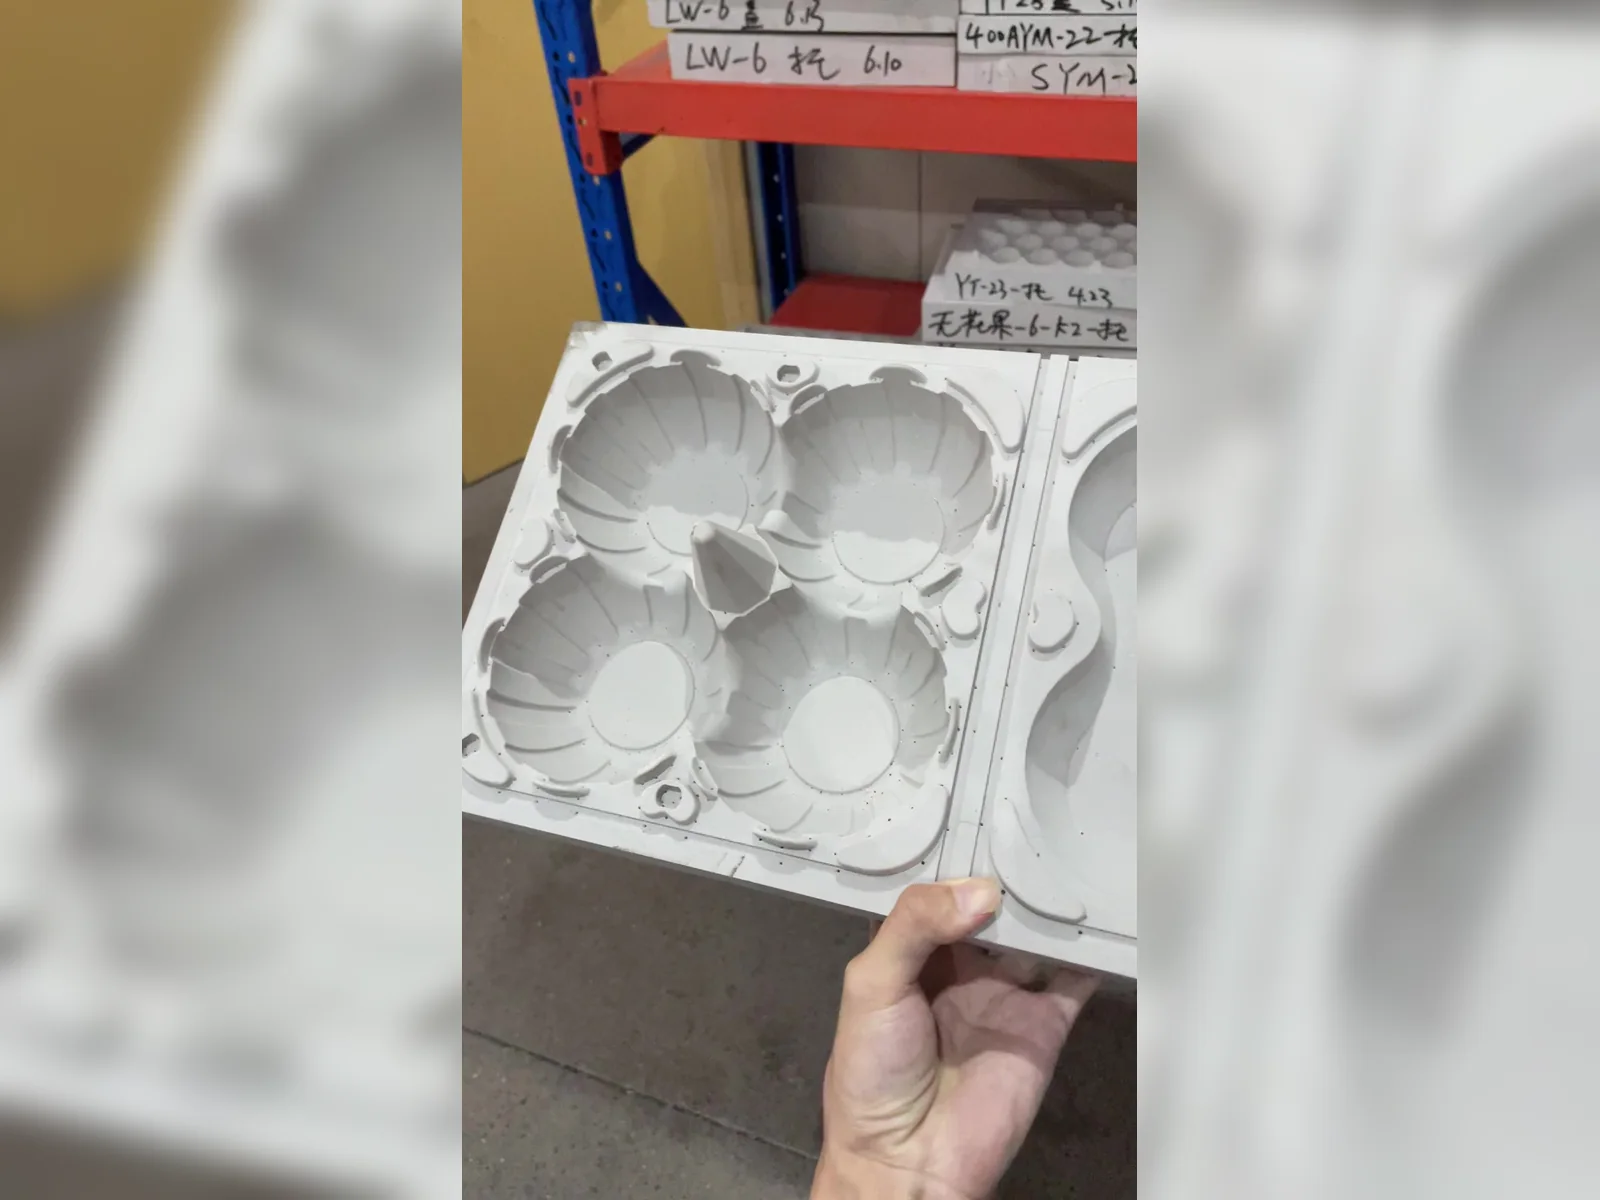
Adaptation and new-tooling route
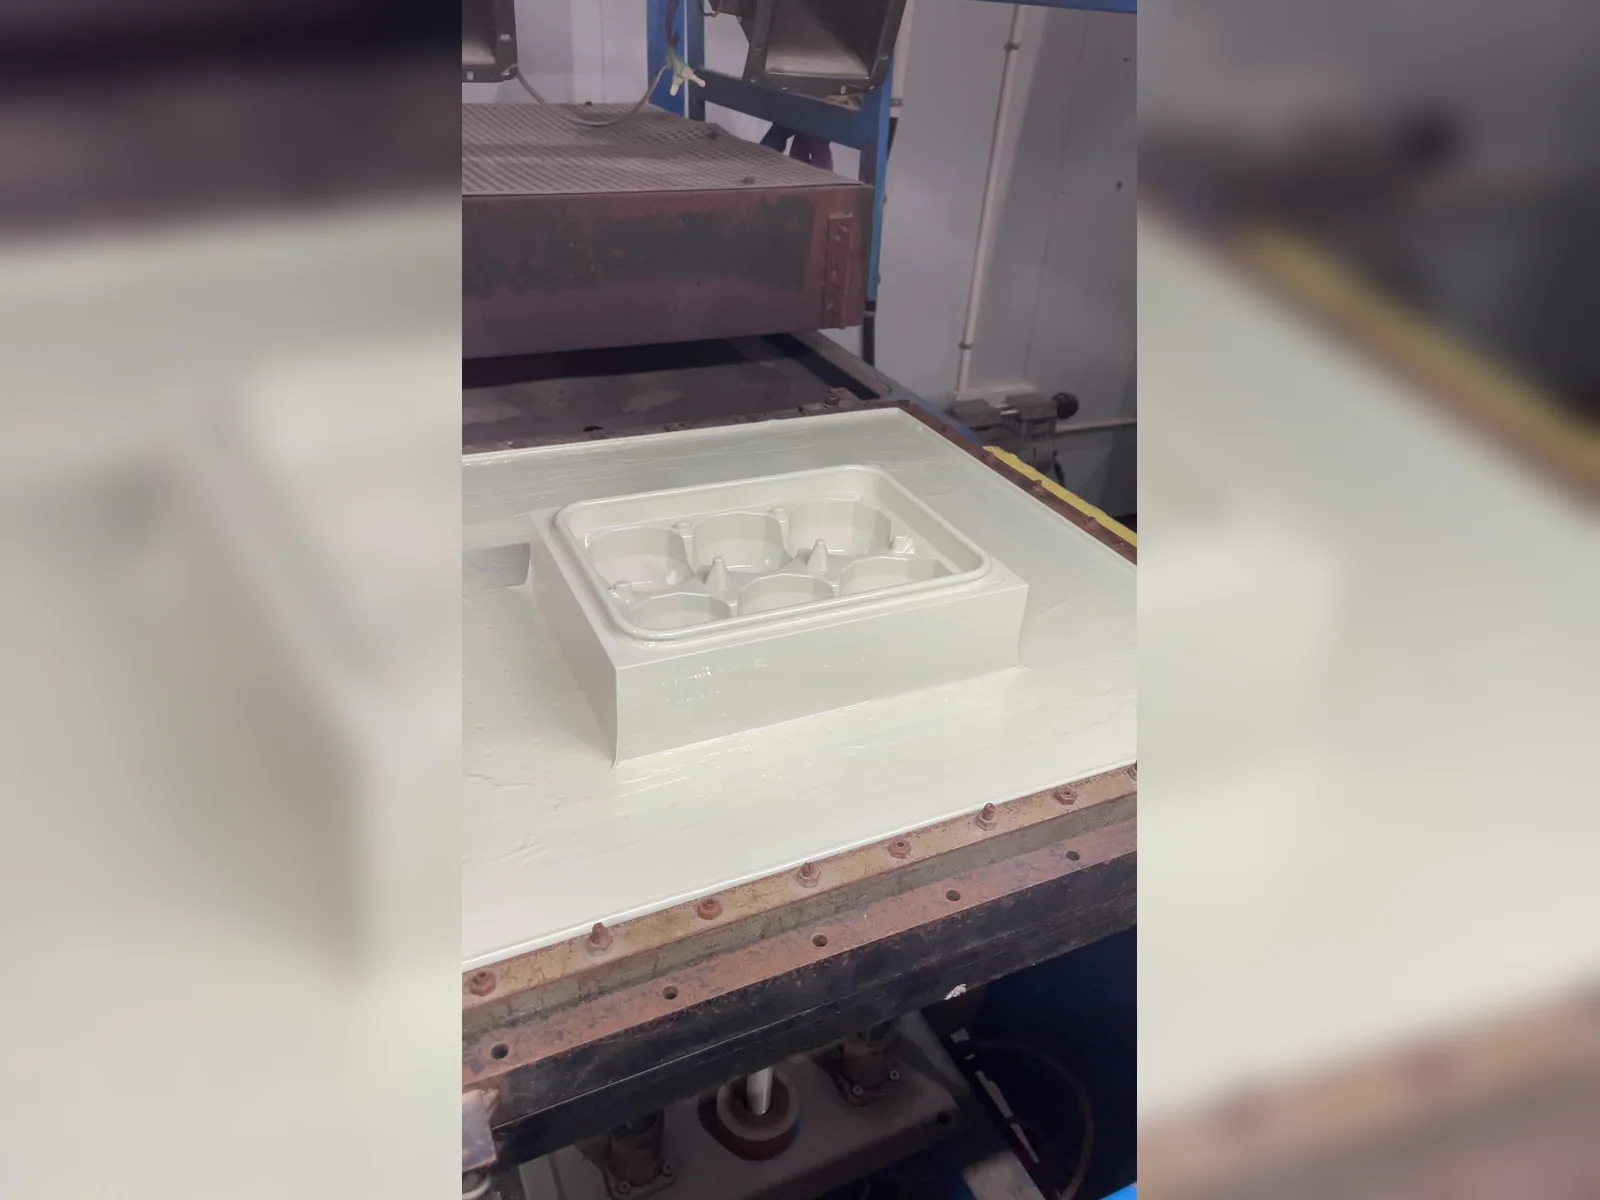
Scroll to see all 3 views →
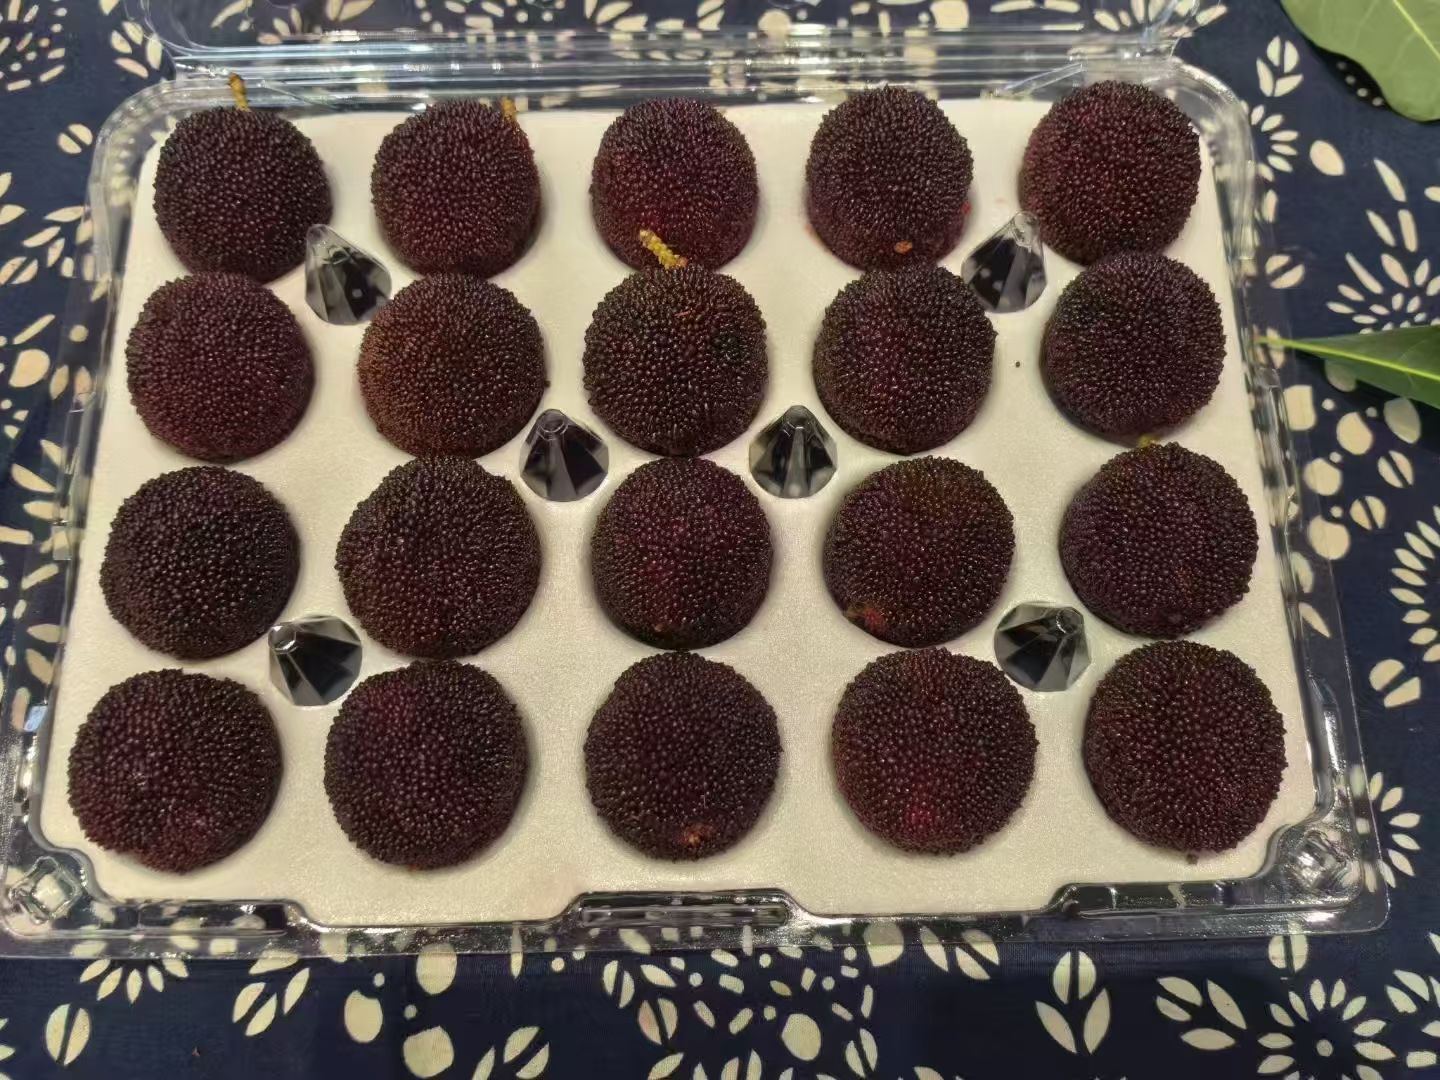
Standard-format route
Watch the answer
Route-selection guide