
Produce packaging
Fresh fruit. Fitted packaging.
Explore trays and covered packs for your fruit, then review the fit with your own product.
Scroll sideways to explore the images. Select an image to enlarge it.
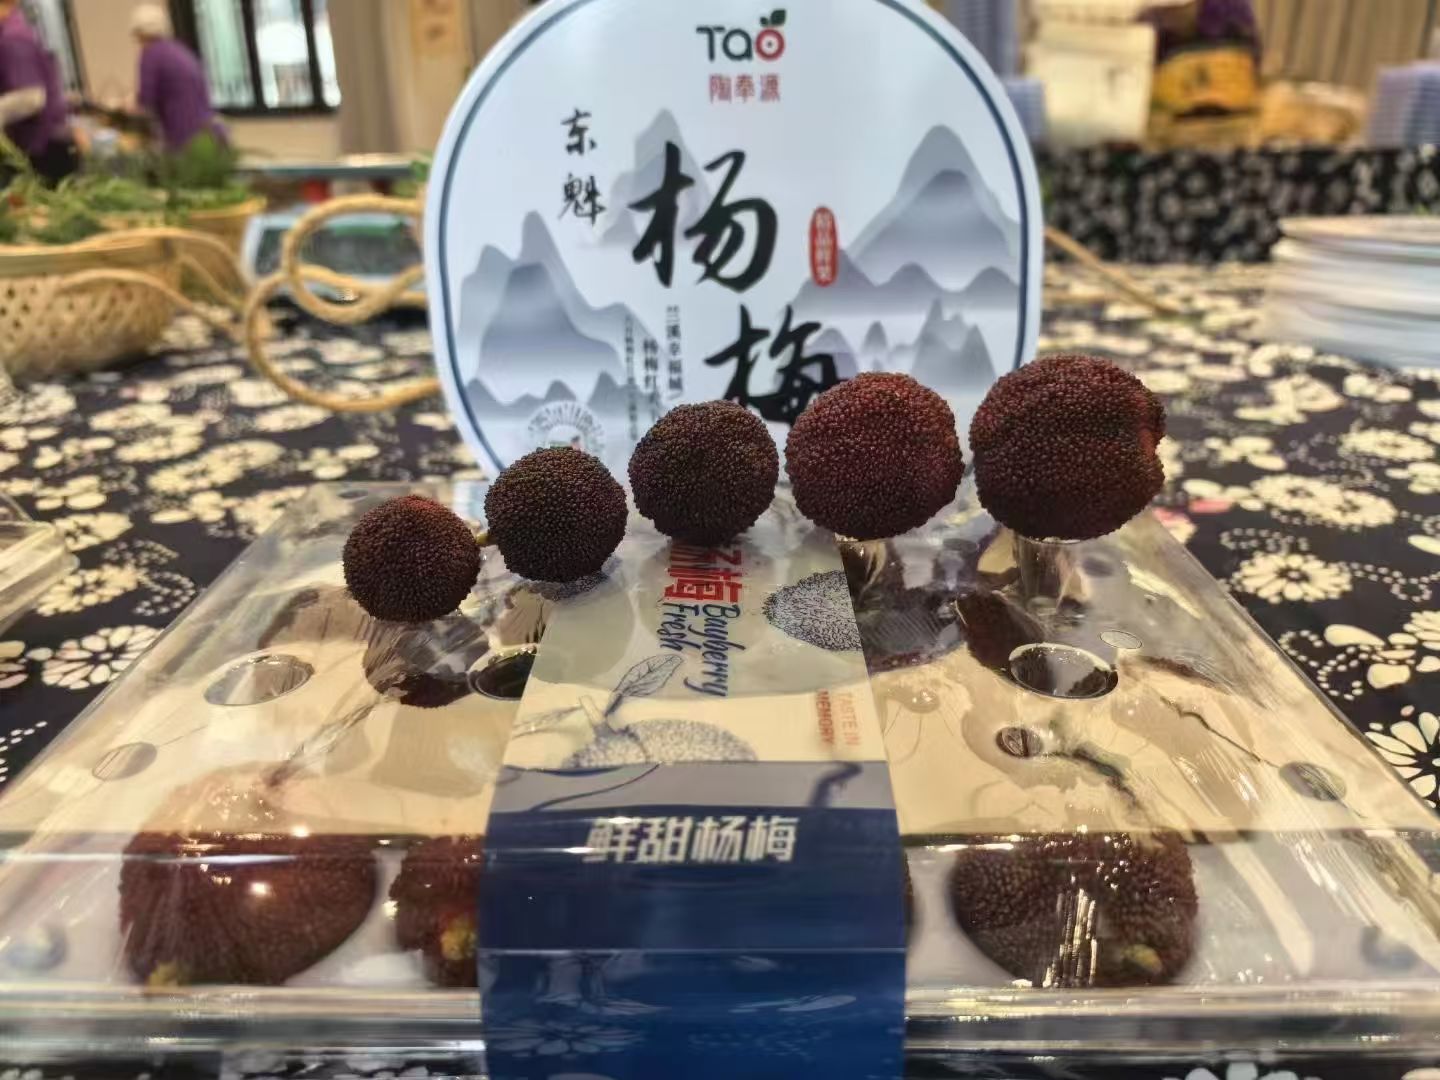
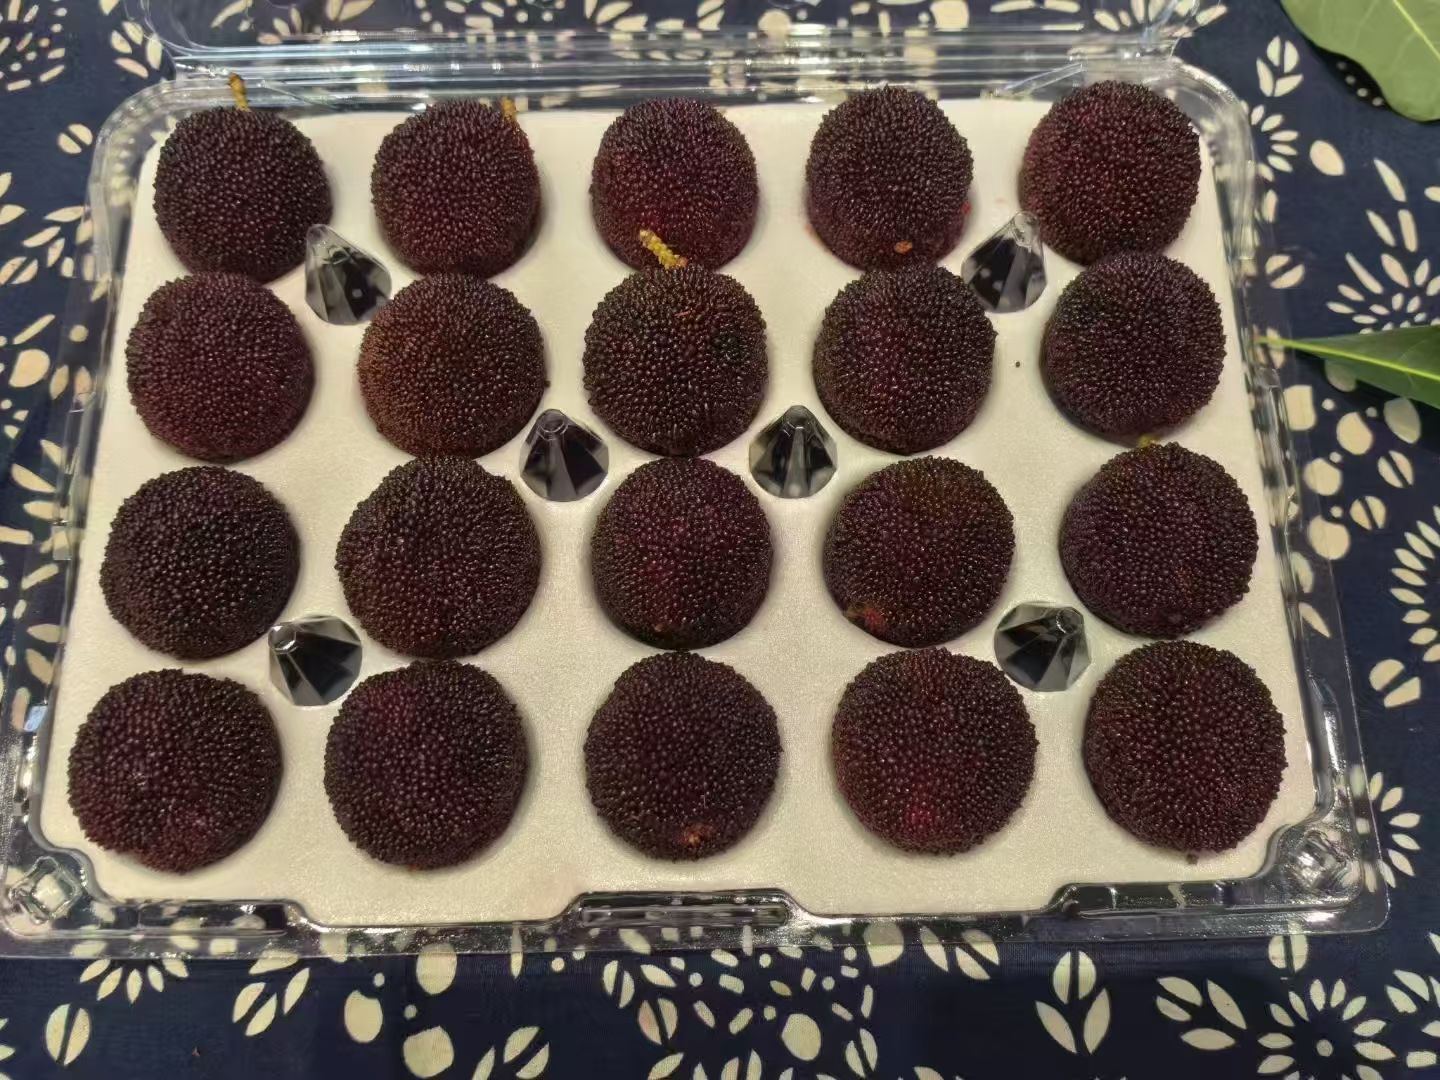
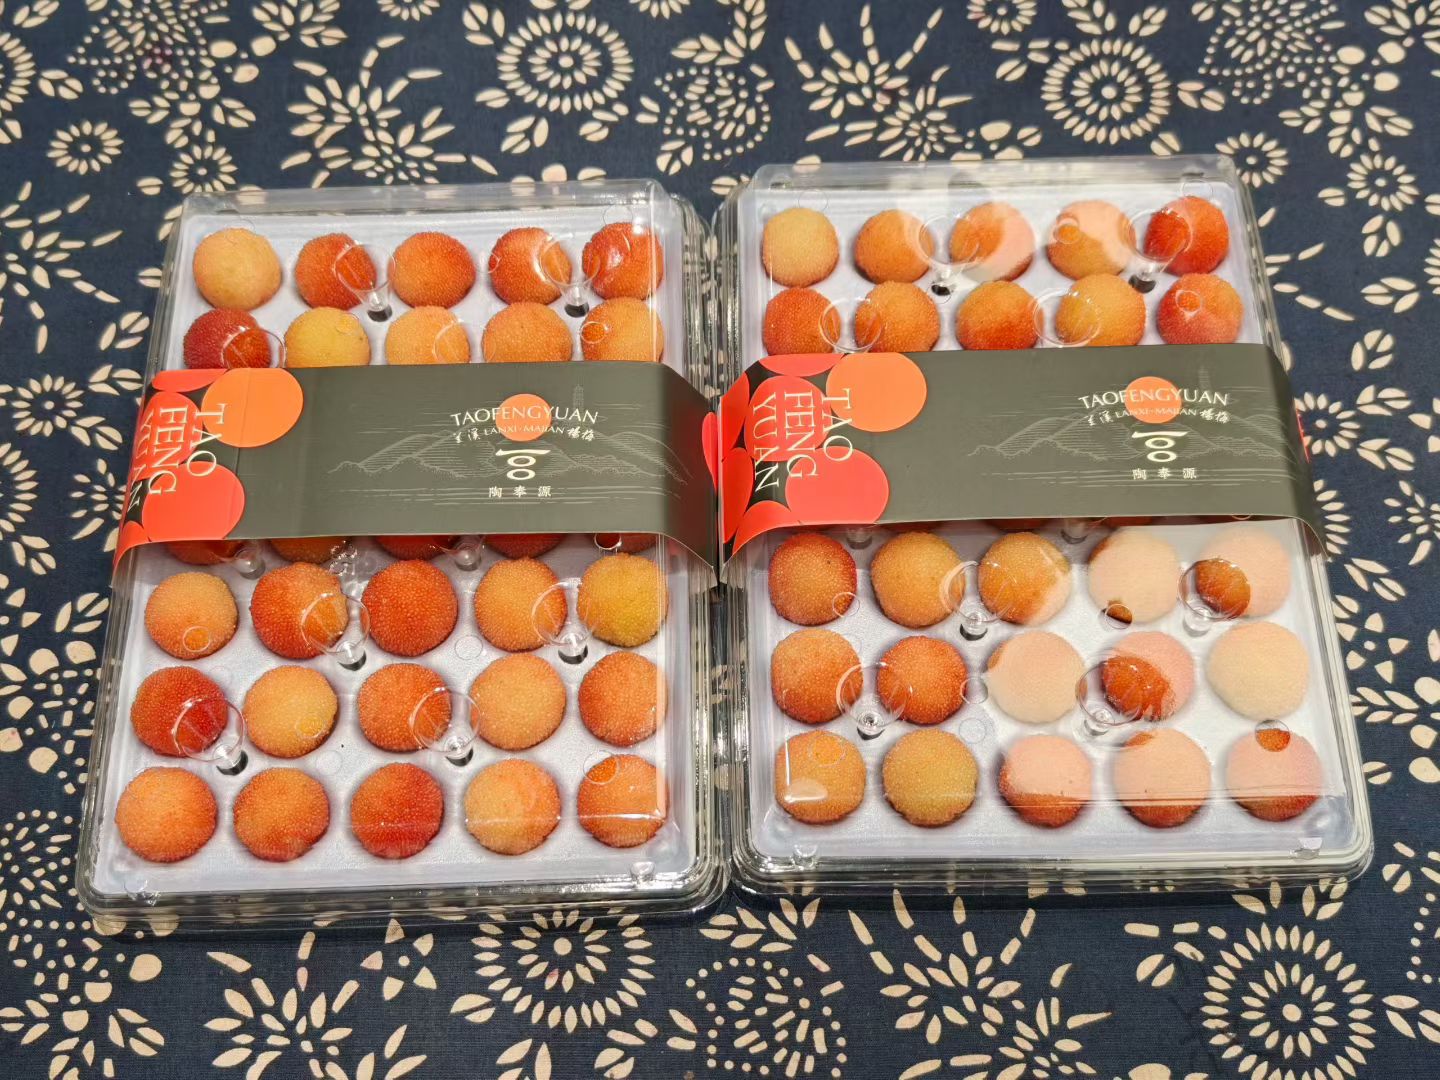
Bayberries in a clear fruit pack
An open tray and a covered pack show the fruit, individual positions and surrounding rim. Select a photo to look closer.
Project inputs
Start with how your produce is handled.
Add the count or measurements if you know them.
Overview
Focus on what the pack needs to solve.
This summary follows your answers. You can edit it in the enquiry form.
Materials, dimensions and fit are reviewed with your product and use conditions.
Process
Compare how each format fills and closes.
Hinged clamshell
XGL-650G
- Filling
- Fill the base with the attached lid folded back. Keep fruit clear of the rim.
- Opening and closing
- Fold the lid over the fruit and align the corner closures. Leave space for the lid to open.
Open tray
XGL-03A
- Filling
- Arrange fruit from above across the shallow tray. Check the filled height and support.
- Opening and closing
- This view shows an open tray. Agree the cover or outer-pack arrangement separately.
Container with a separate lid
XGL-350MD
- Filling
- Fill the round container before adding the lid. Keep fruit below the closing edge.
- Opening and closing
- Position the separate lid over the rim and check the fit around the edge. Lift it off to open.
Scroll sideways to explore the images. Select an image to enlarge it.
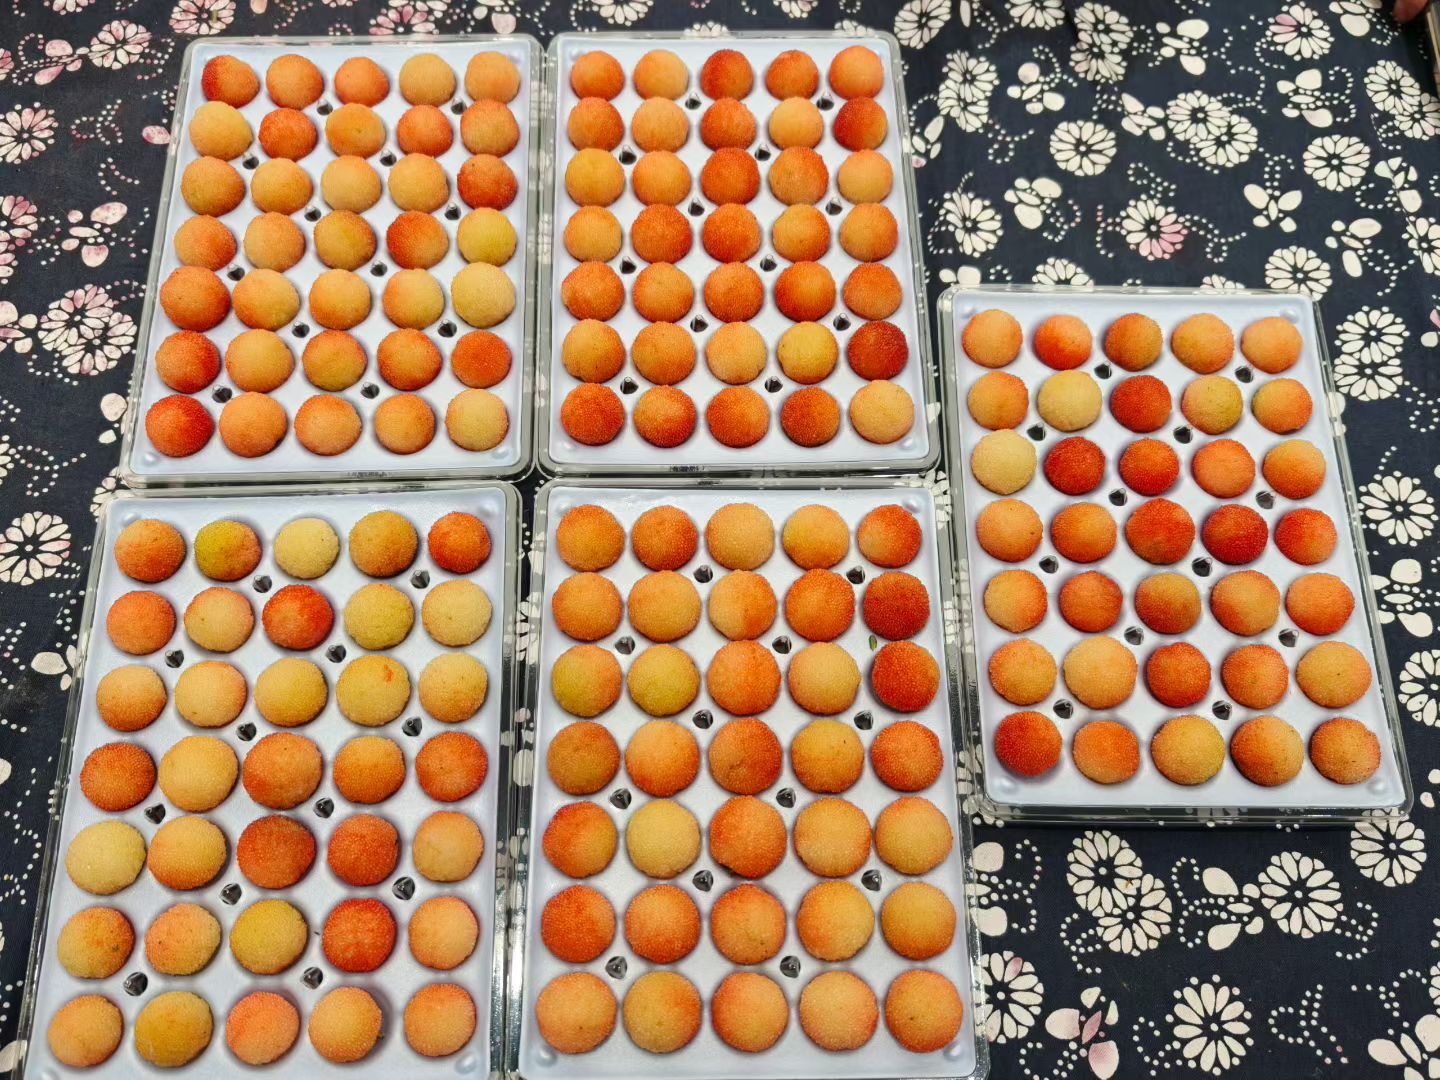
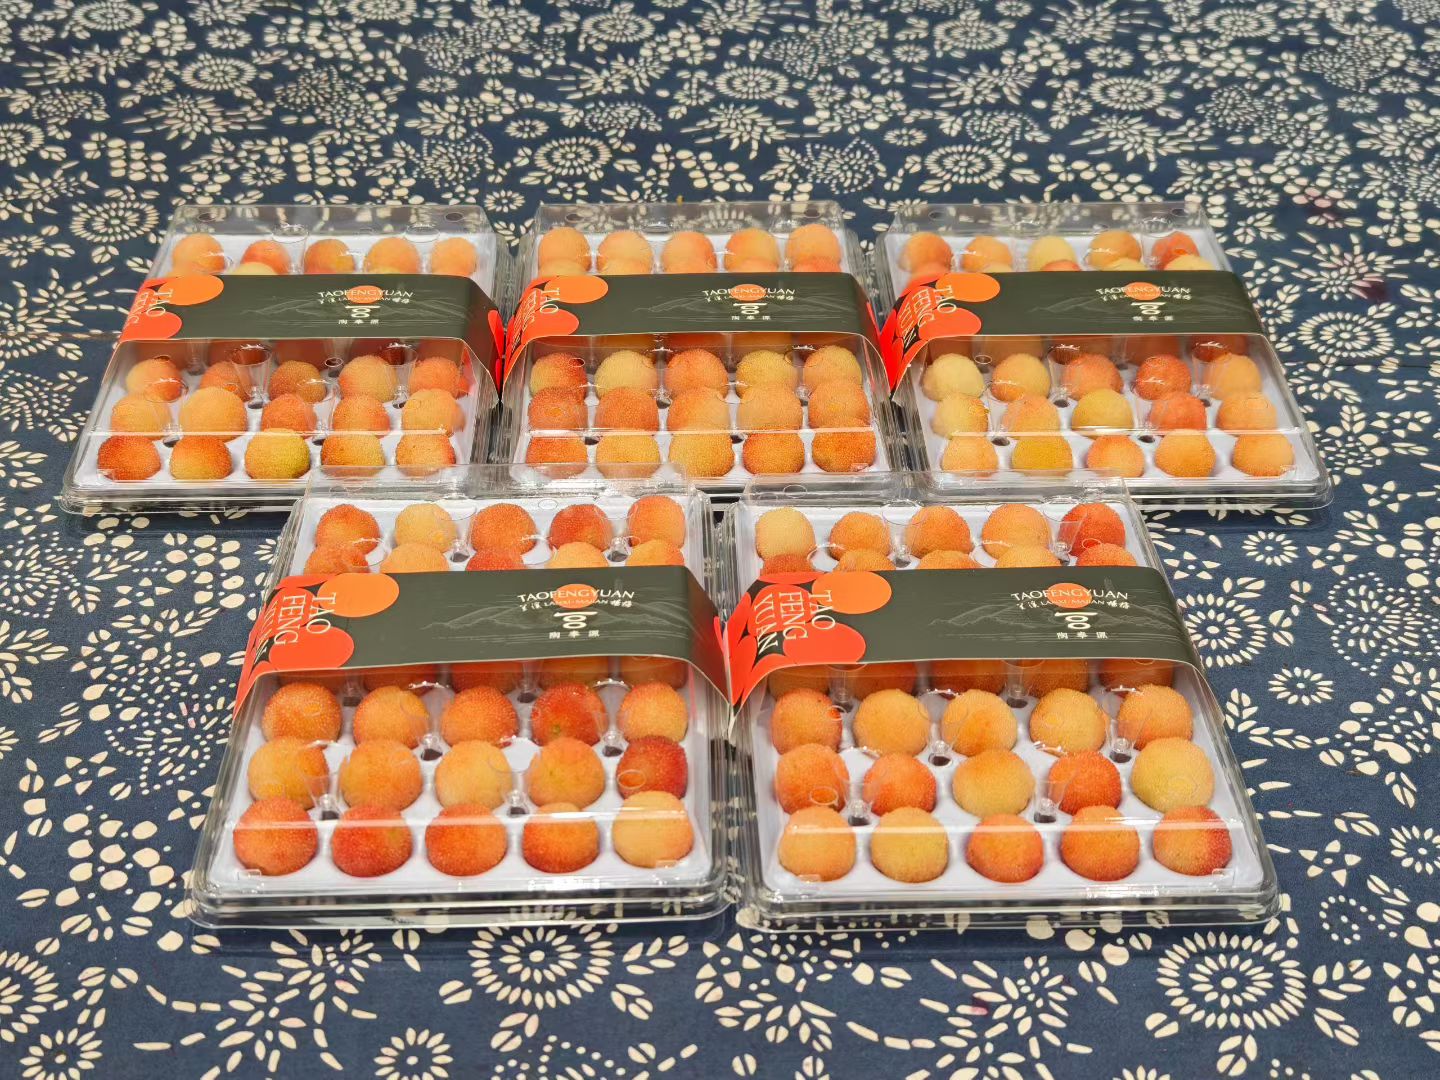
Tray layout, cover and sleeve
Compare the open tray, clear cover and printed sleeve below. These views show components of a fruit pack; they do not establish a matching closure system for another product.
Overview
Keep the product and use together.
- Fit and movement
Inspection sketch Fill a sample with the smallest and largest fruit you normally pack. Look at the base and side contact, and note where the fruit moves during handling.
- Air and moisture
Inspection sketch Describe the storage conditions and any moisture you observe. Check the openings with the pack filled and placed in its intended carton.
- Filling, closing and opening
Inspection sketch Try the actual filling and opening sequence with the intended lid or film. Note contact with the fruit and any difficulty closing or removing it.
- Visibility and labelling
Inspection sketch Place the intended label, sleeve or card on the filled sample. Check which parts of the fruit remain visible and whether the information is easy to read.
- Stacking and carton fit
Inspection sketch Arrange the filled packs in the intended carton. Check their orientation, count and contact with neighbouring packs during handling.
Scroll sideways to explore the images. Select an image to enlarge it.
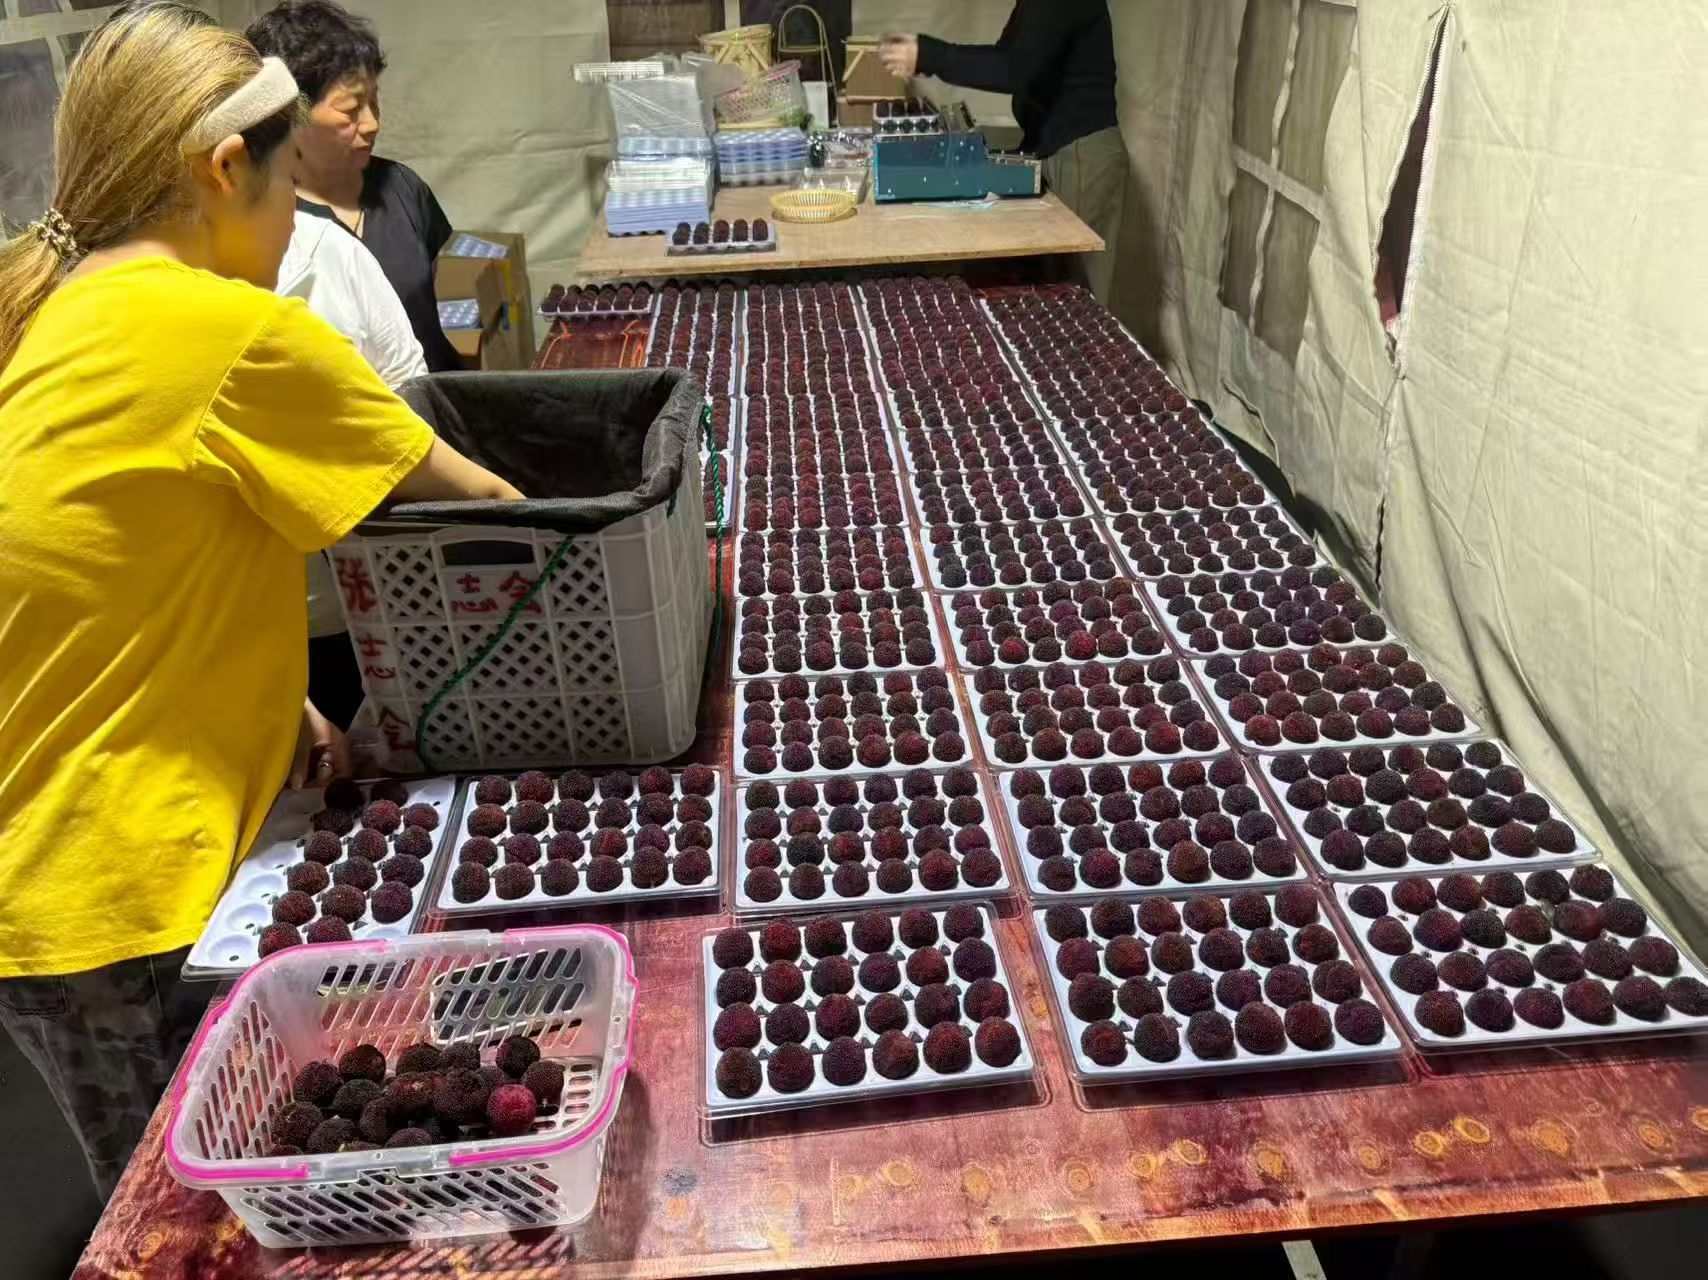
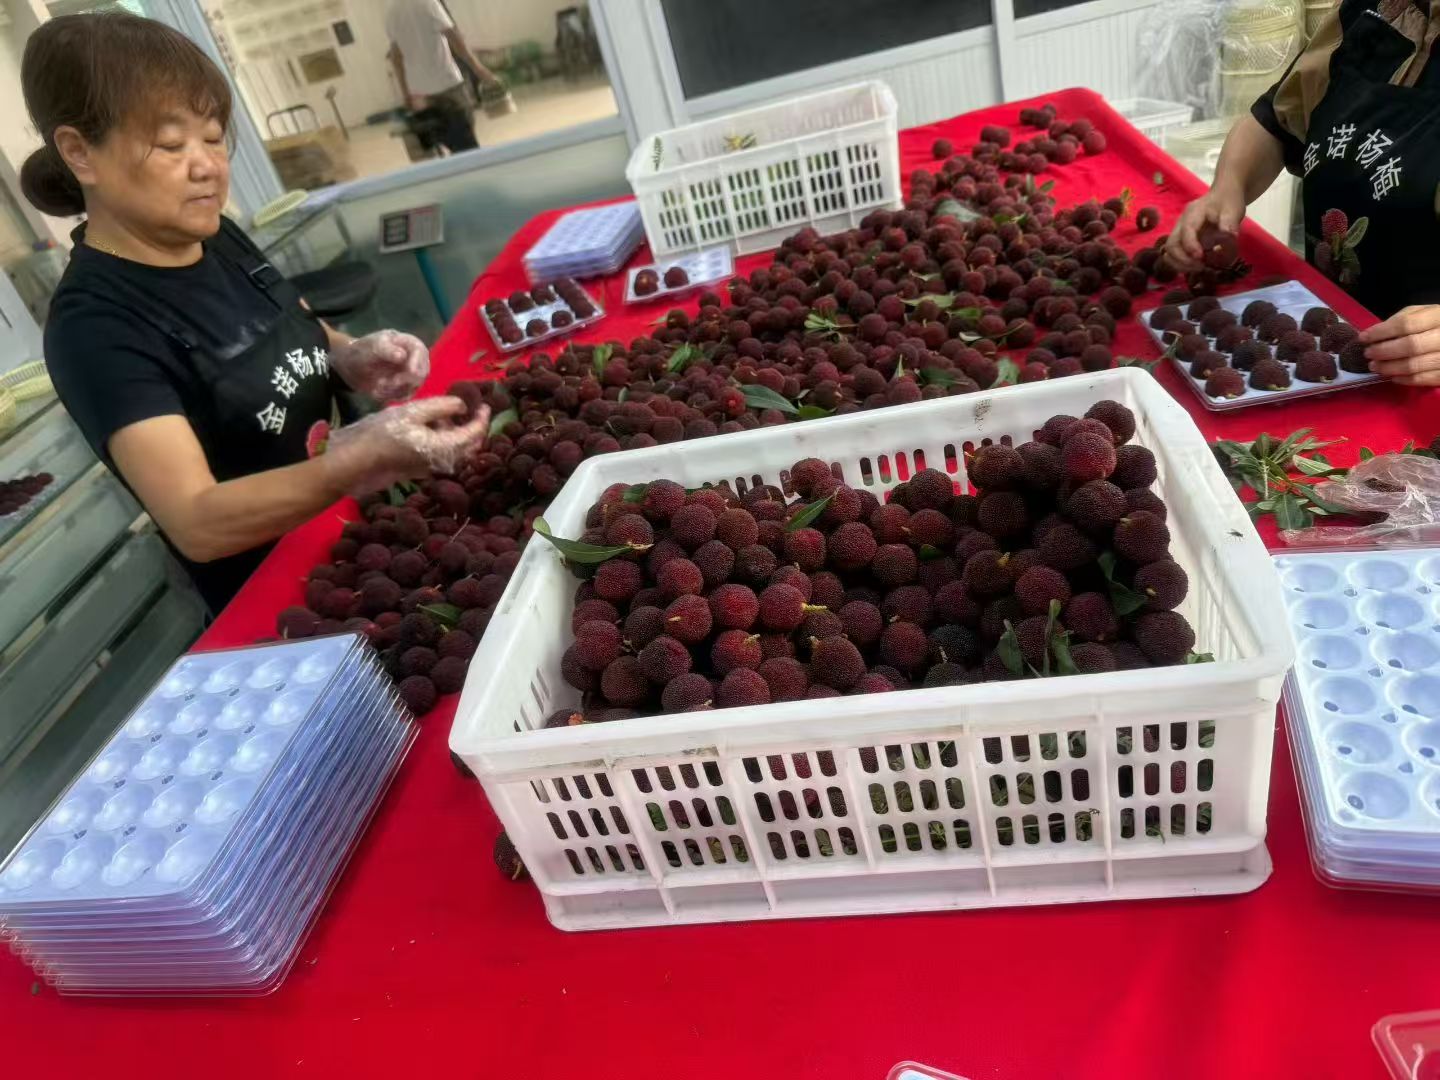
Filling at the packing table
These views show loose bayberries, filled positions and empty packs. Use your own fruit to review contact and access during filling.
Overview
Existing format or custom structure.
Check a close existing format
Start here when the fruit arrangement, pack count and closure look close to your needs.
View photo · XGL-650G- What to assess in this reference
- In the XGL-650G photo, the lid stays attached to the base. Start by keeping the base, hinge and closing rim unchanged; check whether your fruit leaves enough space under the closed lid.
- Next step
- Send your fruit size range and intended fill. A filled sample can show whether the existing shape works before a structural change is considered.
Discuss a focused change
Use a reference when one feature needs attention and the rest of the pack remains useful.
View photo · XGL-350MD- What to assess in this reference
- The XGL-350MD photo shows a separate lid and a round closing rim. If your fruit needs more headroom, ask us to assess a higher lid while keeping the base footprint and matching rim as fixed requirements.
- Next step
- Mark the extra clearance you need. Review lid shape, closure fit, carton height and tooling impact together; the photo does not establish that this change is feasible.
Explore a new structure
Start from the fruit and packing requirements when no close reference suits the arrangement or closure.
View photo · XGL-03A- What to assess in this reference
- The XGL-03A photo shows one open tray space. If your project needs separate positions for each fruit and a matching lid, assess the dividers, support points and new closing rim as a complete structure.
- Next step
- Share the fruit count, sizes and carton arrangement. Review a structural proposal and its tooling needs, then check fruit contact and closure with a sample.
You do not need to choose the tooling or have a drawing before asking. Start with a photo and the sizes you know. These examples show what to assess from the photos; they are not completed modifications.
Overview
Review the sample before production.
From visible detail to your sample
The photos on this page give you positions, covers, sleeves and boxes to discuss. Review the final fit with your fruit and intended handling conditions.
- Fill and close the pack
- Check fruit support, contact with the cover and ease of closing. Photograph the point that needs changing.
- Place the complete pack in the box
- Include the sleeve, neighboring packs and other intended contents. Review orientation, available space and removal from the box.
- Identify the sample and the document
- Record the sample version and conditions reviewed. Reports concern the material and sample identified in each document; check their scope for your project.
Read the available documents or start the conversation with a photo and a specific question.
Scroll sideways to explore the images. Select an image to enlarge it.
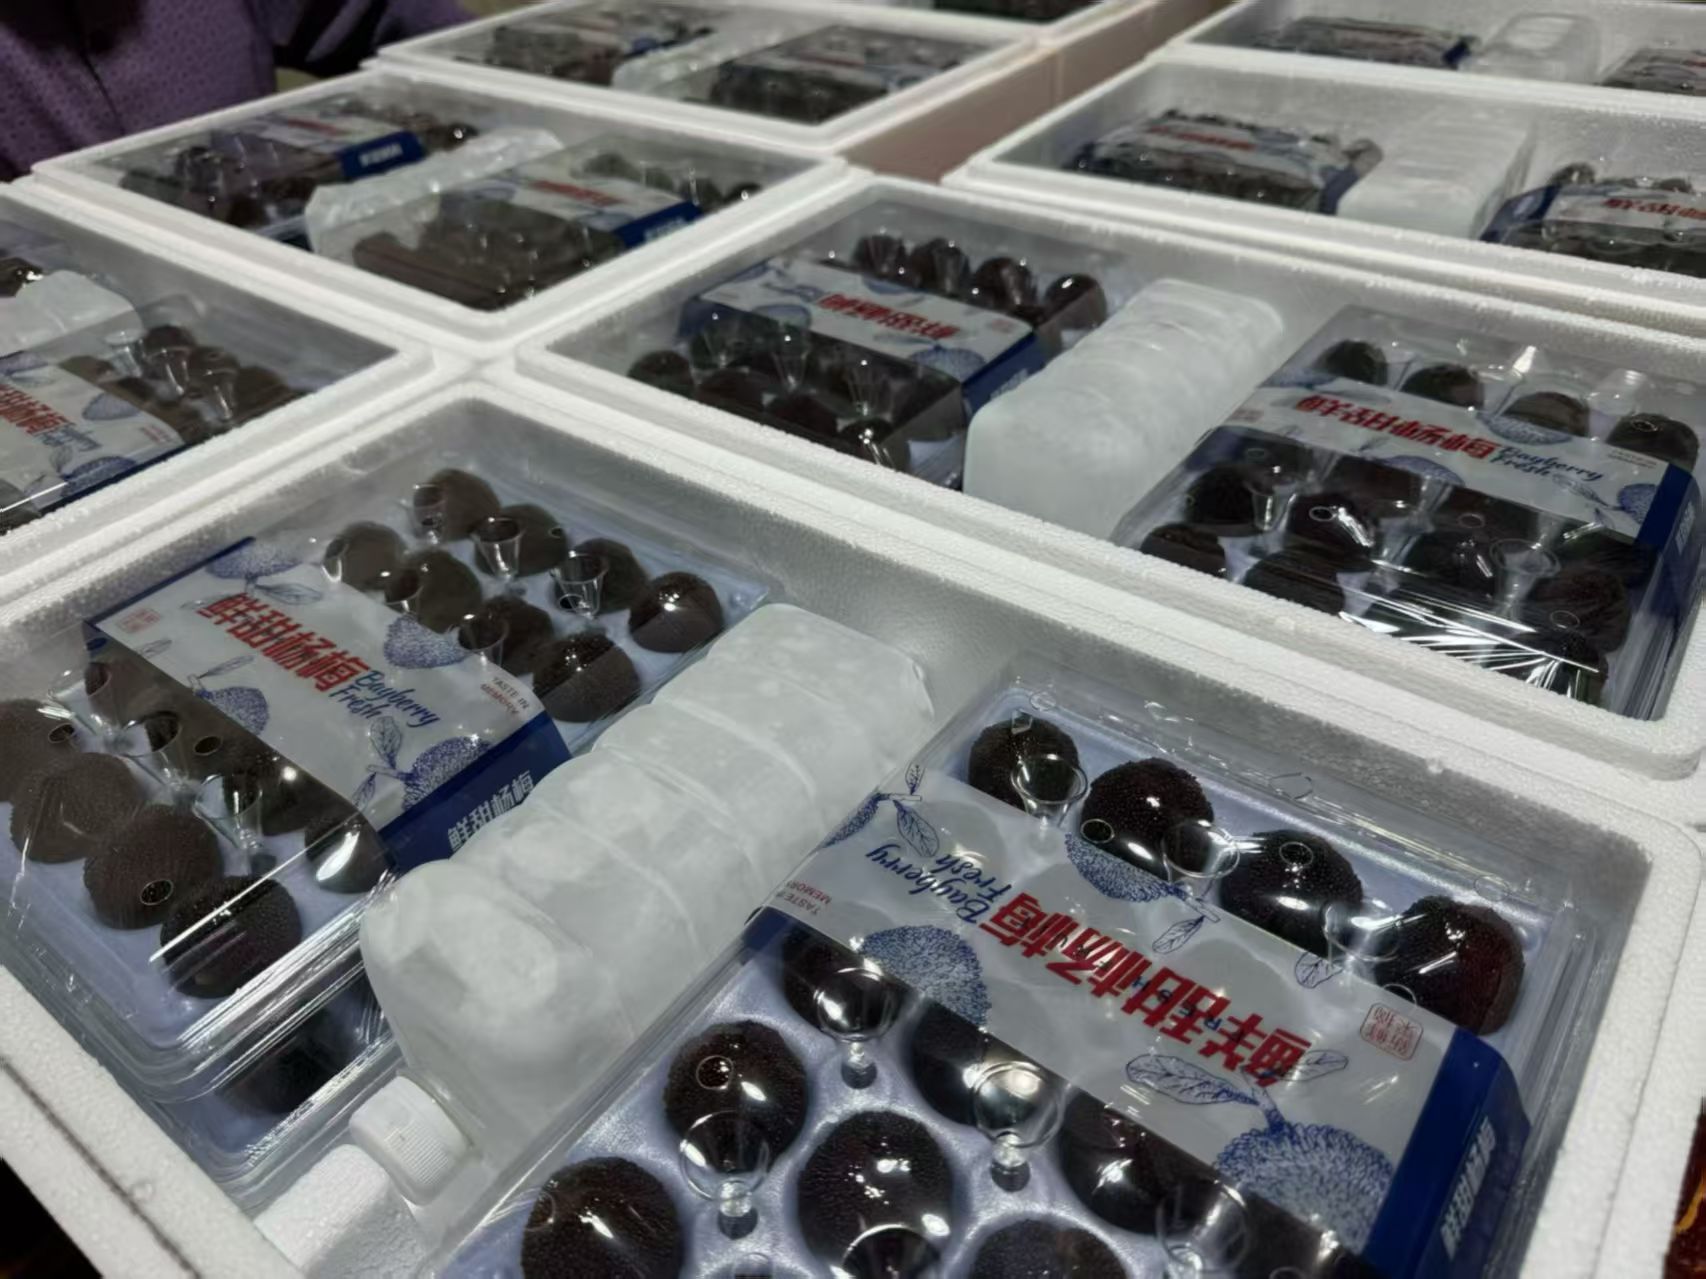
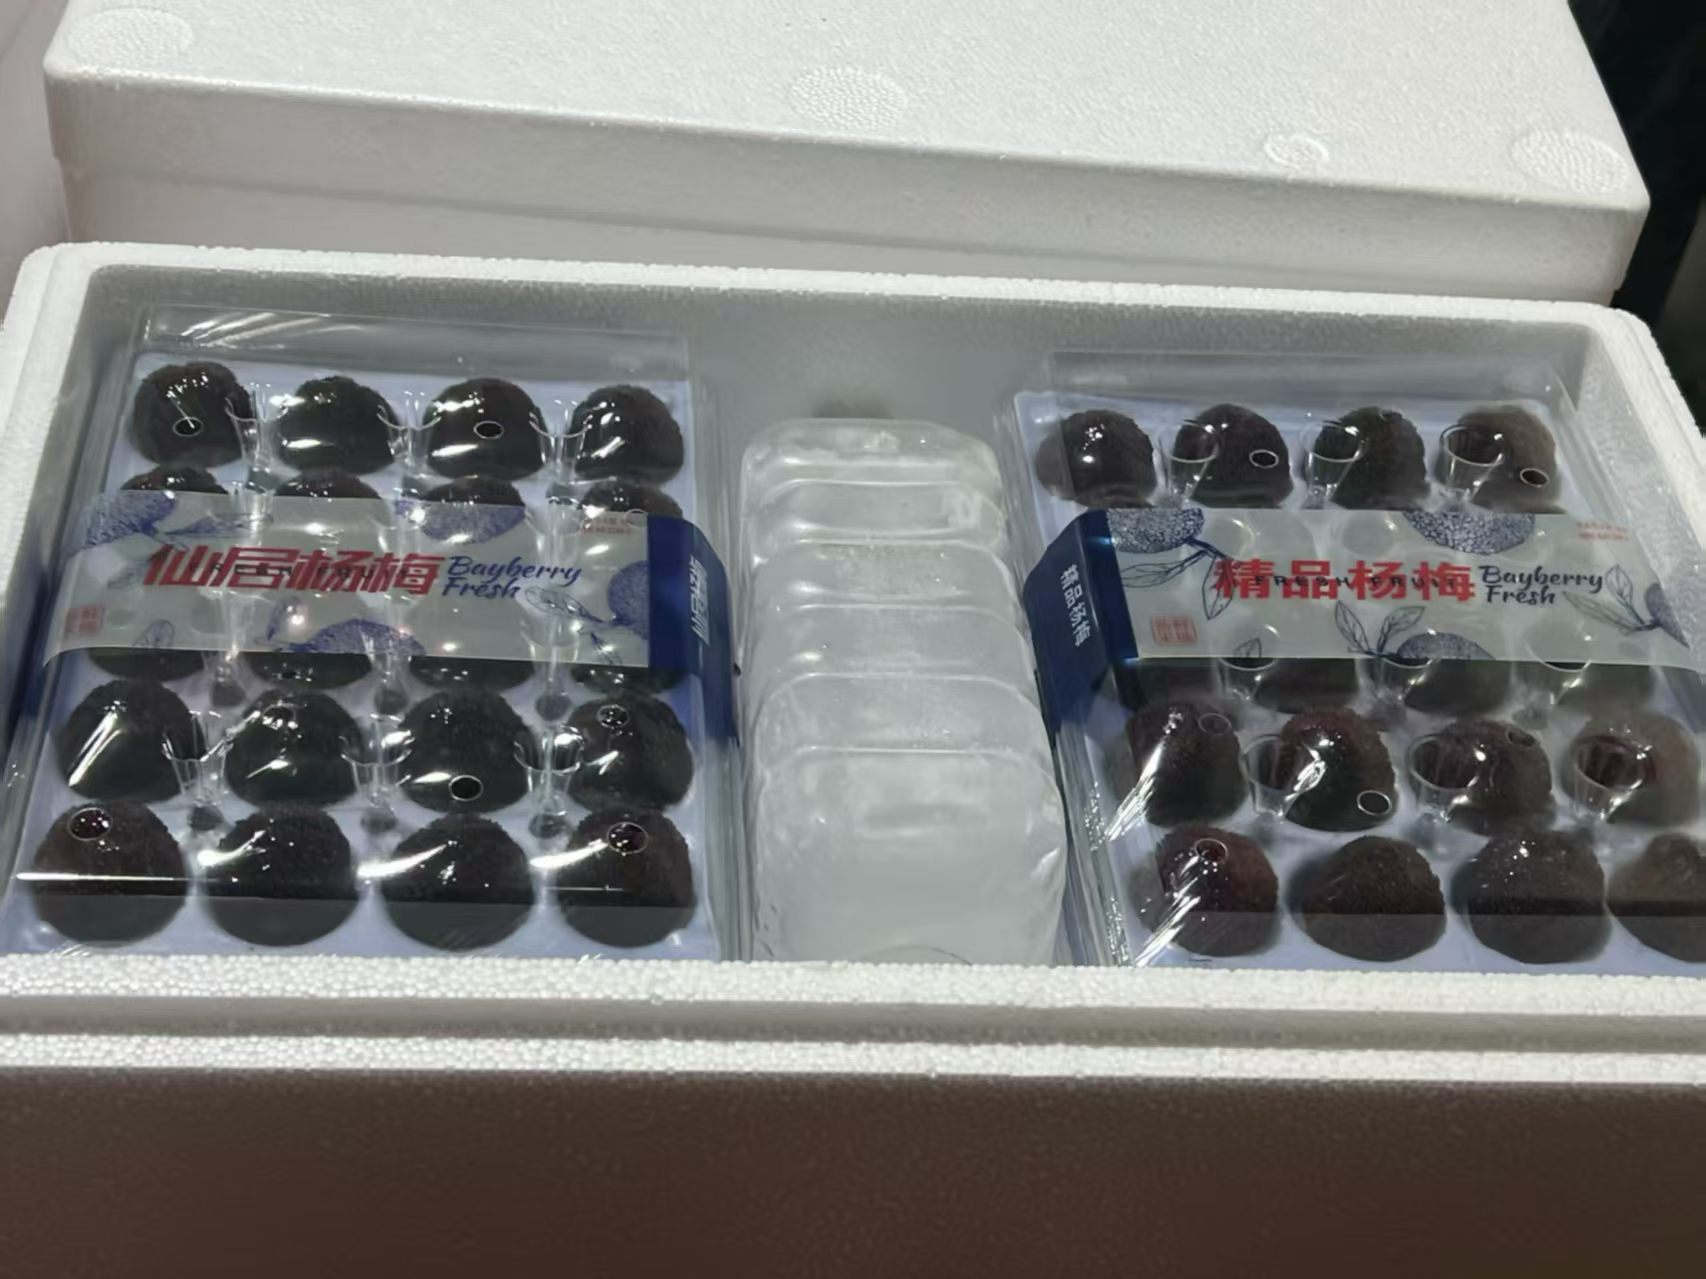
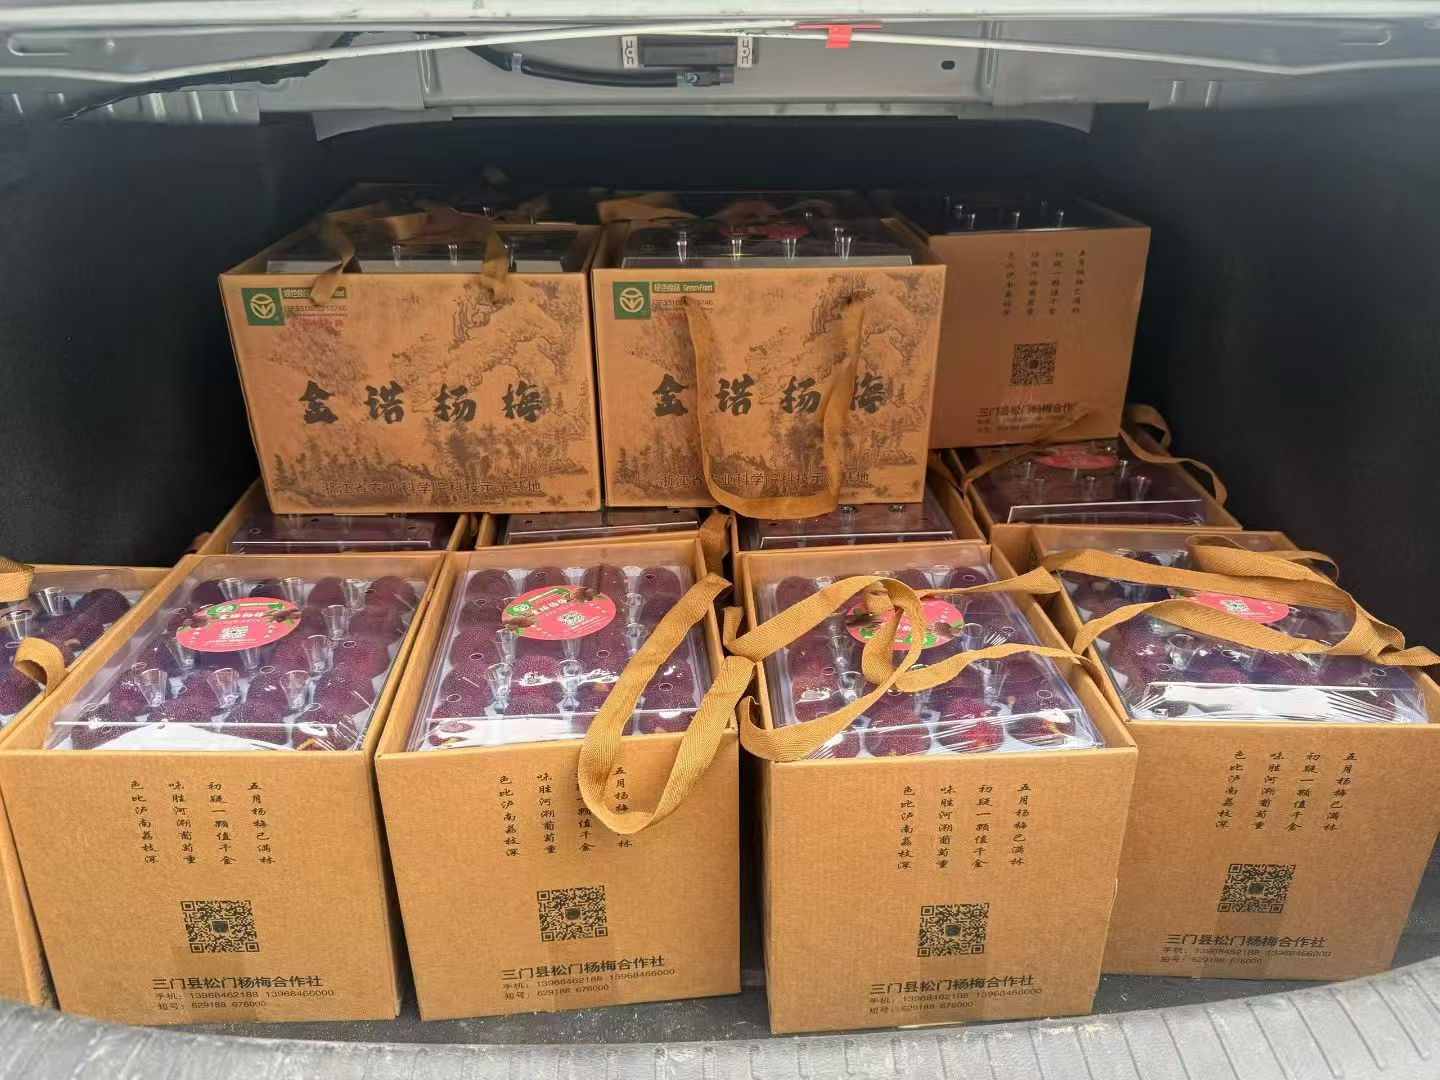
Check the inner pack with the outer box
White boxes show fruit packs beside bottles; handled boxes show another arrangement. Review the complete pack with your intended contents and outer dimensions.
Project inputs